 EN
 IT Italiano
 ES Español
 FR Français
 DE Deutsch
Description
What it is
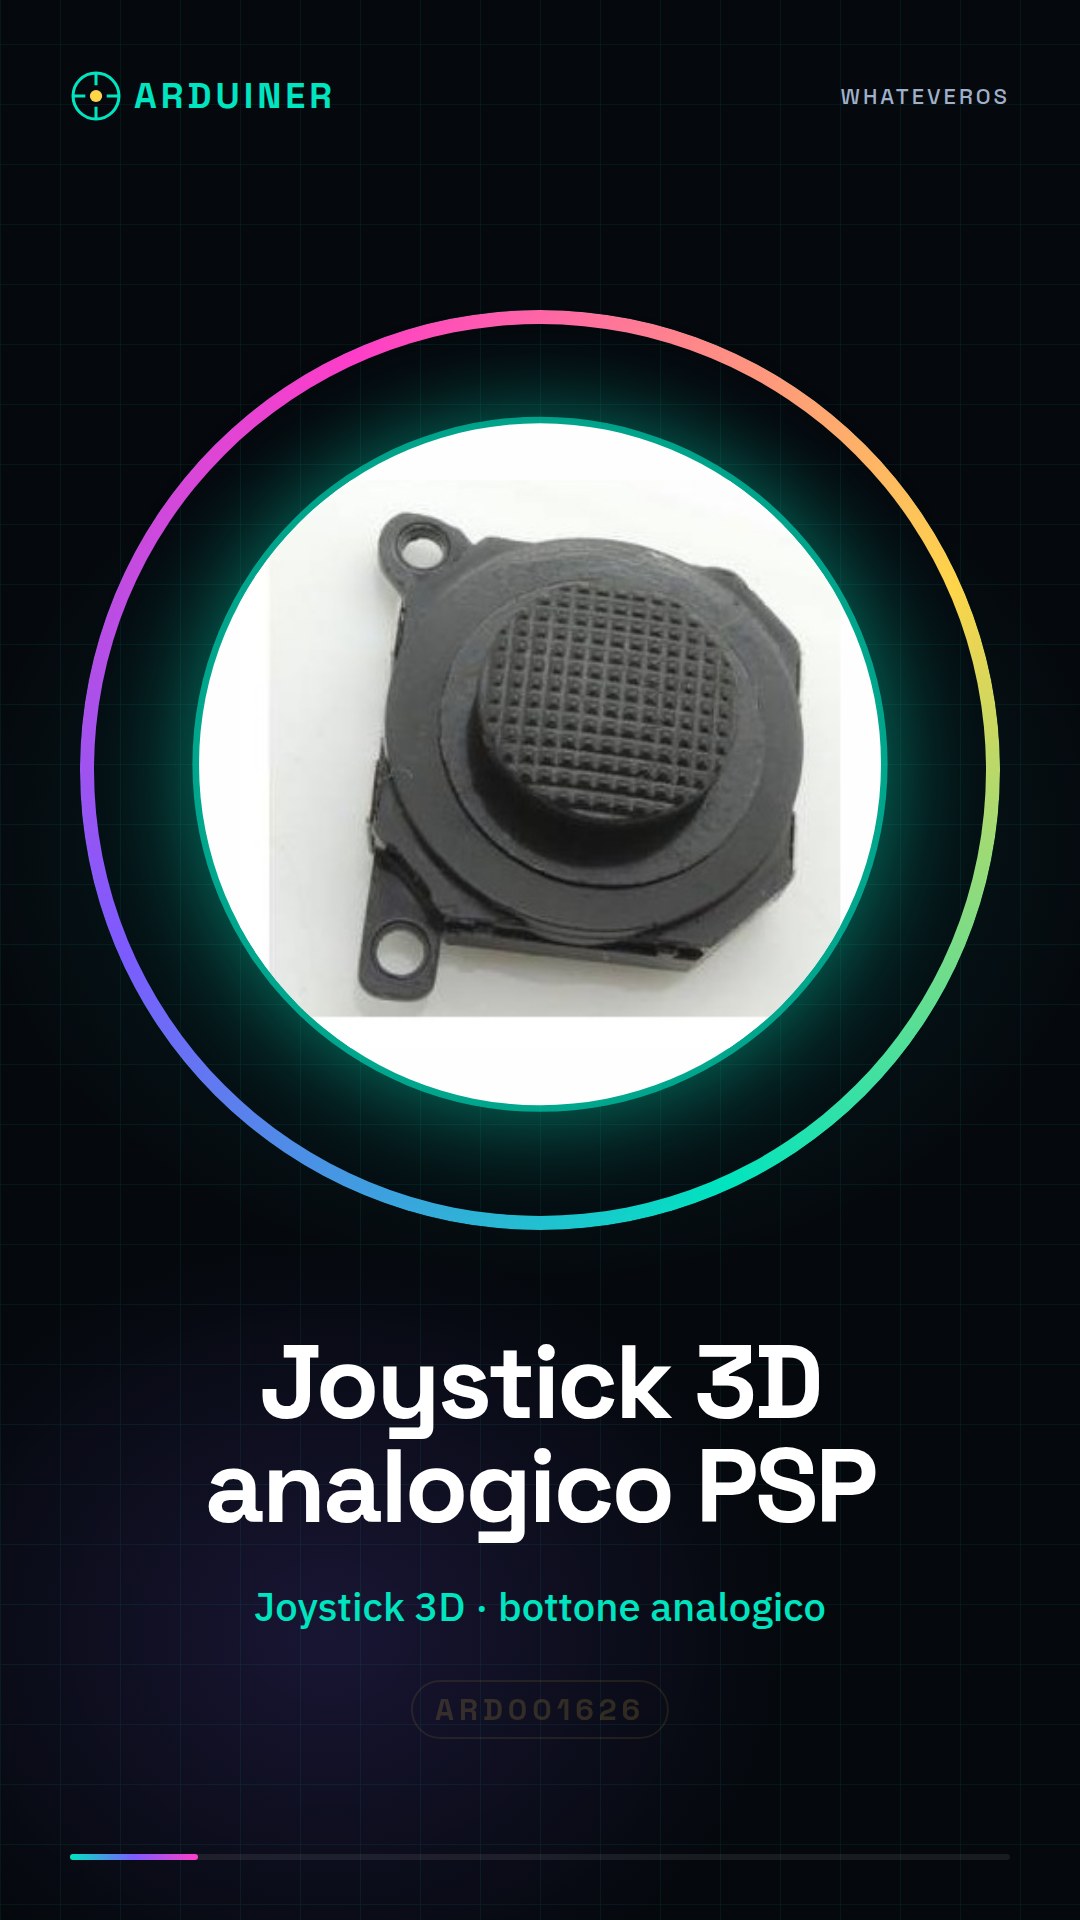
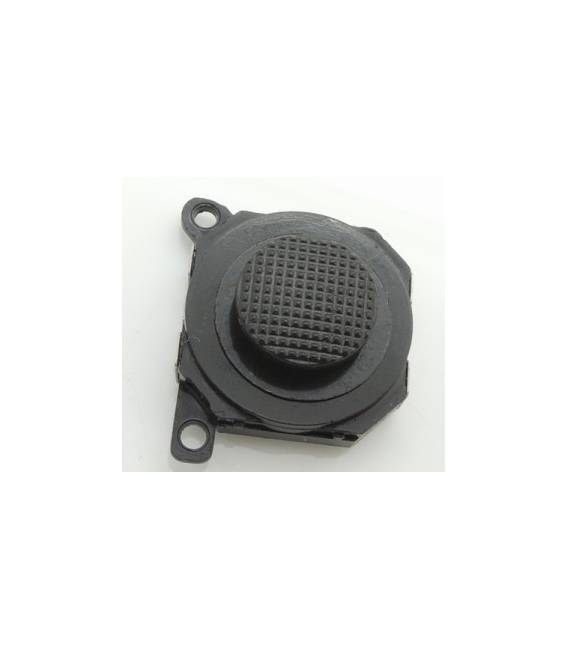
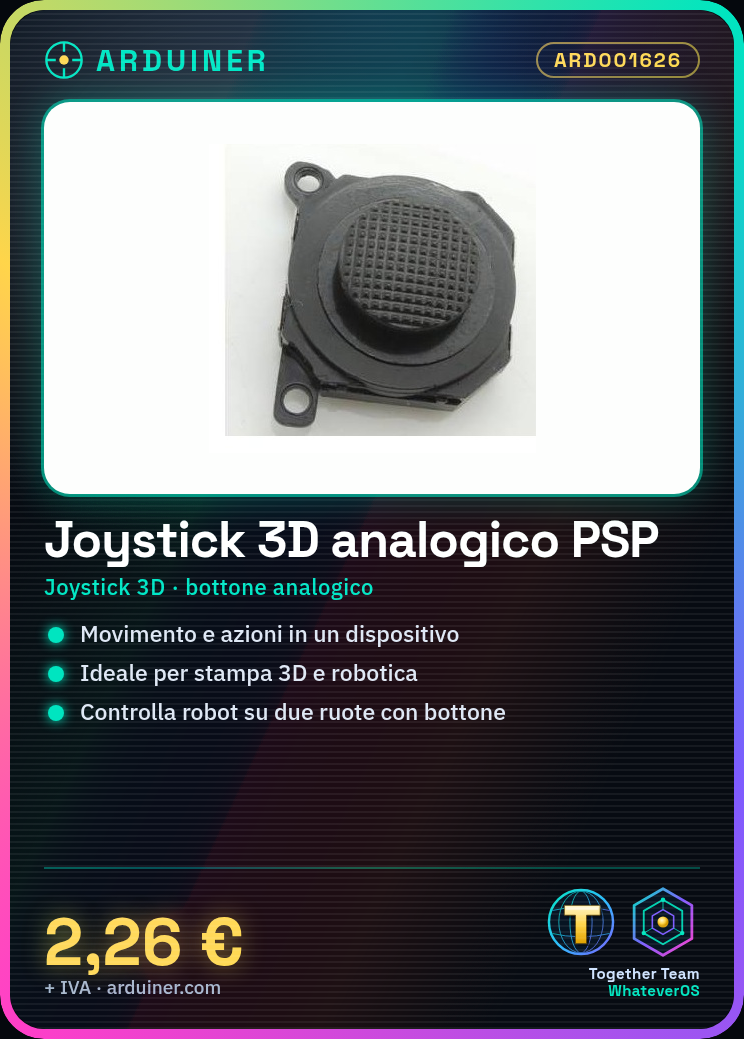
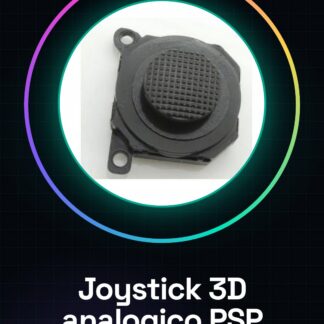
3D Joystick with analog button for PSP 1000. A component that allows controlling the direction of movement and activating an action through a single device.
Features
- Type: 3D Joystick with analog button
- Compatibility: PSP 1000
- SKU: ARD001626
- Price: 2.26 €
What it is for
Ideal for 3D printing or robotics projects that require multi-directional movements and buttons. It can be used to control robots on two wheels, map horizontal and vertical movements, and activate functions through the central button. Check the datasheet for compatibility information with Arduino/ESP.
Tutorial: How to use 3D Joystick Rocker for PSP
The 3D joystick with analog button is ideal for anyone who wants to add multi-directional movements and buttons to a 3D printing or robotics project. This component is perfect for beginner makers who want to explore programming input from analog devices.
What you need
- Arduino Uno
- USB A-MicroB cable
- Pull-up resistors
Steps
- Connect the joystick to pin A0 of the Arduino to read the analog values of horizontal and vertical movement.
- Check the connection of the button’s pressure contacts with a digital pin such as 2.
- Insert pull-up resistors between the digital pins and the +5V to avoid interference.
- Download or write an Arduino sketch that reads the joystick values and sends them to the serial monitor.
- Verify the correct reading of the data on the serial monitor.
- Modify the sketch to control a servo motor based on the joystick movement.
- Add the central button support to activate a special function in the project.
- Test the complete interface with various movements and pressures.
Example code
void setup() {
  Serial.begin(9600);
}

void loop() {
  int x = analogRead(A0);
  int y = analogRead(A1);
  boolean buttonPressed = digitalRead(2) == LOW;
  Serial.print(x); Serial.print(", "); Serial.println(y);
}
Mini project
Create a joystick mapping prototype to control a small two-wheeled robot. Use horizontal and vertical movement to guide the robot, while the central button activates a special function.
Common mistakes
- Do not connect the pull-up resistors correctly.
- Ignore the minimum and maximum values of the joystick during sketch configuration.
- Do not adequately test the central button before integrating it into the project.
Recommended accessories
- Arduino Uno
- 10kΩ pull-up resistors
- SG90 servo motor
- Kit of connectors and wires for prototypes
Frequently asked questions
Is the joystick compatible with Arduino Mega?
Yes, the joystick is compatible with any Arduino board.
How can I increase the sensitivity of the joystick?
Check the specifications on the datasheet and modify the sketch to adapt it to the input values.
Reviews
There are no reviews yet.