 EN
 IT Italiano
 ES Español
 FR Français
 DE Deutsch
Description
What it is
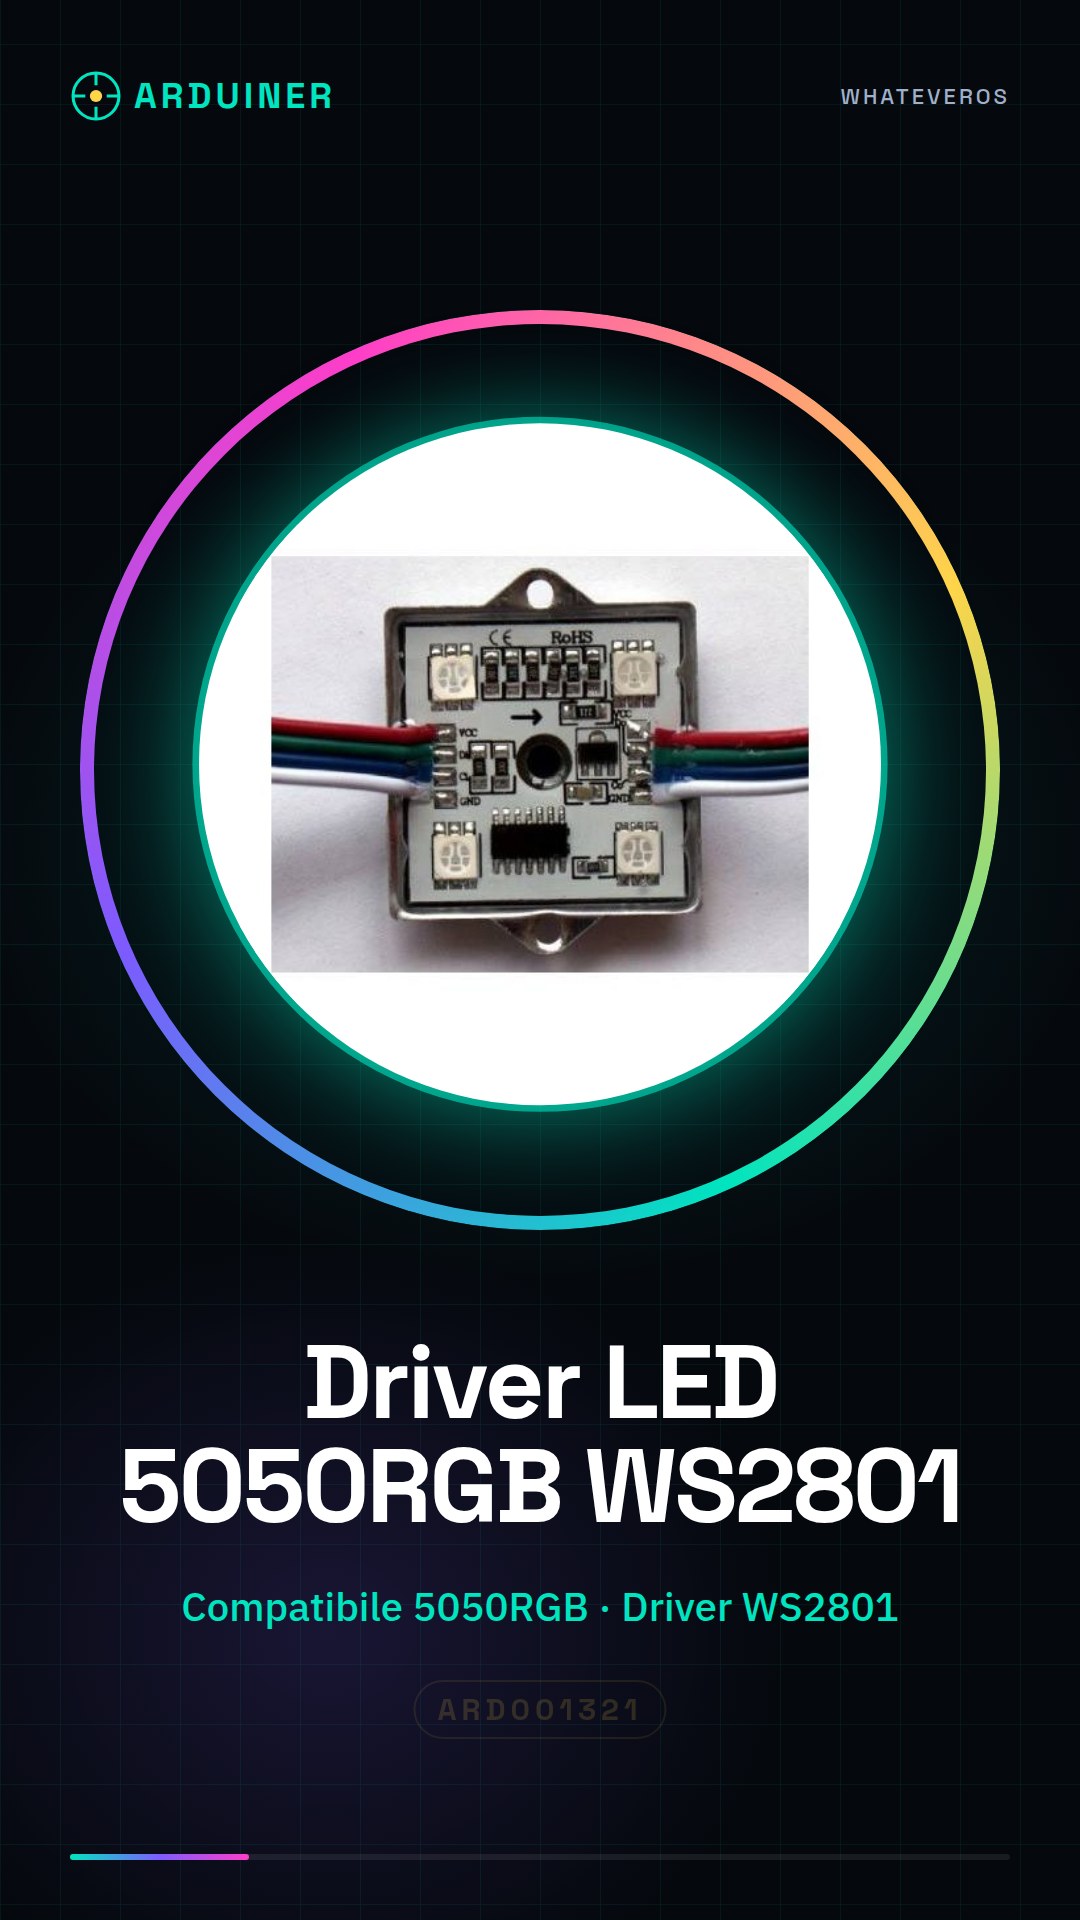
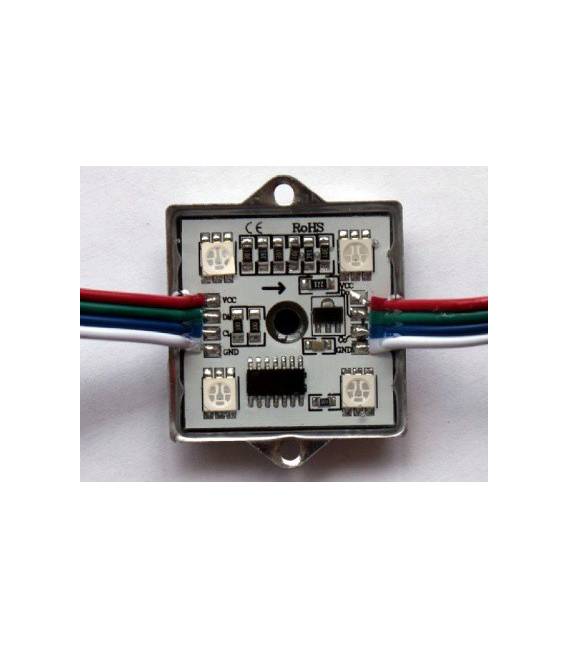
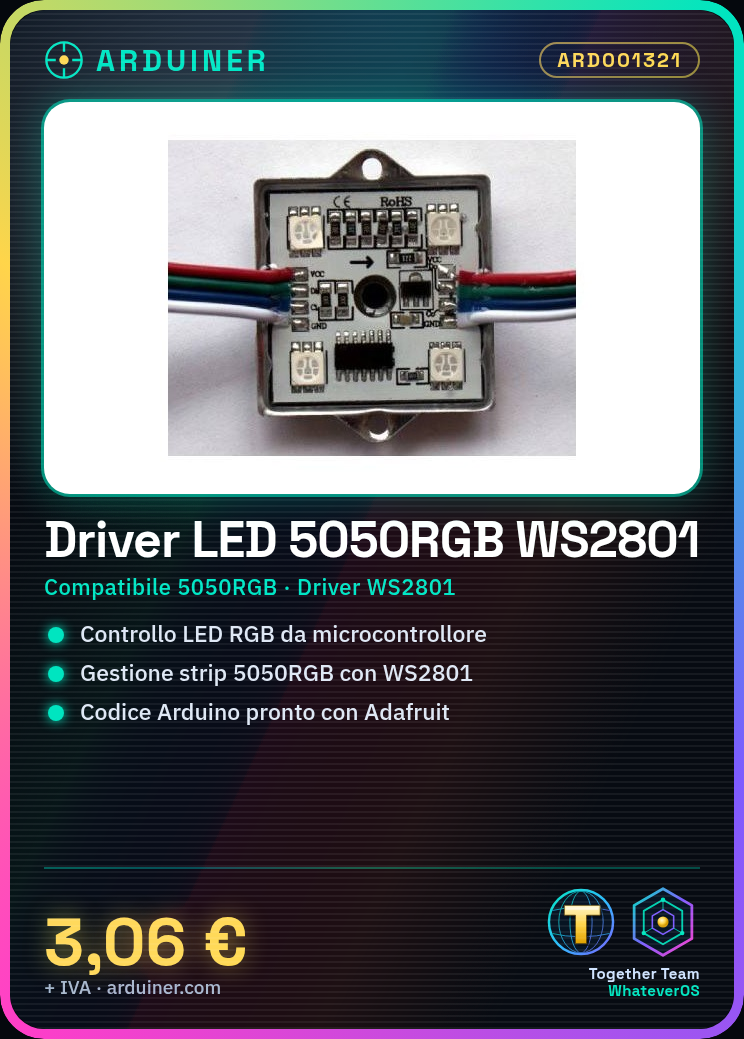
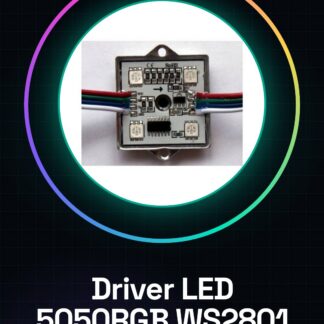
The WS2801 LED driver is an electronic component designed to control a series of RGB LEDs from Arduino or other microcontrollers. This device allows for easy management of 5050 RGB LED strips, making it possible to create interactive lighting installations.
Features
- WS2801 LED Driver for Arduino and other microcontrollers
- Compatible with RGB 5050 LED strips
- Check the datasheet for detailed technical specifications
What it is for
It is used to control a series of RGB LEDs from Arduino or other microcontrollers. You can use it to create interactive lighting installations, for example, changing the LED colors based on ambient light with the addition of sensors such as the light sensor.
Tutorial: How to use WS2801 LED Driver
The WS2801 LED driver is a fundamental component for anyone who wants to control a series of RGB LEDs from an Arduino or other microcontrollers. This tutorial will guide you step by step on how to connect and use it.
What you need
- Arduino Uno
- WS2801 LED Driver (IC-WS2801)
- 5050RGB LEDs
- Connection cable for Arduino
Steps
- Connect the driver to the microcontroller using the data pins, power supply, and ground as per the WS2801 documentation.
- Check the polarity of the 5050RGB LEDs before installation.
- Connect the RGB LEDs to the pins of the WS2801 driver following the specifications in the datasheet.
- Download and install the necessary software to manage data to the driver (e.g., Adafruit_NeoPixel).
- Write an Arduino sketch that communicates with the WS2801 driver, using the library just installed.
- Upload the sketch to the microcontroller and test the RGB LED illumination.
- Adjust the colors and brightness of the LEDs through Arduino code.
- Check that all LEDs are responding correctly to software control.
Example code
// Esempio di sketch per controllare un array di WS2801
#include <Adafruit_NeoPixel.h>
#define PIN 6 // Pin utilizzato per comunicare con il driver
#define NUMPIXELS 32 // Numero massimo di LED che puoi gestire
Adafruit_NeoPixel pixels = Adafruit_NeoPixel(NUMPIXELS, PIN, NEO_GRB + NEO_KHZ800);
void setup() {
    pixels.begin();
}
void loop() {
    for(int i=0; i<NUMPIXELS; i++) {
        pixels.setPixelColor(i, pixels.Color(255, 0, 0)); // rosso
        pixels.show();
        delay(10);
    }
}
Mini project
Create an RGB LED installation controlled by Arduino that changes color in a predefined manner. You can add sensors such as the light sensor to vary the LED colors based on ambient light levels.
Common mistakes
- Do not observe polarity when connecting RGB LEDs.
- Use a voltage that does not conform to the WS2801 driver specifications.
- Ignore the proper installation of the necessary library to control data to the driver.
- Omission of a reverse current filter on the microcontroller data pins.
Recommended accessories
- Arduino Uno
- USB B-A cable
- Ambient light sensors
Frequently asked questions
My LED is not turning on. What should I do?
Check the polarity of the connectors and connections to the WS2801 driver.
How can I control more than 32 LEDs with this driver?
You can daisy-chain multiple WS2801 drivers in series to manage a larger number of LEDs, but check the specifications in the datasheet.


Reviews
There are no reviews yet.