 EN
 IT Italiano
 ES Español
 FR Français
 DE Deutsch
Description
Technical Description
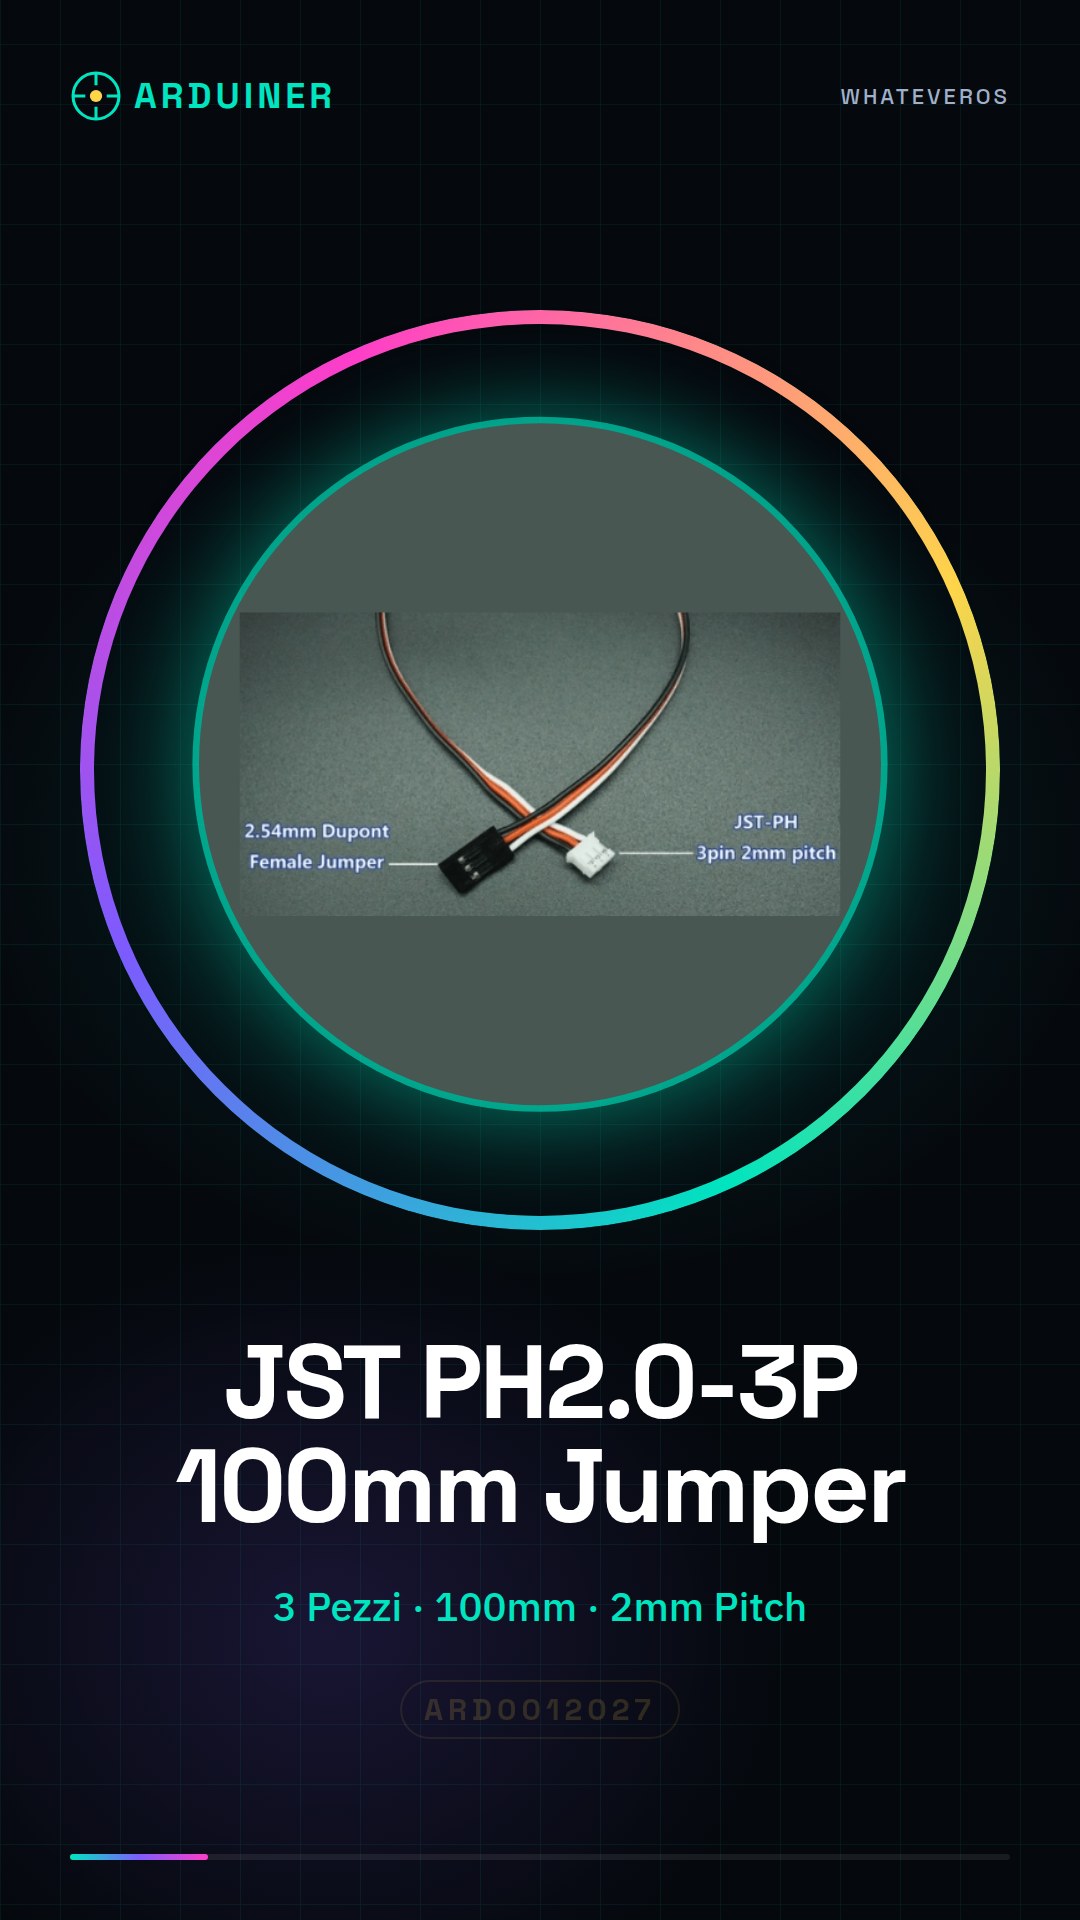
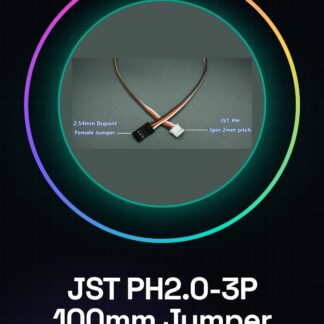
This JST PH2.0-3P 2mm pitch connector is designed to connect electronic components such as sensors or batteries to an Arduino project or similar. The connector features three contact points and is used to create modular and flexible connections between various devices.
The JST PH2.0-3P connector is connected to a 2.54mm pitch Dupong Female connector, allowing for stable and secure connections between electronic components and control boards.
To ensure proper installation, it is necessary to verify the compatibility of the connectors with the electronic components being used, cut the copper wires to the desired length, expose the brass at the ends of the wires, and ensure that the wires are properly inserted and soldered if necessary.
Key Specifications
| Parameter | Value |
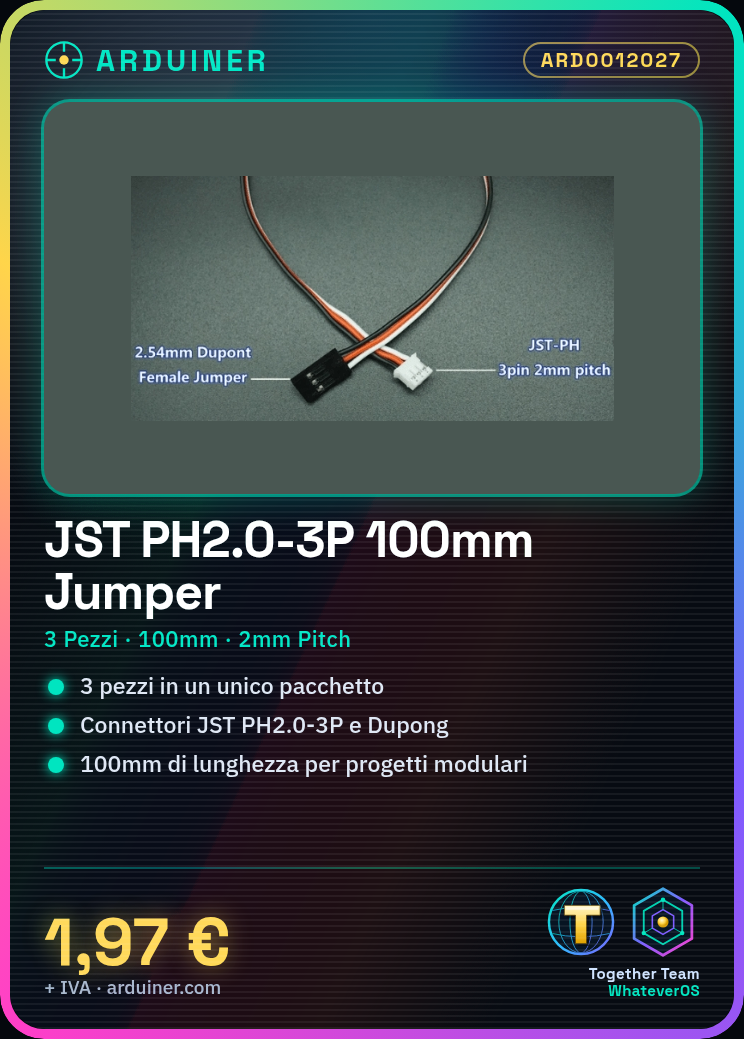
| Model | JST PH2.0-3P 2mm Pitch to Dupong 2.54 Female Jumper 100mm |
| Quantity | 3 pieces |
| Pitch | 2mm |
| Number of contact points | 3 |
| Output interface | Dupong Female 2.54mm |
| Cable length | 100mm |
| Container | N/D (see manufacturer’s technical sheet) |
Installation and Use
- Check the compatibility of the JST PH2.0-3P connector with the electronic component.
- Cut the copper wires to the desired length.
- Expose the copper at the ends of the wires.
- Insert one end of the wire into the JST PH2.0-3P connector, ensuring proper insertion.
- Connect the other end of the wire to the Dupong Female connector.
Compatibility and Requirements
- This connector is compatible with a wide range of electronic components that use the JST PH2.0-3P connector.
- Suitable for use with Arduino and other electronic control systems.
- For proper installation, it is necessary that the Dupong Female connector is compatible with the control system being used.
Limitations and Important Notes
- This connector is not designed for long-distance connections or applications requiring high electrical resistance.
- It is important to verify the polarity of the connectors before connecting them.
- Ensure that the wires are properly soldered to prevent connection interruptions.
- Do not use wires that are too thin or too thick to avoid connection problems.
Troubleshooting
The connector does not connect properly.
Probable cause: The wire was inserted into the connector backwards or was not exposed sufficiently.
Solution: Verify the polarity of the connector and ensure that the wire end is exposed correctly.
There are connection interruptions.
Probable cause: The wires were not soldered correctly or the connector is damaged.
Solution: Check the soldering of the wires and replace the connector if it is damaged.
The control system does not detect the signal.
Probable cause: The Dupong Female connector is not compatible with the control system.
Solution: Check the compatibility of the Dupong Female connector with the control system.
The control system does not detect the signal.
Probable cause: The JST PH2.0-3P connector is not properly connected.
Solution: Check the insertion of the wire into the JST PH2.0-3P connector and the installation of the Dupong Female connector.
Use cases
Home security system
Objective: Create a home security system with a motion sensor.
What is needed: Motion sensor, Arduino Uno R3, JST PH2.0-3P connector, Dupong Female connector.
Steps: 1) Connect the motion sensor to the JST PH2.0-3P connector. 2) Connect the Dupong Female connector to the Arduino Uno R3. 3) Test the alarm system with Arduino Uno R3.
Expected result: The home alarm system is ready to be used.
Home Automation Project
Objective: Create a home automation system with a light sensor.
What you need: Light sensor, Arduino Uno R3, JST PH2.0-3P connector, Dupong Female connector.
Steps: 1) Connect the light sensor to the JST PH2.0-3P connector. 2) Connect the Dupong Female connector to the Arduino Uno R3. 3) Test the automation system with Arduino Uno R3.
Expected result: The home automation system is ready to be used.
Environmental Monitoring Project
Objective: Create an environmental monitoring system with a temperature sensor.
What is needed: Temperature sensor, Arduino Uno R3, JST PH2.0-3P connector, Dupong Female connector.
Steps: 1) Connect the temperature sensor to the JST PH2.0-3P connector. 2) Connect the Dupong Female connector to the Arduino Uno R3. 3) Test the monitoring system with Arduino Uno R3.
Expected result: The environmental monitoring system is ready to be used.
Light control project
Objective: Create a light control system with a presence sensor.
What is needed: Presence sensor, Arduino Uno R3, JST PH2.0-3P connector, Dupong Female connector.
Steps: 1) Connect the presence sensor to the JST PH2.0-3P connector. 2) Connect the Dupong Female connector to the Arduino Uno R3. 3) Test the light control system with Arduino Uno R3.
Expected result: The light control system is ready to be used.
Humidity monitoring project
Objective: Create a humidity monitoring system with a humidity sensor.
What you need: Humidity sensor, Arduino Uno R3, JST PH2.0-3P connector, Dupong Female connector.
Steps: 1) Connect the humidity sensor to the JST PH2.0-3P connector. 2) Connect the Dupong Female connector to the Arduino Uno R3. 3) Test the monitoring system with Arduino Uno R3.
Expected result: The humidity monitoring system is ready to be used.
Temperature monitoring project
Objective: Create a temperature monitoring system with a temperature sensor.
What you need: Temperature sensor, Arduino Uno R3, JST PH2.0-3P connector, Dupong Female connector.
Steps: 1) Connect the temperature sensor to the JST PH2.0-3P connector. 2) Connect the Dupong Female connector to the Arduino Uno R3. 3) Test the monitoring system with Arduino Uno R3.
Expected Result: The temperature monitoring system is ready to be used.
Weather Conditions Control Project
Objective: Create a weather conditions control system with a weather sensor.
What’s needed: Weather sensor, Arduino Uno R3, JST PH2.0-3P connector, Dupong Female connector.
Steps: 1) Connect the weather sensor to the JST PH2.0-3P connector. 2) Connect the Dupong Female connector to the Arduino Uno R3. 3) Test the control system with Arduino Uno R3.
Expected Result: The weather conditions control system is ready to be used.
Water Level Monitoring Project
Objective: Create a water level monitoring system with a water level sensor.
Needed: Water level sensor, Arduino Uno R3, JST PH2.0-3P connector, Dupong Female connector.
Steps: 1) Connect the water level sensor to the JST PH2.0-3P connector. 2) Connect the Dupong Female connector to the Arduino Uno R3. 3) Test the monitoring system with Arduino Uno R3.
Expected result: The water level monitoring system is ready to be used.
In the package
- 3 pieces
Complete the project
- JST Male 2-Pin Connector + Silicone Cable 100mm: To connect the JST PH2.0-3P connector to another electronic component.
Technical FAQs
Is the Dupong Female connector compatible with all Arduino modules?
Yes, but it is necessary to check the pin positions for a correct connection.
Can I use wires of different sizes?
Yes, but make sure the wire diameter is appropriate for the connector.
How can I verify the connection?
Use a multimeter to verify the electrical connection.
What are the usage limitations of this connector?
It is not designed for long-distance connections or applications with high electrical resistance.
Tutorial: How to use JST PH2.0-3P Dupong Female
This connector is useful for connecting electronic components such as sensors or batteries to your Arduino project. Ideal for beginner makers who want to create modular systems.
What you need
- Arduino
- JST PH2.0-3P sensor
- copper wire
Steps
- Check the compatibility of the connector with your electronic component.
- Cut the copper wires to the desired length (approximately 10cm).
- Strip the ends of the wires to expose the copper.
- Insert one end of the wire into the JST PH2.0-3P connector, ensuring it is properly inserted and soldered if necessary.
- Repeat the previous step with the remaining two connectors.
- Connect the other end of the wire to the Dupong Female connector.
- Check the connection using a multimeter to ensure there is a good electrical connection.
- Test the connection with an Arduino or other devices.
Mini project
Create a home security system with a JST PH2.0-3P motion sensor connected to an Arduino module via a Dupong Female connector.
Common mistakes
- Insert the wire into the connector backwards, check polarity.
- Do not strip the end of the wire enough, exposing too little copper.
- Solder the wires poorly, creating a bad electrical connection.
- Use a wire that is too thin or too thick.
Recommended accessories
- JST PH2.0-3P sensors
- Arduino Uno R3
- Digital multimeter
Frequently asked questions
Is the Dupong Female connector compatible with all Arduino modules?
Yes, but check the pin positions for a correct connection.
Can I use wires of different sizes?
Yes, but make sure the wire diameter is appropriate for the connector.
Reviews
There are no reviews yet.