 EN
 IT Italiano
 ES Español
 FR Français
 DE Deutsch
Description
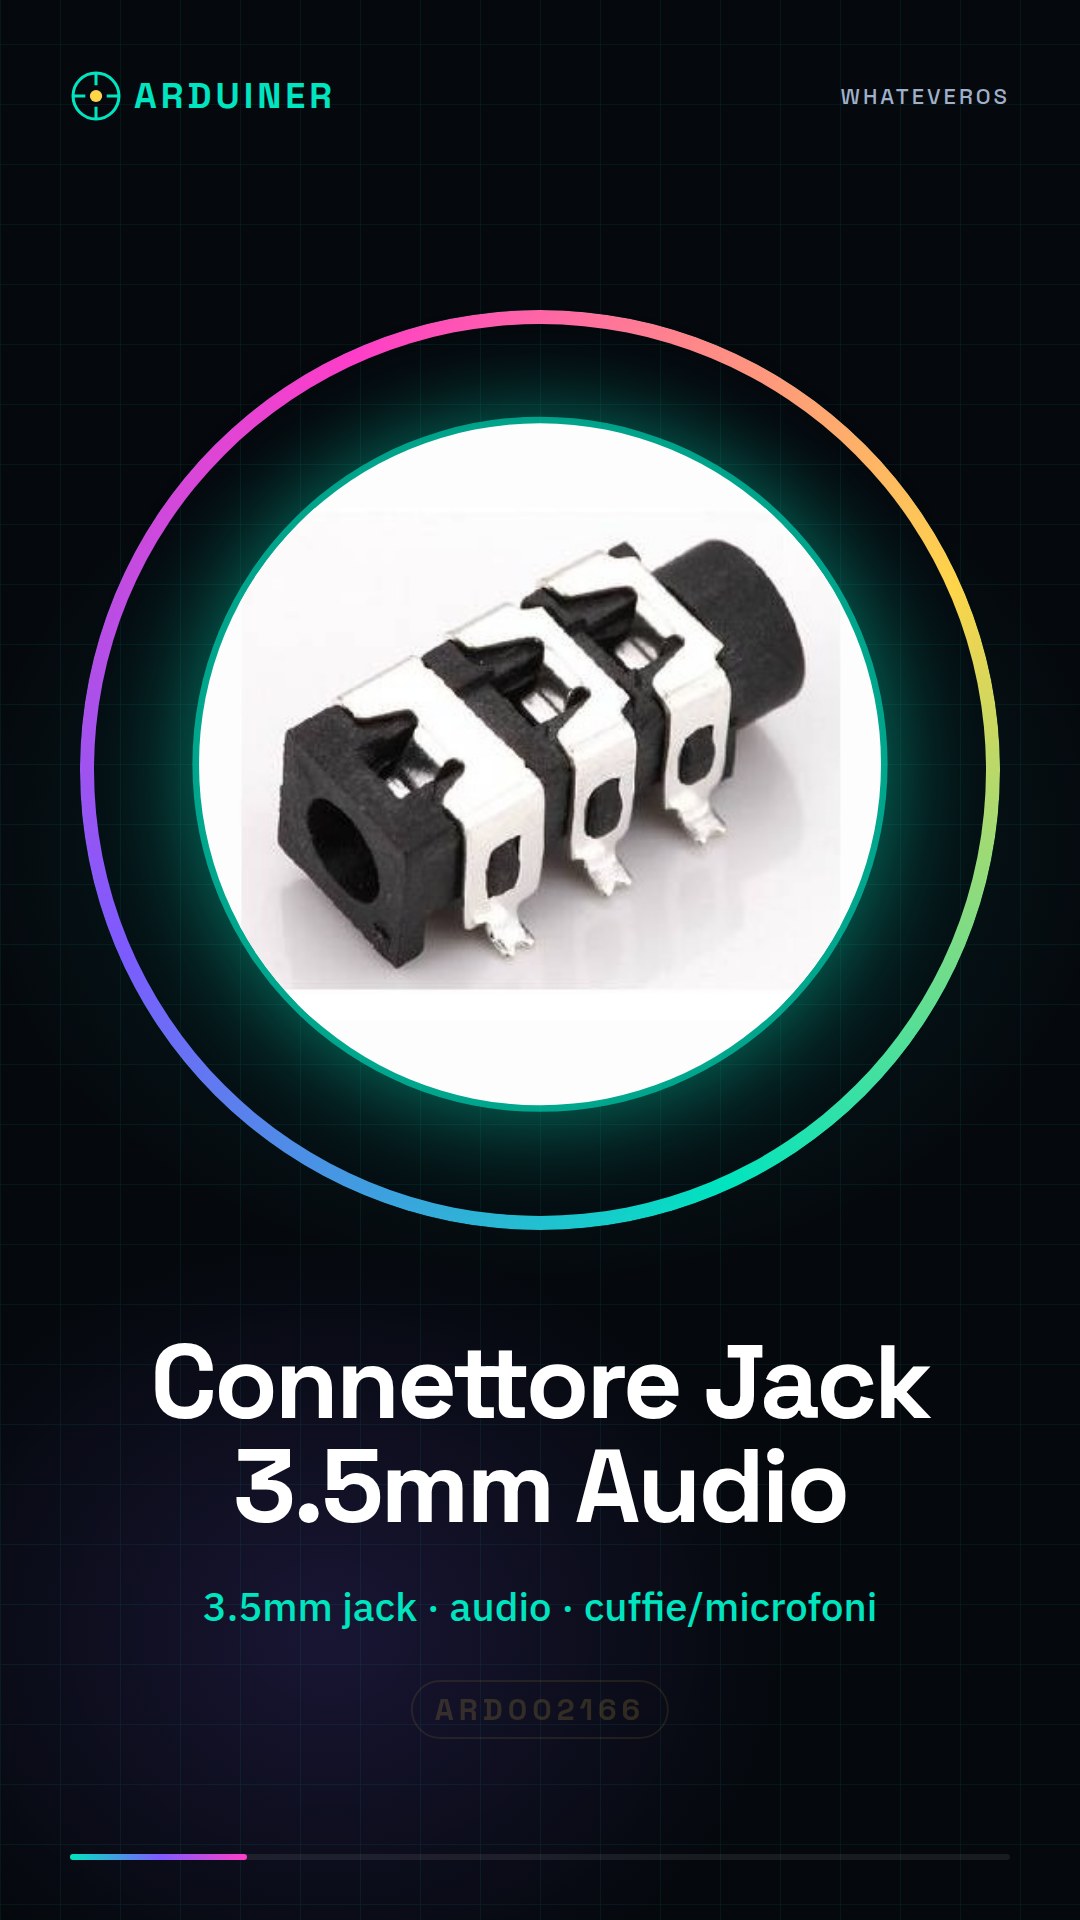
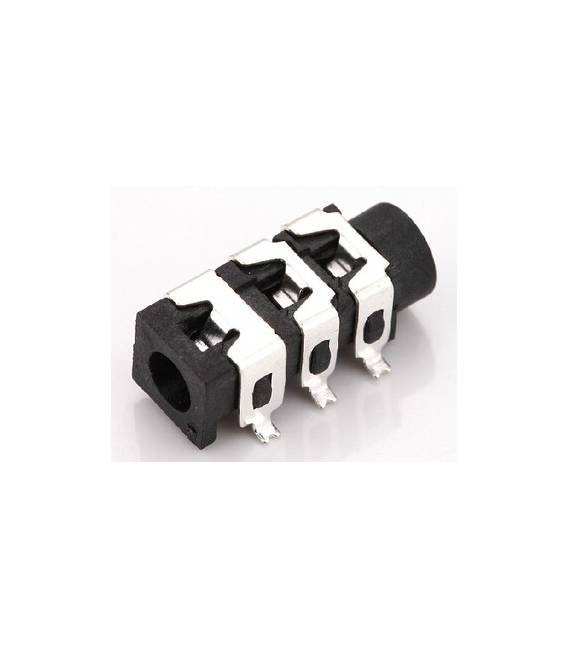
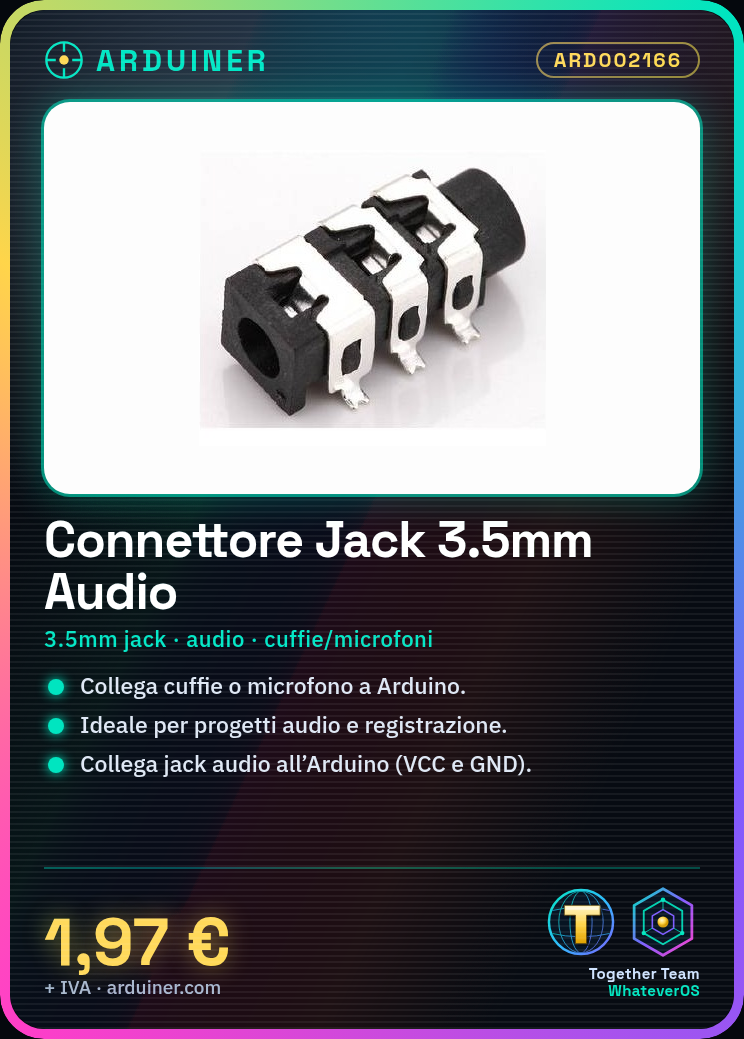
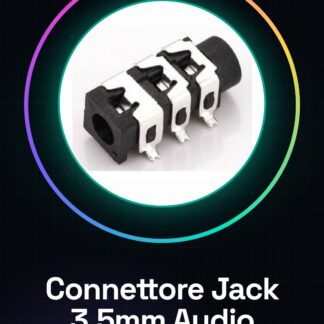
3.5mm Audio Jack Connector for Headphones Microphones PJ-313
Tutorial: How to Use 3.5mm Audio Jack Connector PJ-313
The 3.5mm Audio Jack Connector is ideal for connecting headphones or microphones to an Arduino device. Useful for audio and recording projects.
What you need
- Headphones or 3.5mm microphones
- Arduino or board with audio jack
- Connection filament
Steps
- 1. Check the datasheet for your Arduino device specifications.
- 2. Prepare the connection filament.
- 3. Turn off the Arduino.
- 4. Connect the filament to the audio jack.
- 5. Connect the audio jack to the Arduino (VCC and GND).
- 6. Turn on the Arduino.
- 7. Check the connection with a multimeter.
- 8. Test the headphones or microphone.
Mini project
Create a simple audio recording system with Arduino using this jack. Connect a microphone to the jack and save the data on an SD module.
Common mistakes
- Connect VCC to GND.
- Do not use connection filaments too thick.
- Do not test with the Arduino powered on.
- Forget to check the datasheet.
Recommended accessories
- 3.5mm Microphone
- SD Module
- Arduino
- 3.5mm Headphones
Frequently asked questions
My microphone is not working.
Check the proper connection and specifications on the datasheet.
Can I use this connector for stereo headphones?
Make sure your device supports stereo headphones.
I lost the connection filament.
Use a compatible connection filament or purchase a new connector.
Reviews
There are no reviews yet.