 EN
 IT Italiano
 ES Español
 FR Français
 DE Deutsch
Description
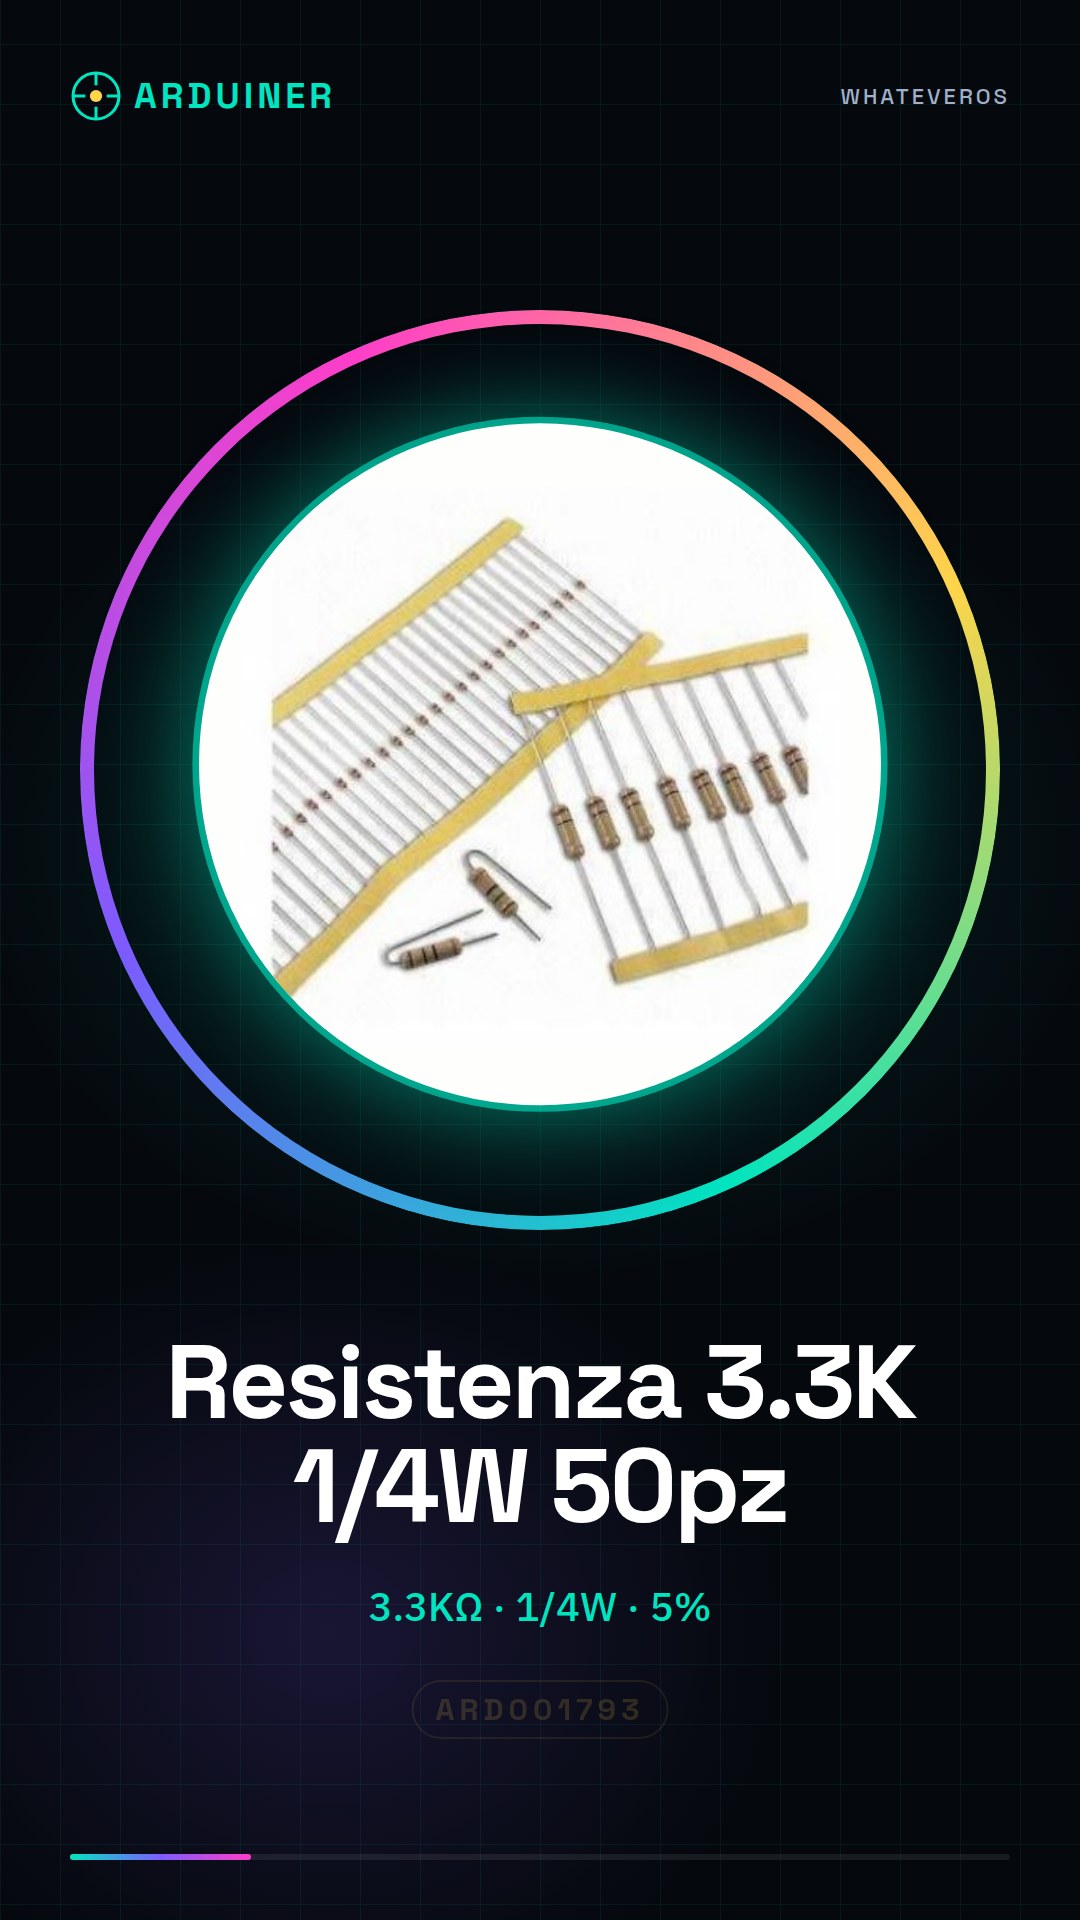
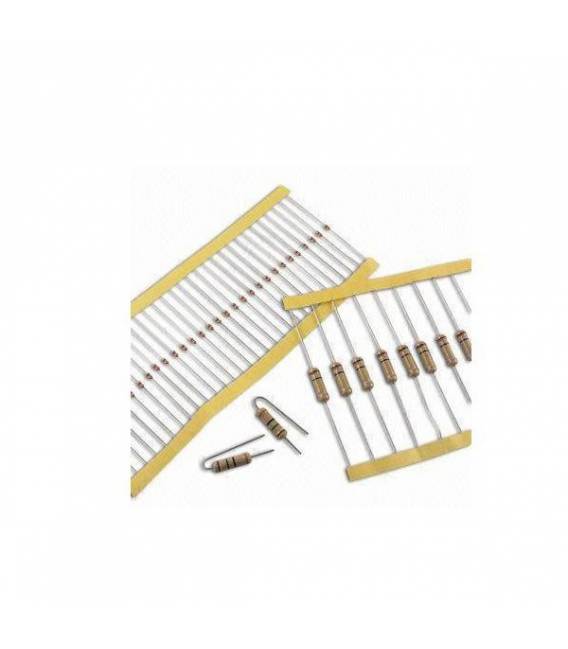
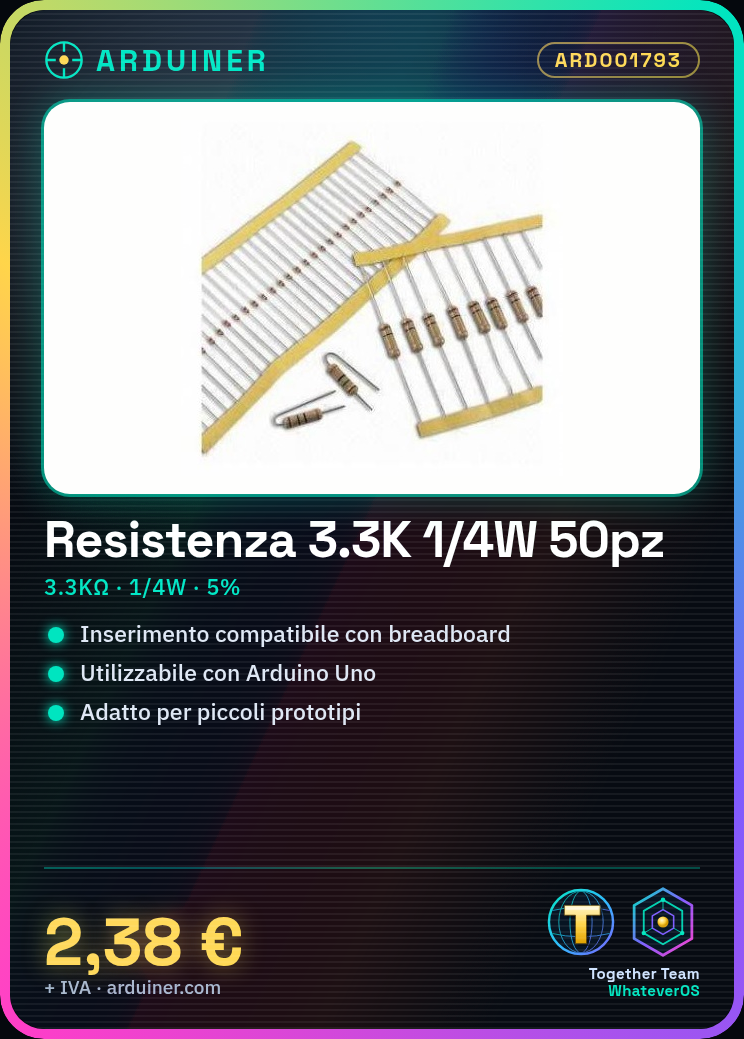
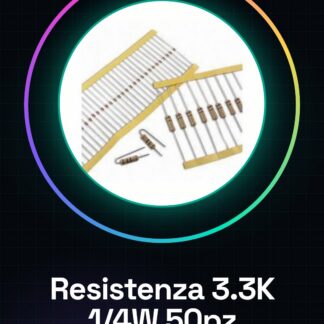
50PCS 3.3K ohm 3300 ohm 1/4w 1/4 w 5%
Tutorial: How to use 3.3K ohm Resistor
Resistors are fundamental for limiting the flow of current in an electronic circuit. This 3.3kΩ resistor is ideal for beginners learning to design simple circuits or for those building small prototypes.
What you need
- Arduino Uno
- Connecting Wire
- Breadboard
Steps
- Connect the breadboard to your Arduino.
- Insert the resistor into the breadboard.
- Check the datasheet for the correct orientation of the resistor.
- Connect a wire from the desired pin on the Arduino to the resistor.
- Connect another wire from the other end of the resistor to an electronic component (for example, an LED).
- Write an Arduino sketch to control the circuit.
Example code
void setup() {
pinMode(13, OUTPUT);
}

void loop() {
digitalWrite(13, HIGH);
 delay(1000);
digitalWrite(13, LOW);
delay(1000);
Mini project
Create a simple lighting circuit that turns on an LED with the 3.3kΩ resistor, adjusting the on and off times.
Common mistakes
- Use a resistor that is too small or too large, check the datasheet.
- Connect the resistor to the circuit without an electronic component to limit its use.
- Do not connect the breadboard to the Arduino correctly.
Recommended accessories
- LED
- Breadboard
- Connecting wires
Frequently asked questions
What is the maximum power it can handle?
Check the datasheet. Generally, 1/4W resistors are suitable for small circuits.
How to calculate the value of the required resistance?
Use a law such as Ohm’s law or an online calculator to determine it based on your circuit diagram.
Reviews
There are no reviews yet.