 EN
 IT Italiano
 ES Español
 FR Français
 DE Deutsch
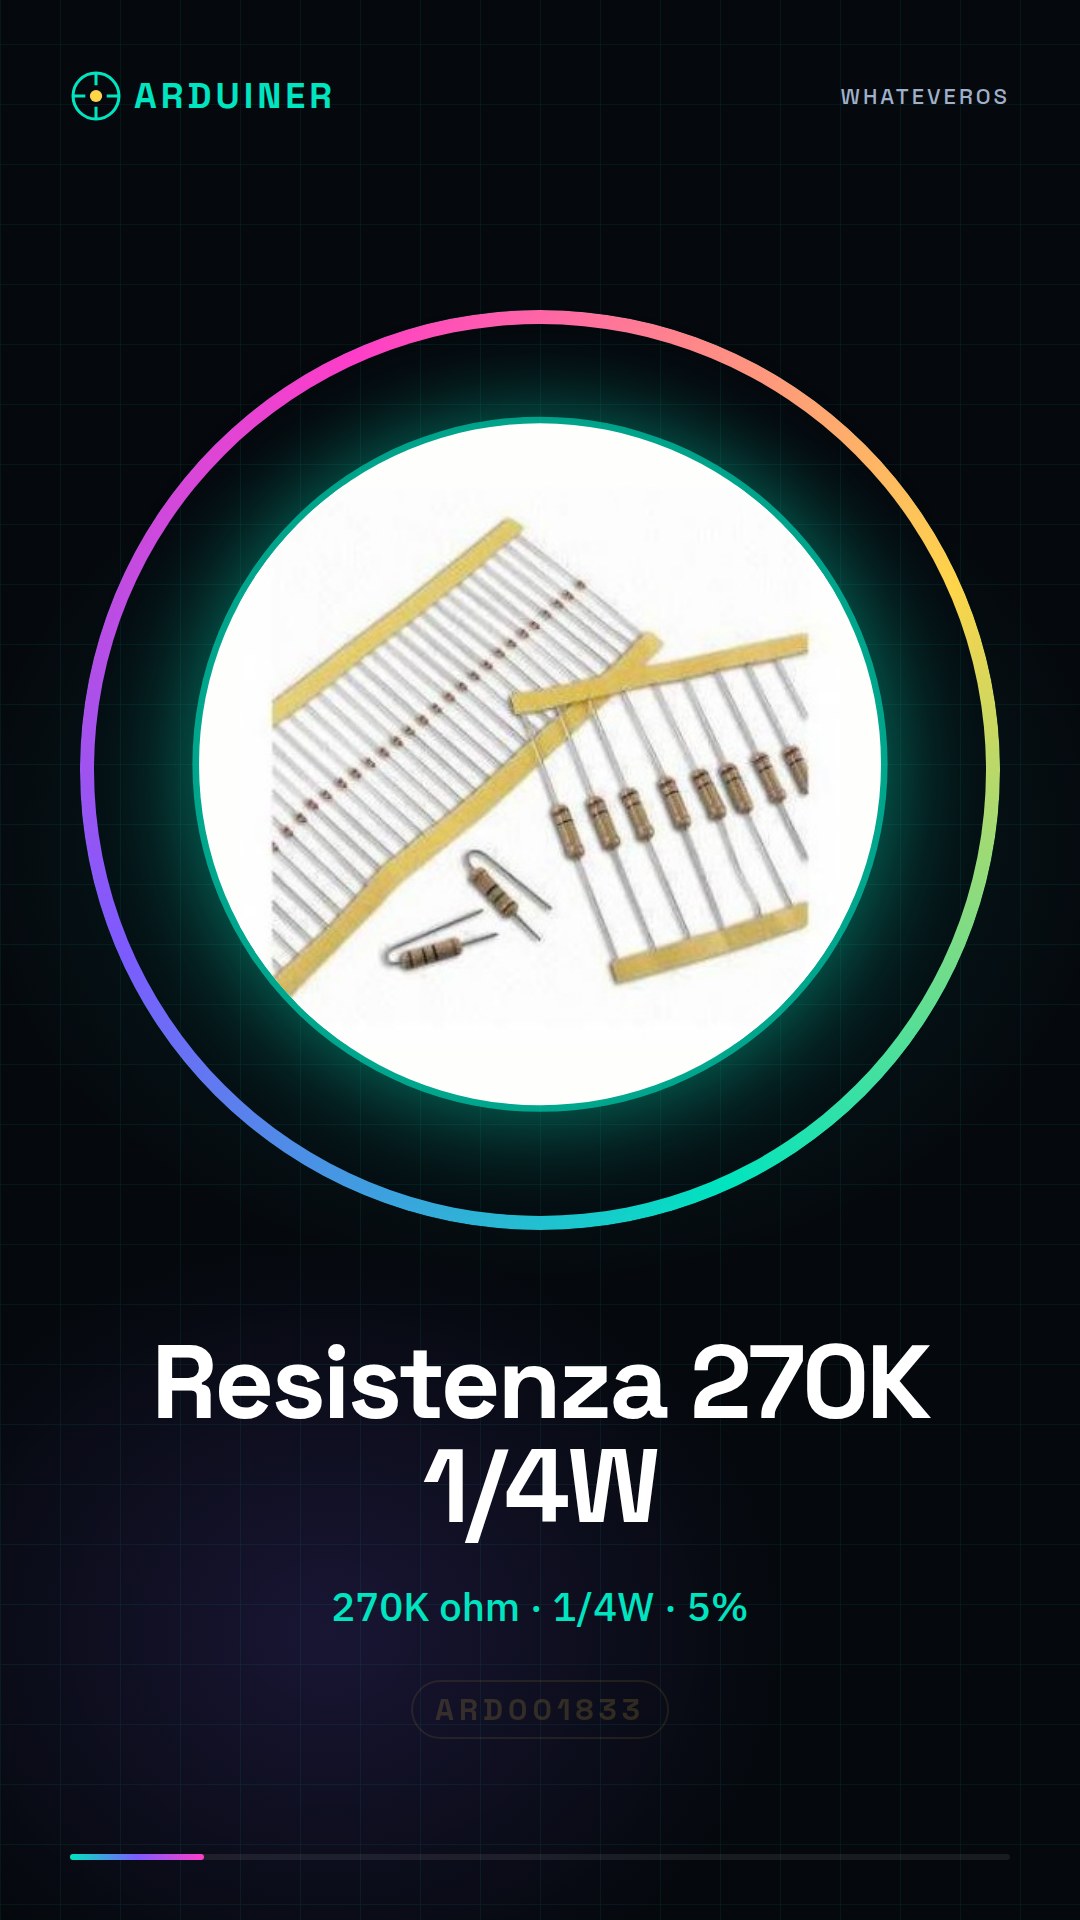
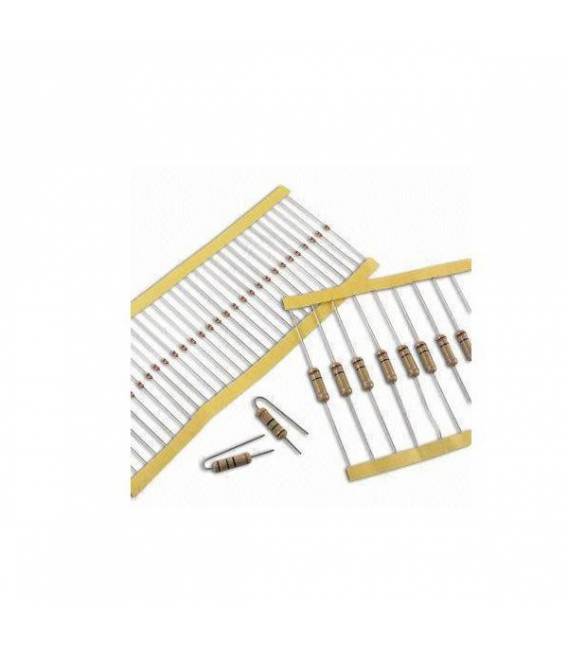
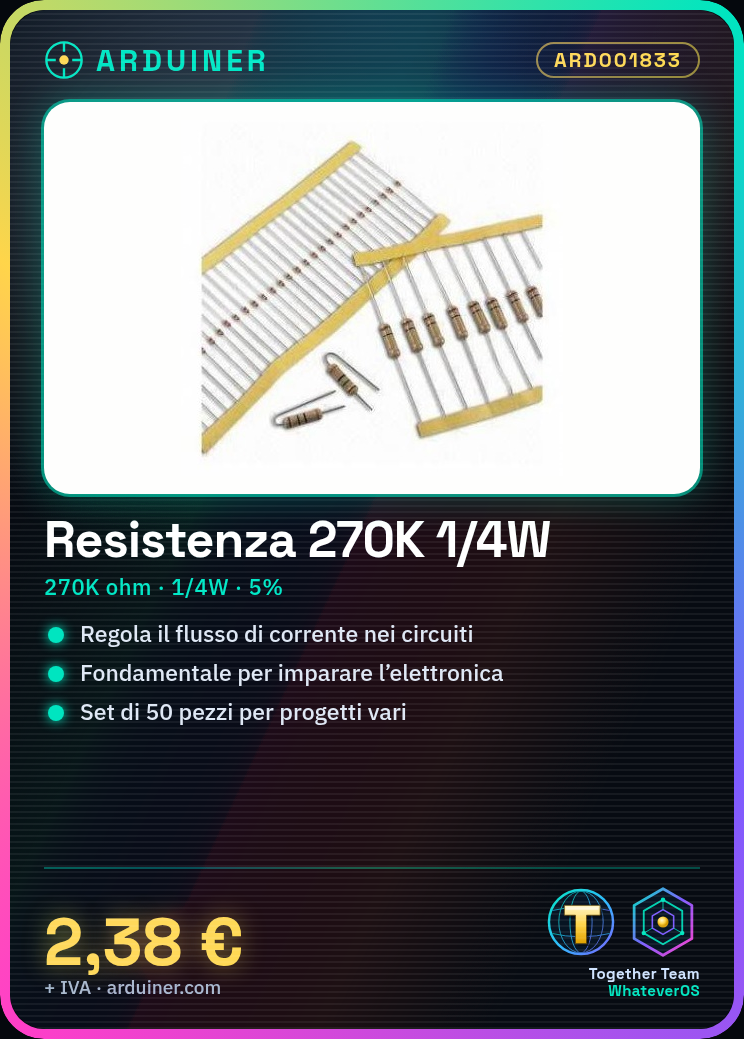
Description
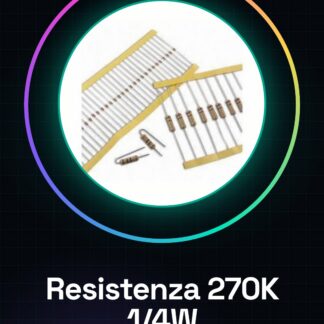
50PCS 270K ohm 270000 ohm 1/4w 1/4 w 5%
Tutorial: How to Use 270K ohm Resistor
The 270K ohm resistor is a fundamental component for those learning electronics and Arduino programming. This component helps regulate the flow of current in various circuits.
What you need
- Arduino uno or compatible
- USB cable
- 3d printer (optional for advanced projects)
- multimeter
Steps
- Check the resistor with a multimeter to ensure it is actually 270K ohm.
- Connect one end of the component to a digital pin on the Arduino using jumper wires.
- Use the second end of the resistor and connect it to the GND of the Arduino to complete the current flow.
- Write a simple sketch in Arduino that reads the current intensity on the digital pin where you have connected the resistor.
- If necessary, use the multimeter to check that the readings are as expected in your code.
- For more advanced projects, it might be useful to 3D print a holder to organize the electronic components.
Example code
int ledPin = 13; // definisci il pin collegato alla resistenza
void setup() {
pinMode(ledPin, OUTPUT); // imposta il pin come output
}
void loop() {
digitalWrite(ledPin, HIGH); // accendi la luce collegata alla resistenza
 delay(1000);
digitalWrite(ledPin, LOW); // spegni la luce
 delay(1000);
}
Mini project
Create a simple lighting circuit that changes the state of the LED every second using Arduino and the 270K ohm resistor. This project will help you understand how current flows through a resistor.
Common mistakes
- Do not check the resistor with a multimeter before use.
- Connect the component to direct power without protection.
- Use it in situations requiring a resistor of different power or tolerance.
- Ignore the specifications in the datasheet for the project.
Recommended accessories
- Arduino uno
- Arduino jumper wires
- Digital multimeter
- 3D printed holder
Frequently asked questions
What is the tolerance value of the resistor?
Check the product datasheet.
Reviews
There are no reviews yet.