 EN
 IT Italiano
 ES Español
 FR Français
 DE Deutsch
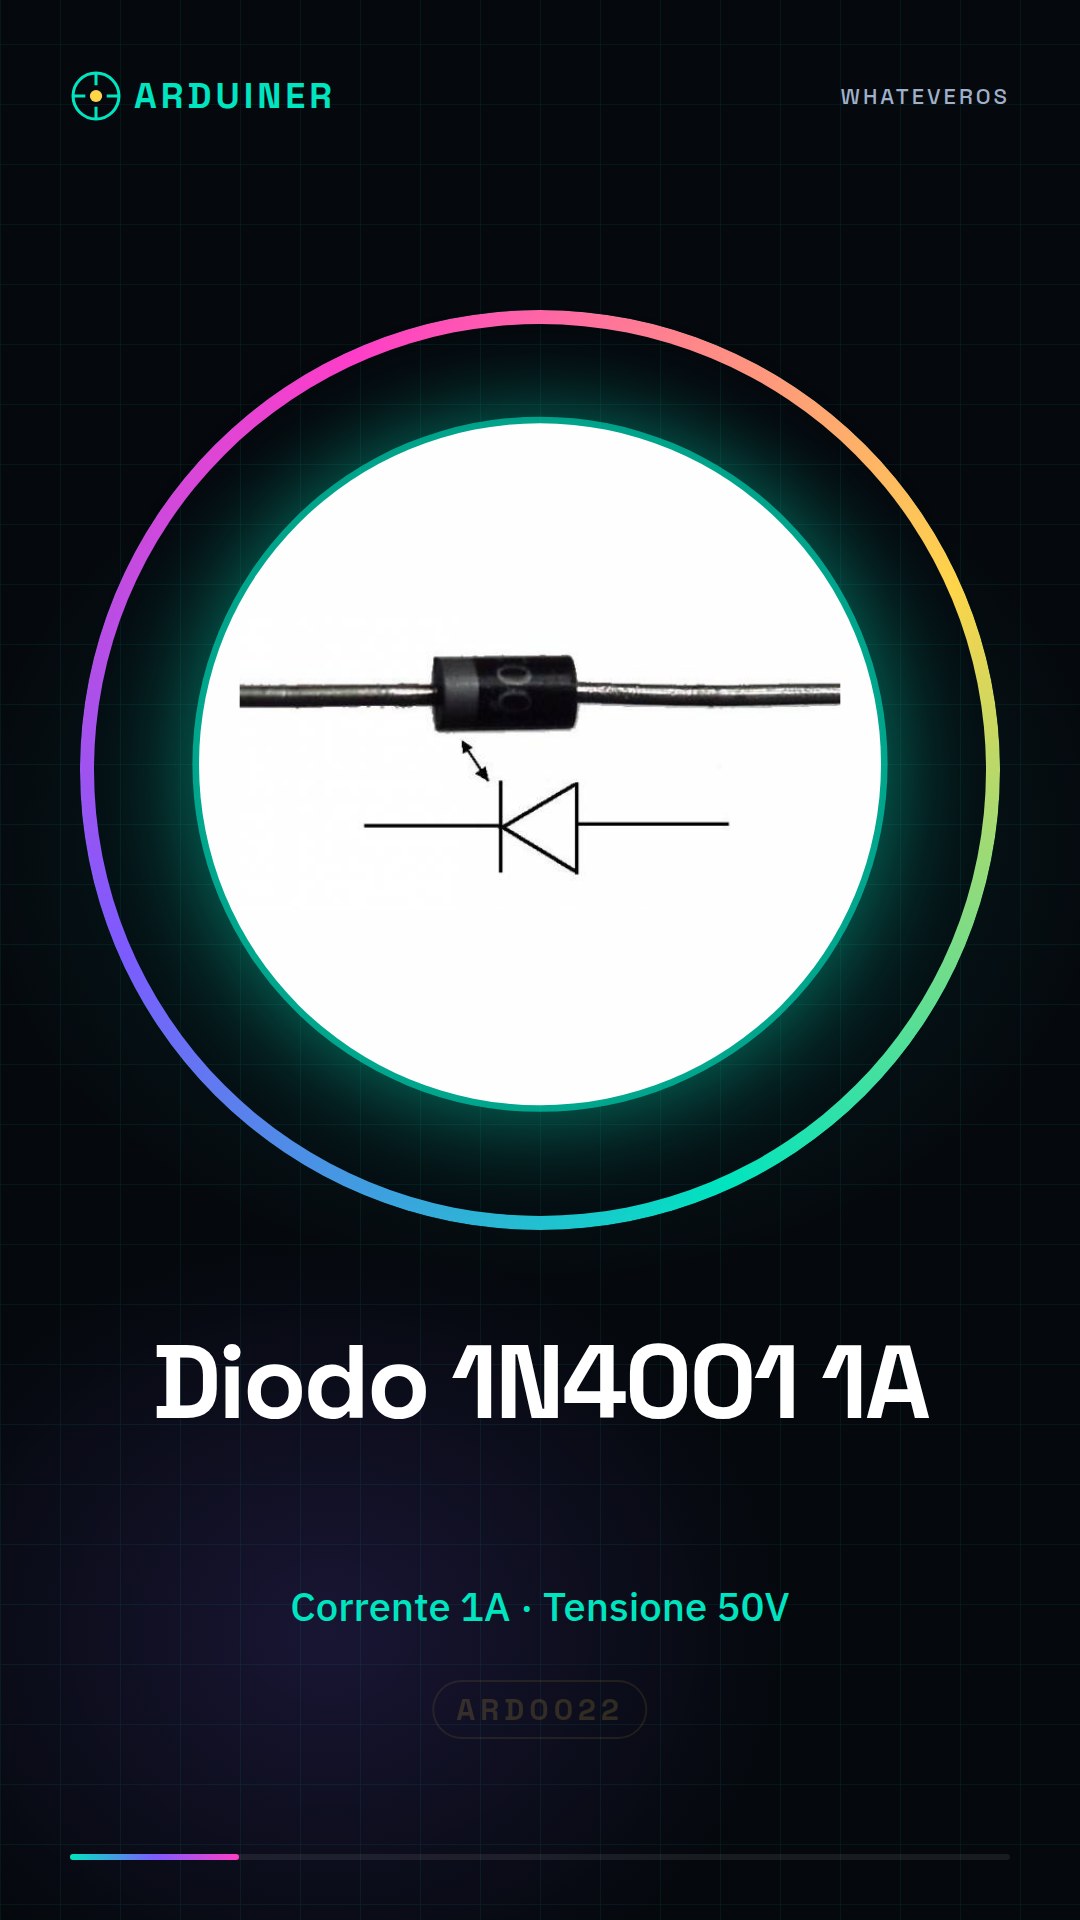
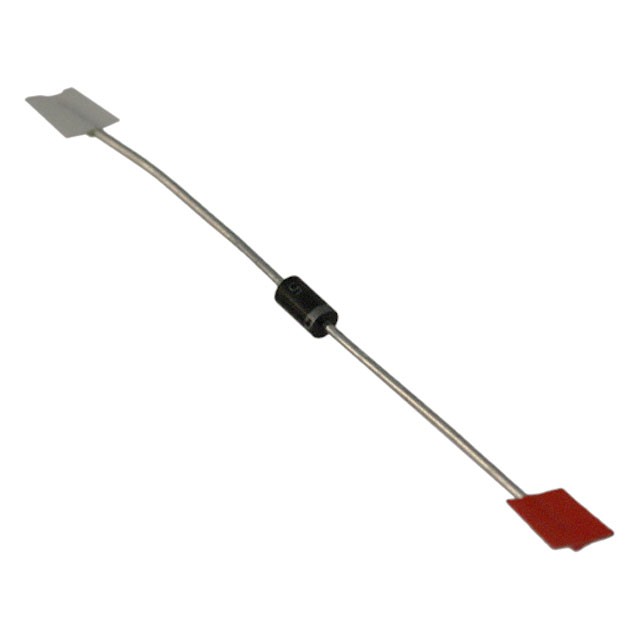
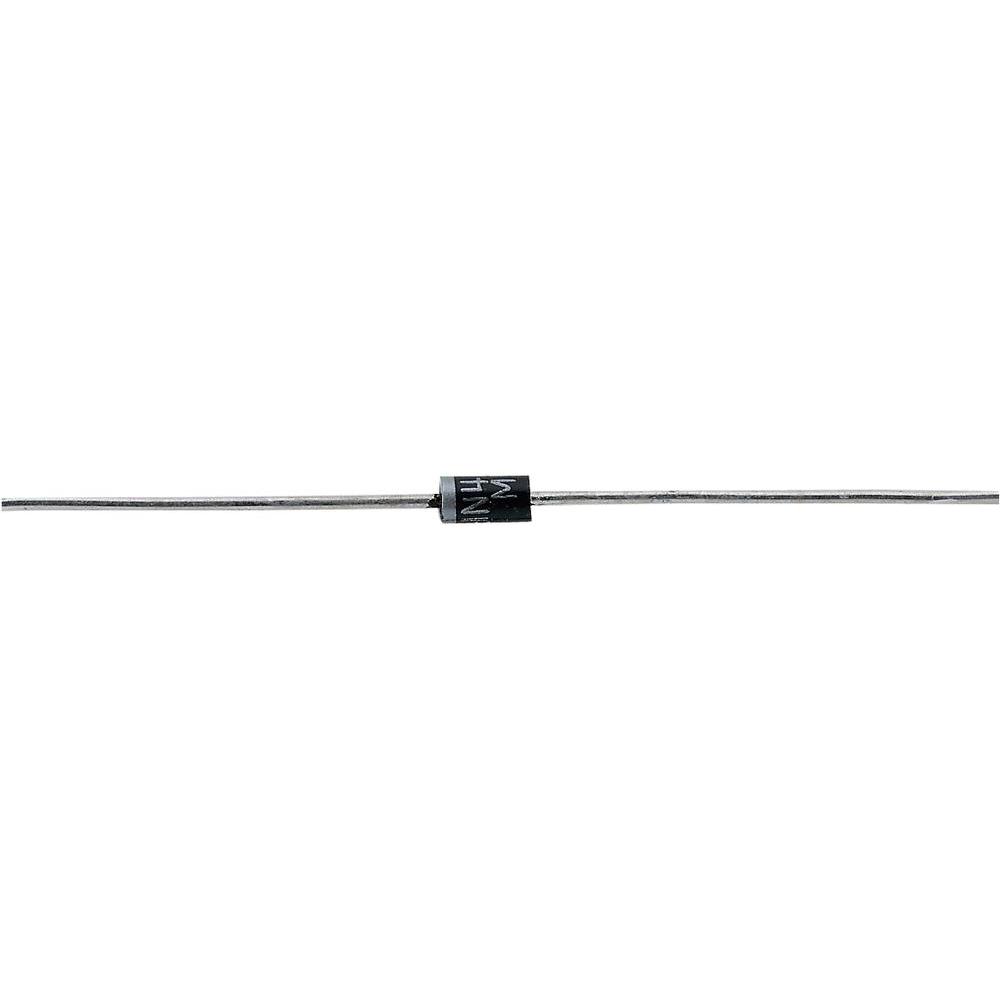
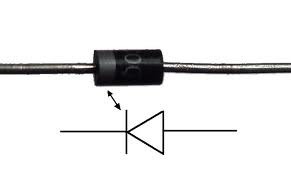
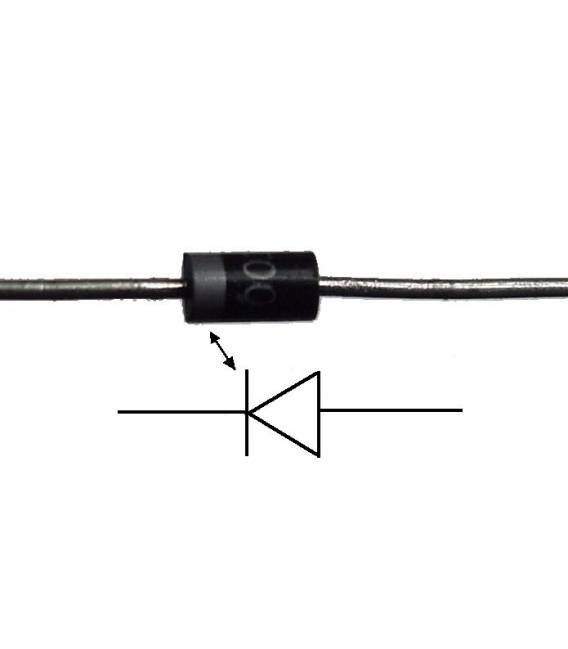
Description
Key Features:
- Nominal Current: 1A
- Peak Inverse Voltage: 50V
- Fast Rectifier Diode
- High Reliability
- Wide Range of Use
Description: The 1N4001 Rectifier Diode 1A is an essential component for a wide variety of industrial, research and development, educational, and amateur applications. This rectifier diode is designed to provide precise power efficiently, thanks to its nominal current of 1A and peak inverse voltage of 50V. Here’s how you can make the most of this component in various situations:
Industrial Use: The 1N4001 Rectifier Diode is widely used in industrial applications, such as power supply rectifiers for electronic equipment, voltage regulators, and power converters. Its high reliability makes it ideal for demanding industrial environments.
Use in Research and Development: In the field of research and development, this diode is essential for the creation of prototypes and experimental circuits. It can be used to rectify signals in laboratories and projects that require precise power conversion.
Use in Educational Settings: In educational settings, the 1N4001 Rectifier Diode can be used to demonstrate signal rectification from AC to DC in electronics courses. It is an ideal educational component due to its ease of use and well-defined characteristics.
Use for Amateur Projects: For electronics enthusiasts and hobbyists, this diode is a fundamental element for DIY projects. You can use it to build power supplies, battery chargers, light dimmers, and more.
Historical Information: The 1N4001 Rectifier Diode was invented by Ralph Dawson in 1956. Its invention revolutionized the electronics industry, allowing for efficient conversion of alternating current to direct current.
Arduino Libraries: While this diode does not require specific libraries, it can be easily used in conjunction with standard Arduino libraries to control rectifier and power supply circuits.
Projects Using the 1N4001 Rectifier Diode: Here are ten known projects that use this diode:
- Linear Regulated Power Supply
- Universal Battery Charger
- LED Dimmer
- Raspberry Pi Power Supply
- DC Motor Speed Regulator
- Full Wave Rectifier
- DC-DC Buck Converter
- Variable Voltage Source
- Audio Amplifier
- Solar Battery Charger
Programming Tips: In Arduino programming, the most common functions related to the 1N4001 Rectifier Diode include voltage and current control through the diode. Less common functions involve simulating various load conditions and monitoring the diode’s temperature to prevent overheating.
Important Projects:
- Autonomous Robot Project: Use the diode to regulate the power supply to motors and sensors.
- Mini Satellite Power System: This project leverages the diode to stabilize power supply in space environments.
- Environmental Monitoring System: Here, the diode is used to control the flow of energy from a solar panel to a monitoring system.
Example Sketch:
arduino
// Esempio: Alimentatore Lineare Stabilizzato

// Questo sketch illustra come utilizzare il Diodo Rettificatore 1N4001 per creare un alimentatore lineare stabilizzato.

// Commenti dettagliati spiegano ogni passaggio.
const int outputPin = 9; // Output pin for controlling the output voltage
pinMode(outputPin, OUTPUT);
Serial.begin(9600);
}
int inputVoltage = analogRead(inputPin); // Read the input voltage
float outputVoltage = inputVoltage * 0.1; // Stabilize the output voltage
analogWrite(outputPin, outputVoltage); // Apply the stabilized voltage
Serial.print(“Input Voltage: “);
Serial.print(inputVoltage);
Serial.print(” mV, Output Voltage: “);
Serial.print(outputVoltage);
Serial.println(” V”);
delay(1000); // Update reading every second
}
Tutorial: How to Use Rectifier Diode 1N4001
The rectifier diode 1N4001 is a key component for converting alternating current (AC) to direct current (DC). It is ideal for beginners and makers who want to create simple power supply circuits.
What you need
- Arduino Uno
- Breadboard
- AC Power Supply 9V-12V
- Led
- Resistor
Steps
- Connect the AC power supply to the breadboard.
- Connect the negative pole of the AC to the circuit ground.
- Place a led and a resistor in series with the positive output of the 1N4001 to visualize the produced DC power.
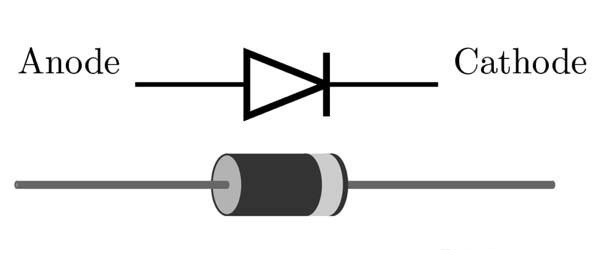
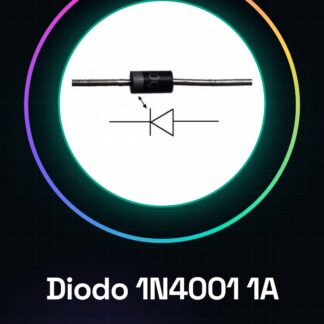
- Check that the diode polarity is correct: the anode pole (positive) must be connected to the positive pole of the AC source, while the cathode (negative) goes to ground or the circuit mass.
- Test the rectifying effect by turning the led on and off with the alternating current.
Mini project
Create a simple battery charger using the 1N4001 diode to convert AC energy to DC. Connect a small battery-powered circuit that charges when the AC source is active.
Common mistakes
- Connect the negative pole of the diode to the positive pole of the power source.
- Do not use a resistor to limit the current in the LED.
- Ignore the importance of proper power supply.
Recommended accessories
- AC power supply 9V-12V
- AAA battery
- Relay
- Capacitive
Frequently asked questions
Can the diode handle voltages above 50V?
Check the component’s datasheet for its voltage handling capability.
What happens if the LED does not light up?
Check that the diode orientation is correct and that there is a resistor in series with the LED.
Can it be used to power an Arduino?
Yes, but only after converting the AC voltage to DC and reducing it to the operational level of the Arduino (5V or 3.3V).
Reviews
There are no reviews yet.