 EN
 IT Italiano
 ES Español
 FR Français
 DE Deutsch
Description
What it is
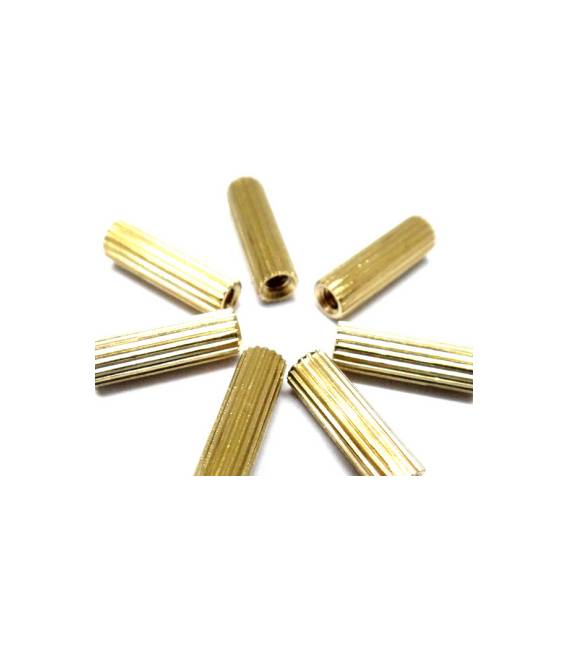
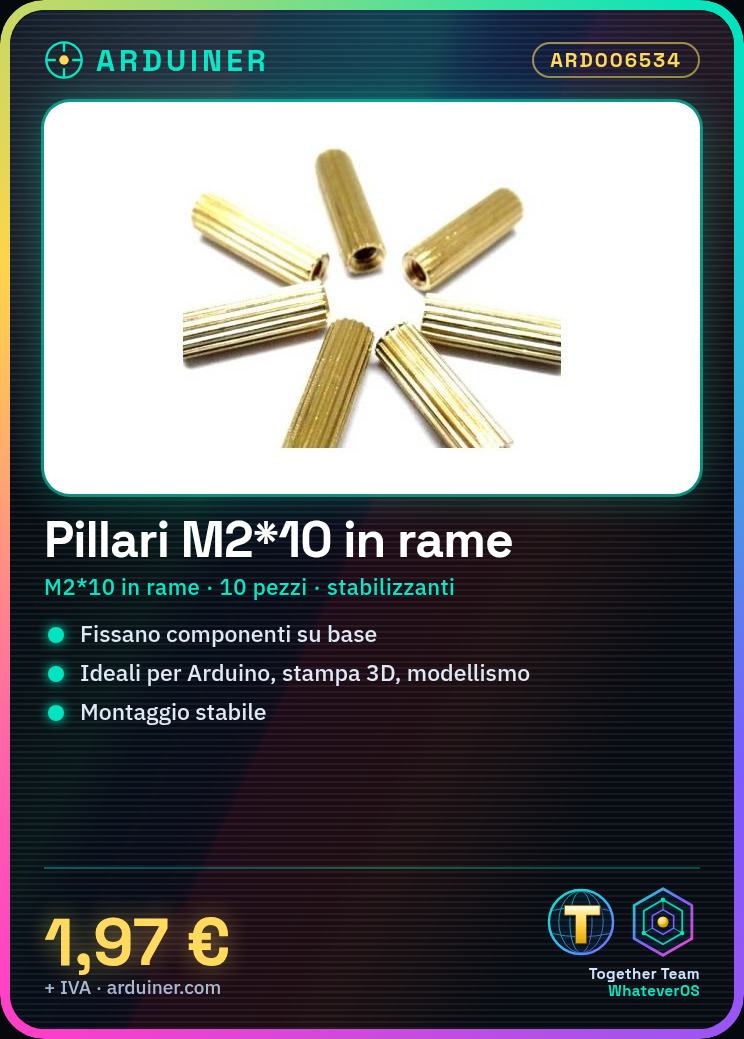
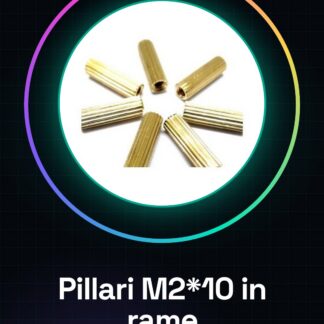
The M2*10 Screw Copper Pillar are small brass standoffs with screws useful for stabilizing and connecting electronic components on a support or base. These screws are ideal for Arduino projects, 3D printing, and modeling.
Features
- Type: M2*10 Brass Screw
- Quantity: 10 pieces
What it is for
The M2*10 Screw Copper Pillar are useful for creating a stable base for electronic components such as temperature sensors. You can attach the sensor to an Arduino microcontroller and display the data on a display.
Tutorial: How to Use M2*10 Screw Copper Pillar
The M2*10 Screw Copper Pillar are small brass standoffs with screws useful for stabilizing and connecting electronic components on a support or base. They are ideal for Arduino projects, 3D printing, and modeling.
What you need
- Arduino
- 3D Printer
- Electronic Models
Steps
- Check the screw diameter compatibility with the component or base hole where you want to mount it.
- Position the M2*10 Screw Copper Pillar at the desired location on the support, ensuring it is centered and stable.
- If necessary, apply a small amount of glue or solder to secure it before final installation.
- Pass an M2 screw through the component to be mounted and thread the screw head into the screw pillar.
- Gently tighten the screw until the component is securely soldered to the support, ensuring stable contact.
- Check that the component is fixed and does not move during testing or use.
- If necessary, repeat the same process for all other components to be mounted.
Mini project
Create a stable base for a temperature sensor using M2*10 Screw Copper Pillar and Arduino. Connect the sensor to the microcontroller and display the data on the display.
Common mistakes
- Mount the screw without first properly positioning the screw pillar.
- Do not tighten the mounting screw before proceeding to the assembly phase, causing stability issues.
- Use an inappropriate screw for the diameter of the mounting hole.
Recommended accessories
- Arduino Uno
- DHT11 Temperature Sensor
- 16×2 LCD Display
Frequently asked questions
What size is the screw head?
Check the datasheet to obtain accurate specifications.
Can I use these mounts with other types of screws?
Yes, but make sure the screw diameter is compatible with the mounting hole.
Reviews
There are no reviews yet.