 EN
 IT Italiano
 ES Español
 FR Français
 DE Deutsch
Description
What it is
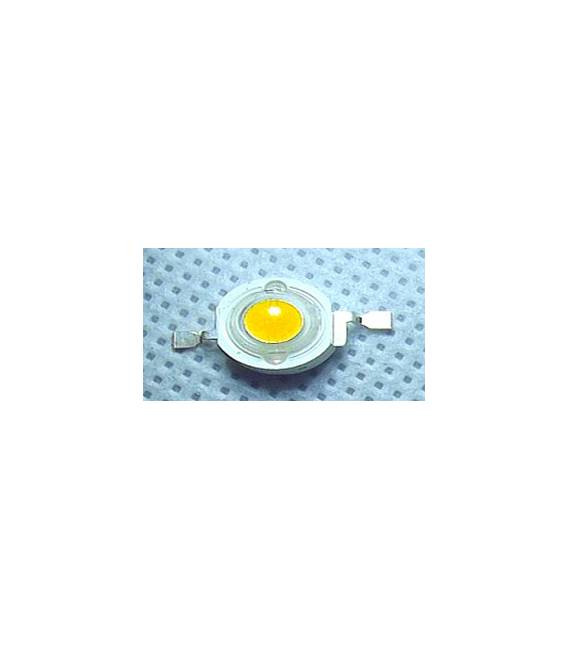
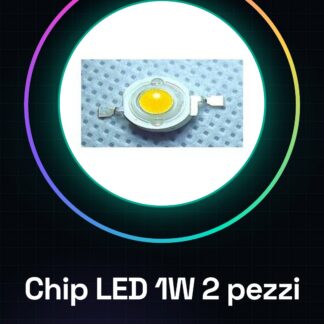
The 1W white bright and warm color Chip LEDs are ideal components for lighting and emergency signal projects. These pieces offer intense light with a range of color temperatures.
Features
- Power: 1W
- Maximum Current: 350mA
- Variable from bright white (6000K-6500K) to warm white (3000K-3500K)
- Luminous Flux: 100-110 lm
- Supply Voltage: 3.2v – 3.4v
- Gold wires: four, diameter 1.2mm
What it is for
Chip LEDs can be used to create status indicators or high-intensity lamps in Arduino and ESP projects. They are perfect for both beginners and intermediate users.
Tutorial: How to use 1W Chip LED
These 1W Chip LEDs are ideal for lighting and emergency signal projects. Perfect for beginners and intermediates.
What you need
- 2 Chip LEDs 1W
- Protection resistor
- Multimeter
- Soldering iron
Steps
- 1. Check the supply voltage: 3.2V-3.4V.
- 2. Connect the gold wires to the circuit pins.
- 3. Measure the maximum current: 350mA.
- 4. Add a protection resistor to protect the chip.
- 5. Check the datasheet for correct polarity.
- 6. Test the illumination with a multimeter.
- 7. Connect to the main circuit.
- 8. Check the illumination and current.
Mini project
Create an LED status indicator for an Arduino project in 30 minutes.
Common mistakes
- Connect the gold wires without checking the polarity.
- Power the chip beyond 3.4V.
- Omit the protection resistor.
- Use a current higher than 350mA.
Recommended accessories
- Protection resistor
- Multimeter
- Test circuit
- Soldering iron
Frequently asked questions
Can I use this LED chip with a different supply voltage?
Check the datasheet for allowable supply voltages.
How long can this LED chip operate?
The datasheet specifies the operating duration.
What happens if I connect the gold wires in reverse?
It could damage the chip. Always check the polarity.
Reviews
There are no reviews yet.