 EN
 IT Italiano
 ES Español
 FR Français
 DE Deutsch
Description
Technical Description
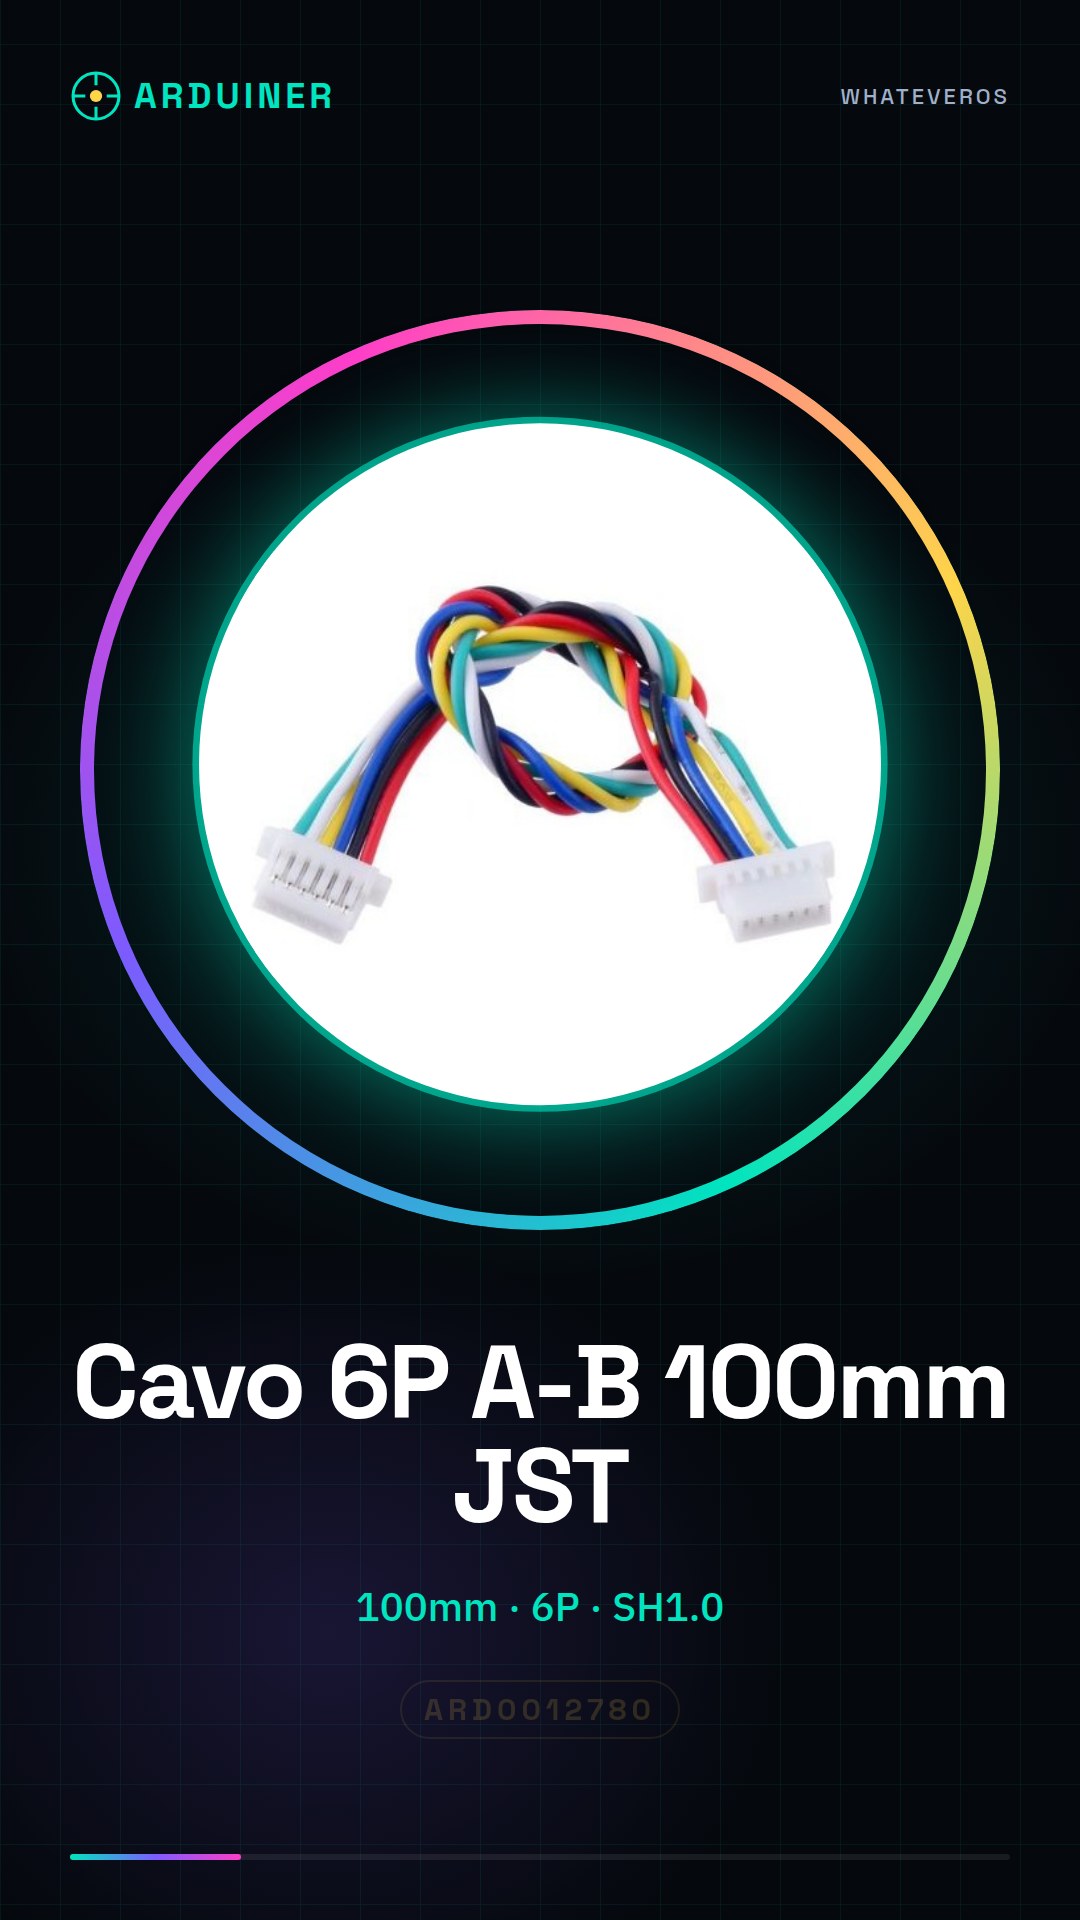
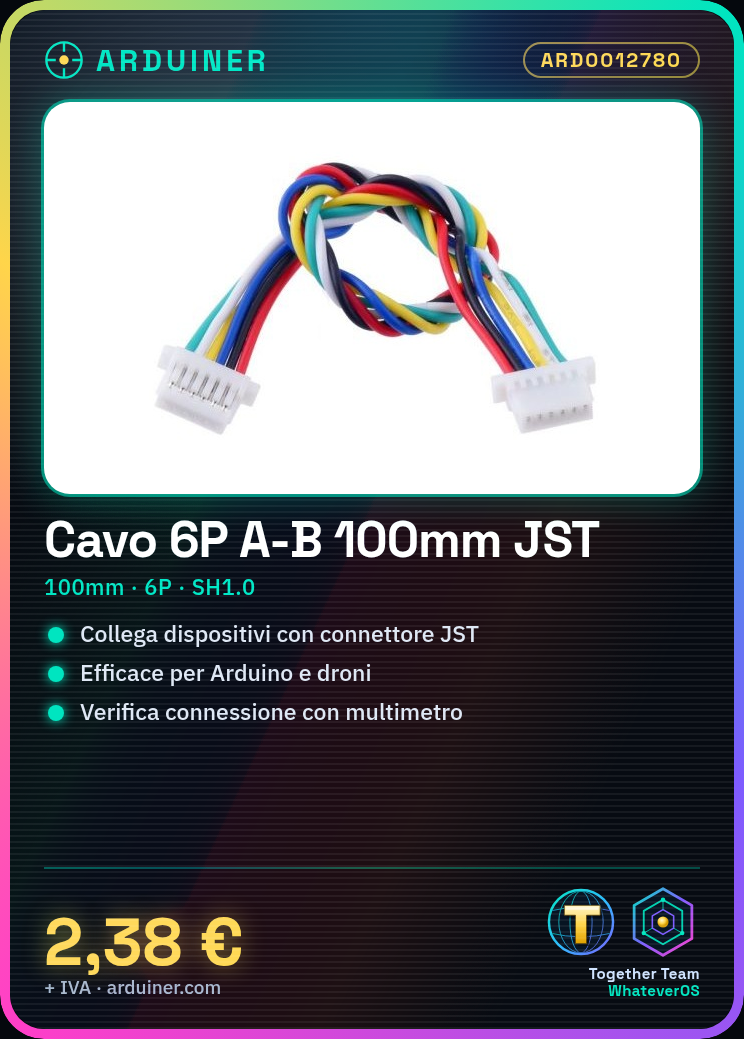
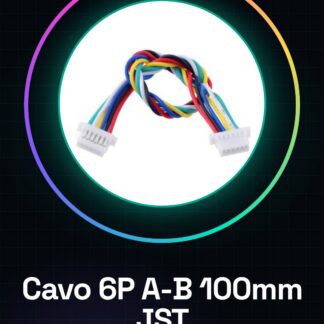
The JST SH1.0 6P A-B 100MM cable is an electronic connector designed to connect electronic devices that use JST connectors. The cable consists of two SH1.0 ends, each with six pins, to ensure a stable and secure connection. This type of cable is particularly useful for Arduino projects and power supply systems.
The JST SH1.0 6P A-B 100MM cable allows for easy connection of various electronic devices, such as sensors, power supplies, and microcontrollers, through JST connectors. The 100mm length offers a balance between practicality and functionality, allowing connections to be managed without space issues.
To ensure proper installation and use of the JST SH1.0 6P A-B 100MM cable, it is important to verify that the connectors are inserted correctly and that the wires are securely soldered. Checking the electrical connection before using the device is crucial to prevent any errors.
Key Specifications
| Parameter | Value |
| Model | 6P A-B 100MM SH 1.0 Cable |
| Quantity | 2 pieces |
| Connector | SH1.0 |
| Number of Pins | 6 |
| Length | 100mm |
| Wire Gauge | 28AWG |
| Container | N/D (see manufacturer’s technical sheet) |
Installation and Usage
- Check the required JST connector type for the project.
- Gently insert the wires into connector A of the cable.
- Insert the wires into connector B of the cable.
- Ensure that the wires are securely inserted into the connectors.
- Connect connector A to the source device and connector B to the destination device.
Compatibility and Requirements
- The JST SH1.0 6P A-B 100MM cable is compatible with electronic devices that use JST SH1.0 connectors.
- It is suitable for Arduino projects and power supply systems.
- It can be used to connect sensors and microcontrollers.
Limitations and Important Notes
- The cable is not designed for JST connectors other than SH1.0.
- The fixed length of 100mm may limit its use in projects with different length requirements.
- It is important to check the connection before using the device to prevent errors.
- Soldering the wires must be done with caution to avoid damage.
Troubleshooting
The device is not responding.
Probable cause: The wires were not inserted correctly into the connectors.
Solution: Check and reassign the wires to the connectors.
The connection shows a short circuit.
Probable cause: The wires were inserted into the connector incorrectly.
Solution: Check and correct the insertion of the wires into the connectors.
The device is not receiving power.
Probable cause: The connector was not connected correctly.
Solution: Check and reconnect the connector.
The cable breaks easily.
Probable cause: The wires were soldered without precaution.
Solution: Reassign the wires with correct soldering.
Use cases
Temperature sensor for the lab
Objective: Connect a temperature sensor to a microcontroller.
What is needed: JST SH1.0 6P A-B 100MM cable
Steps: 1) Check the required connectors. 2) Insert the wires into connector A of the cable. 3) Insert the wires into connector B of the cable. 4) Connect connector A to the temperature sensor. 5) Connect connector B to the microcontroller.
Expected result: The temperature sensor is correctly connected to the microcontroller.
Drone Power Supply
Objective: Connect a power supply to a drone.
What is needed: JST SH1.0 6P A-B 100MM cable
Steps: 1) Check the required connectors. 2) Insert the wires into connector A of the cable. 3) Insert the wires into connector B of the cable. 4) Connect connector A to the power supply. 5) Connect connector B to the drone.
Expected result: The power supply is correctly connected to the drone.
Connecting sensors for an Arduino project
Objective: Connect various sensors to an Arduino.
What is needed: JST SH1.0 6P A-B 100MM cable
Steps: 1) Check the required connectors. 2) Insert the wires into connector A of the cable. 3) Insert the wires into connector B of the cable. 4) Connect connector A to the sensor. 5) Connect connector B to the Arduino.
Expected result: The sensors are correctly connected to the Arduino.
Temperature control system for a refrigerator
Objective: Connect a temperature sensor to a control system.
Required: JST SH1.0 6P A-B 100MM cable
Steps: 1) Check the required connectors. 2) Insert the wires into connector A of the cable. 3) Insert the wires into connector B of the cable. 4) Connect connector A to the temperature sensor. 5) Connect connector B to the control system.
Expected result: The temperature sensor is correctly connected to the control system.
Connecting a power supply for a robotics project
Objective: Connect a power supply to a robot.
What is needed: JST SH1.0 6P A-B 100MM cable
Steps: 1) Check the required connectors. 2) Insert the wires into connector A of the cable. 3) Insert the wires into connector B of the cable. 4) Connect connector A to the power supply. 5) Connect connector B to the robot.
Expected result: The power supply is correctly connected to the robot.
Temperature control system for a ventilation system
Objective: Connect a temperature sensor to a control system.
What is needed: JST SH1.0 6P A-B 100MM cable
Steps: 1) Check the required connectors. 2) Insert the wires into connector A of the cable. 3) Insert the wires into connector B of the cable. 4) Connect connector A to the temperature sensor. 5) Connect connector B to the control system.
Expected result: The temperature sensor is correctly connected to the control system.
Connecting a power supply for a prototyping project
Objective: Connect a power supply to a prototype.
What you need: JST SH1.0 6P A-B 100MM cable
Steps: 1) Check the required connectors. 2) Insert the wires into connector A of the cable. 3) Insert the wires into connector B of the cable. 4) Connect connector A to the power supply. 5) Connect connector B to the prototype.
Expected result: The power supply is correctly connected to the prototype.
Temperature control system for a refrigeration unit
Objective: Connect a temperature sensor to a control system.
What you need: JST SH1.0 6P A-B 100MM cable
Steps: 1) Check the required connectors. 2) Insert the wires into connector A of the cable. 3) Insert the wires into connector B of the cable. 4) Connect connector A to the temperature sensor. 5) Connect connector B to the control system.
Expected result: The temperature sensor is correctly connected to the control system.
In the package
- 2 pieces
Complete the project
- 2 pieces Cable 6P A-A 100MM SH 1.0 Connector SH1.0 JST 28AWG: To connect devices with JST SH1.0 connectors.
- 2 pieces Cable 9P A-B 100MM SH 1.0 Connector SH1.0 JST 28AWG: To connect devices with JST SH1.0 connectors.
- 2 pieces Cable 9P A-A 100MM SH 1.0 Connector SH1.0 JST 28AWG
- 2 pieces Cable 8P A-A 100MM SH 1.0 Connector SH1.0 JST 28AWG
- 2 pieces Cable 7P A-B 100MM SH 1.0 Connector SH1.0 JST 28AWG
Technical FAQs
What is the length of the cable?
The cable has a length of 100mm.
Which pins do I use to connect the cable?
Check the device’s datasheet to determine the correct pins.
Can it be used to power devices?
Yes, it is suitable for powering electronic devices with JST connector.
The wire breaks easily.
Check that the wires are soldered correctly and without precaution.
Tutorial: How to use JST SH 1.0 6P A-B 100MM Wire
This JST SH 1.0 6P A-B 100MM wire is ideal for connecting electronic devices that use JST connectors. It is particularly useful for Arduino projects, drones, and power systems.
What you need
- Arduino
- Devices with JST connector
- Power projects
Steps
- Check the type of JST connector needed for your project.
- Gently insert the wires into connector A of the wire.
- Insert the wires into connector B of the wire.
- Check that the wires are securely inserted into the connectors.
- Connect connector A to the source device.
- Connect connector B to the destination device.
- Check the electrical connection using a multimeter.
- Test the operation of the connected device.
Mini project
Connect a temperature sensor to an Arduino using this JST cable to transmit temperature data.
Common mistakes
- Insert the wires into the connector incorrectly.
- Do not check the connection before using the device.
- Use a cable that is too short.
- Solder the wires into the connector without precautions.
Recommended accessories
- JST SH 1.0 6P B-B 100MM Cable
- Soldering Kit
- Multimeter
- Arduino Uno
Frequently asked questions
What is the length of the cable?
The cable has a length of 100mm.
Which pins do I use to connect the cable?
Check the device’s datasheet to determine the correct pins.
Can it be used to power devices?
Yes, it is suitable for powering electronic devices with a JST connector.
Reviews
There are no reviews yet.