 EN
 IT Italiano
 ES Español
 FR Français
 DE Deutsch
Description
What it is
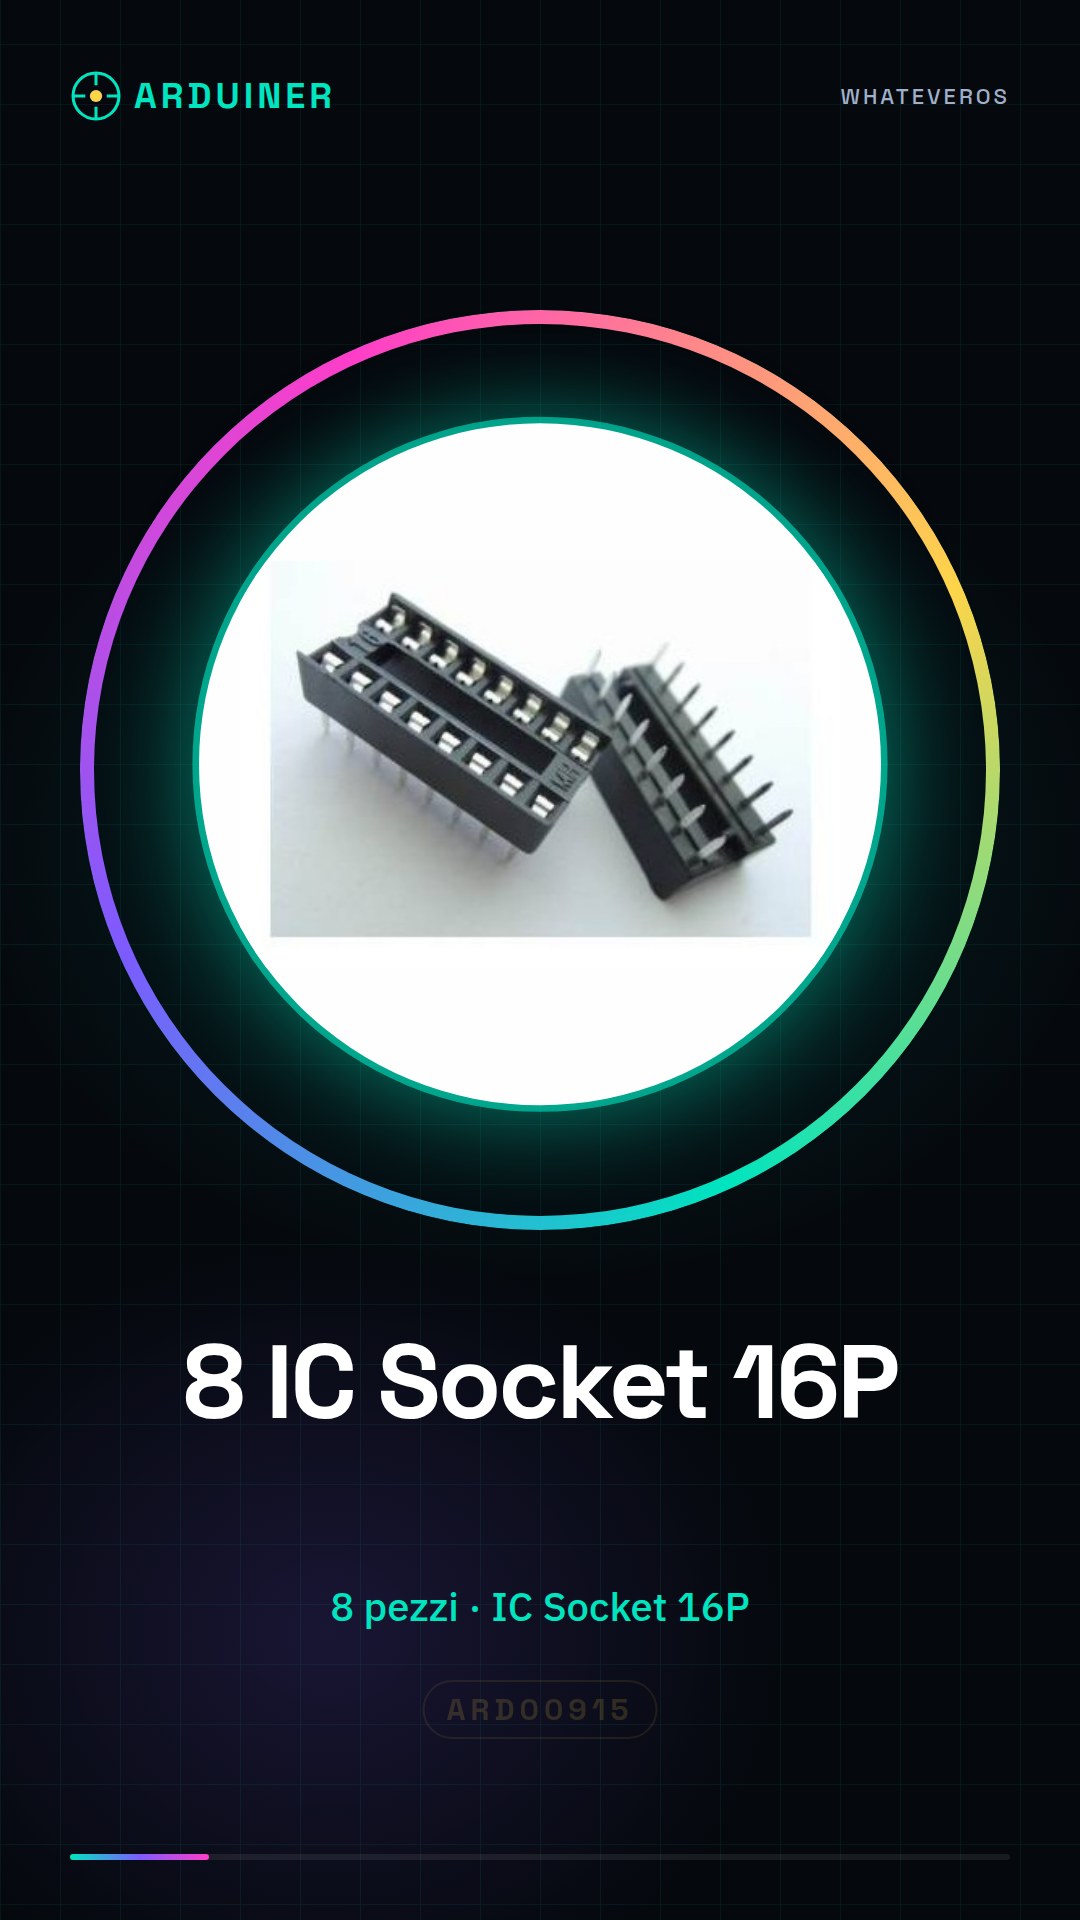
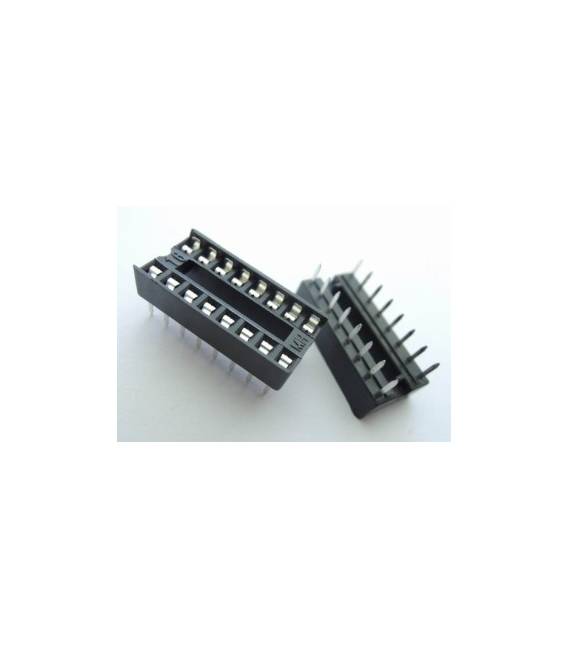
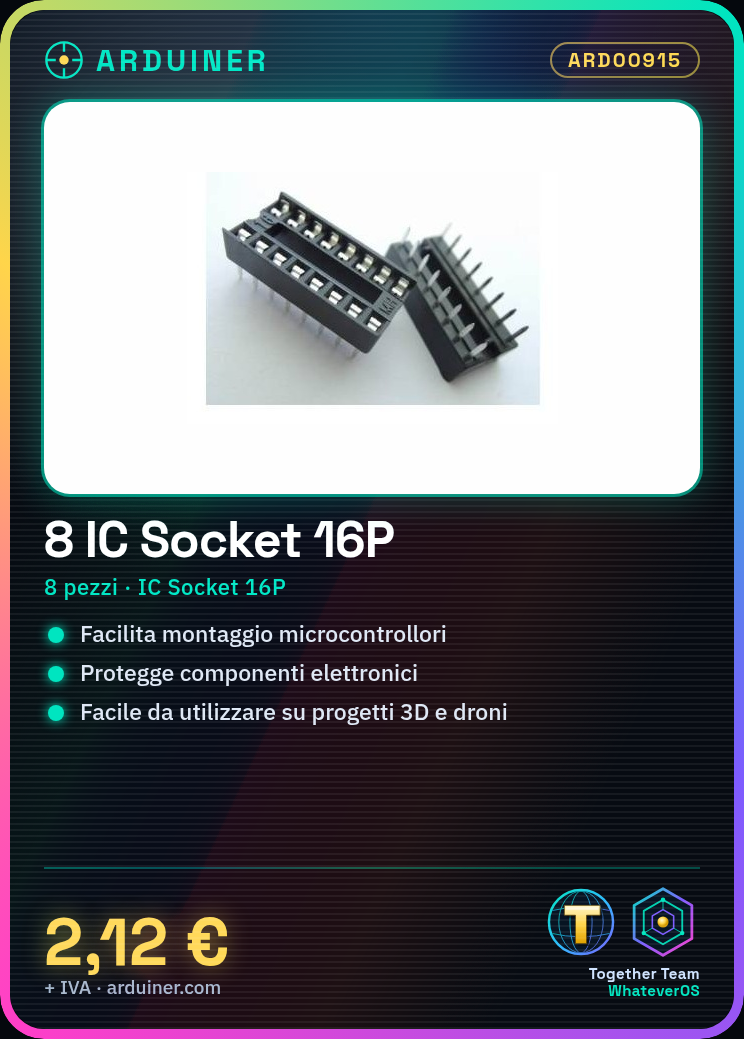
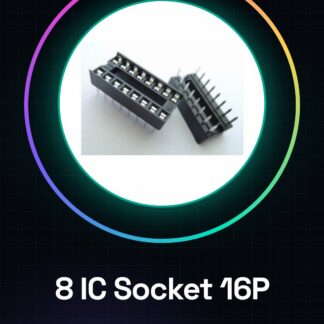
The 16P IC Socket pieces are essential accessories for mounting and protecting electronic components on Arduino. This item contains 8 pieces of 16-pin sockets, ideal for projects that require the use of microcontrollers or other chips.
Features
- Number of pieces: 8
- Connector type: IC Socket 16P
What it is for
The 16-pin IC Socket is used to easily mount microcontrollers or other chips on a board, making the process safer and more repeatable. It can be useful in 3D printing and drone projects where robust and protected electronic circuits are needed.
Tutorial: How to use 16 Pin IC Socket
The 16-pin IC Socket is an essential component for makers working with electronic circuits. It allows for easy mounting of microcontrollers or other chips on a board, making the process safer and more repeatable.
What you need
- 16 Pin IC Socket
- microcontroller (e.g., Arduino)
- board
- soldering tweezers
- protective coating
Steps
- Check that the IC Socket is compatible with the microcontroller.
- Prepare the board, ensuring that there are appropriate holes for inserting the IC Socket.
- Insert the IC Socket in the correct position on the board. Check the orientation marks.
- Use the soldering tweezers to connect the legs of the IC Socket to the board, following the component datasheet to verify the necessary solder points.
- Verify the electrical integrity of the connections using a multimeter.
- Gently insert the microcontroller into the IC Socket, ensuring it is properly seated and oriented correctly.
- Connect the board to power and the computer to test the circuit functionality.
- If everything is in order, you can proceed with implementing your projects.
Mini project
Create a simple Arduino interface prototype that uses sensors and LEDs connected to the board. Test the circuit’s functionality before and after inserting the IC Socket to verify its actual usefulness.
Common mistakes
- Insert the IC into the socket without ensuring it is oriented correctly.
- Do not solder all the legs of the socket correctly, causing short circuits or interruptions.
- Use a microcontroller that is not compatible with the socket.
- Omit electrical testing of the connections before using the circuit.
Recommended accessories
- Arduino Uno R3
- LEDs of various colors
- 220 Ohm resistors
- Digital multimeter
Frequently asked questions
What happens if I solder the IC Socket poorly?
It could cause short circuits or interruptions in the circuit, damaging the microcontroller or other components.
Can I use more than one IC Socket on the same board?
Yes, but make sure there is enough space and that the connections are correct for each socket.
What is the difference between an IC Socket and a chip directly on the board?
The IC Socket allows for the easy removal of the microcontroller without damaging it, making maintenance and repair of the circuit easier.
Reviews
There are no reviews yet.