 EN
 IT Italiano
 ES Español
 FR Français
 DE Deutsch
Description
What it is
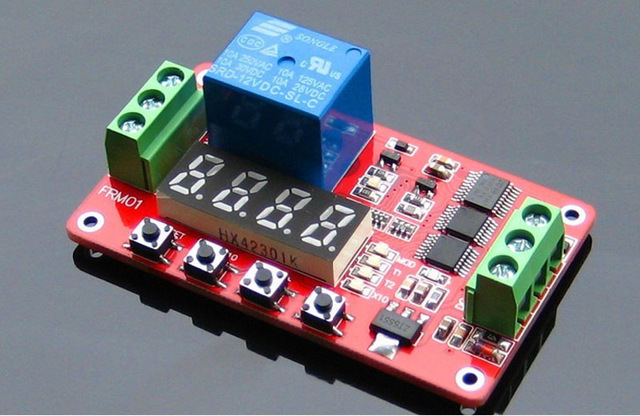
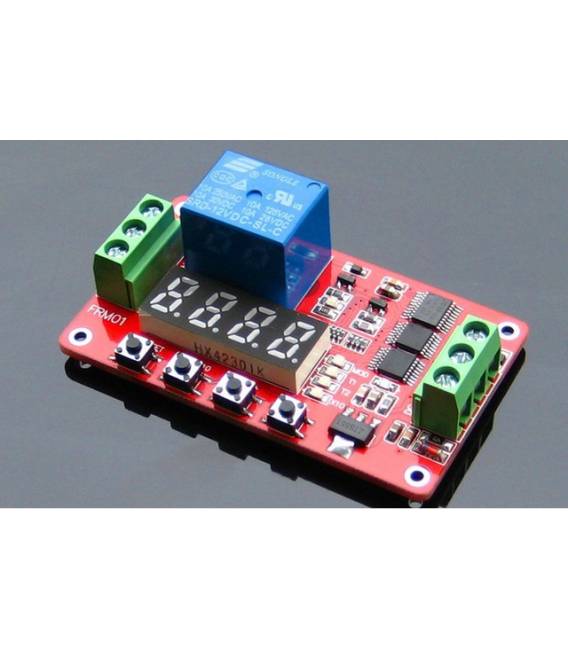
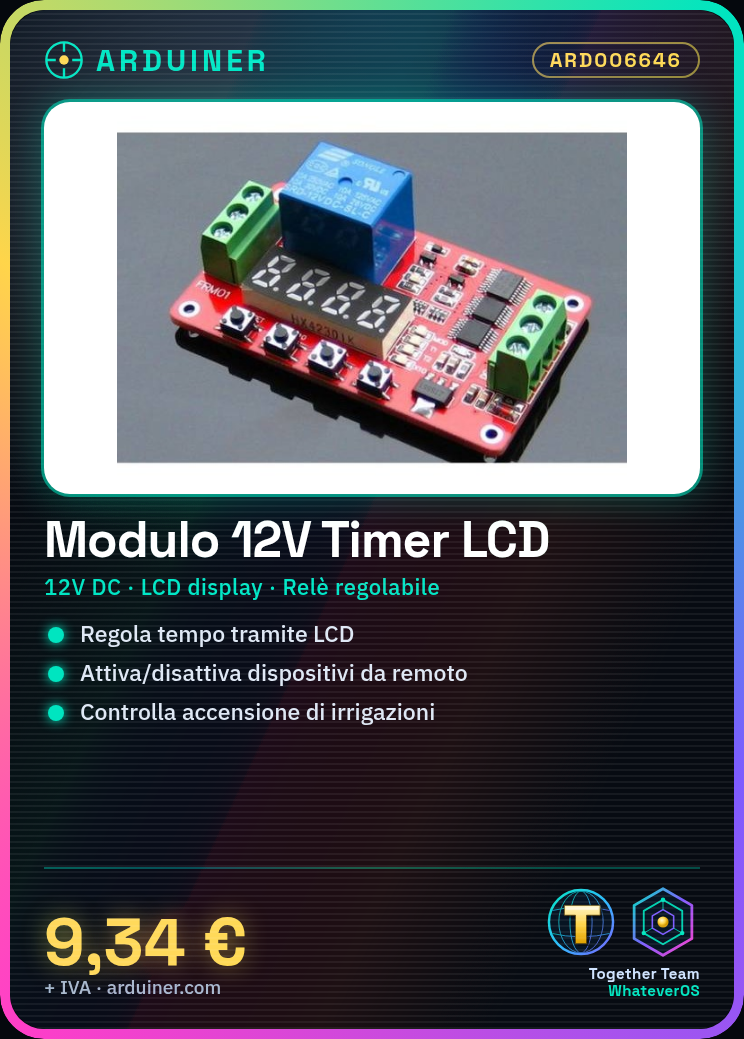
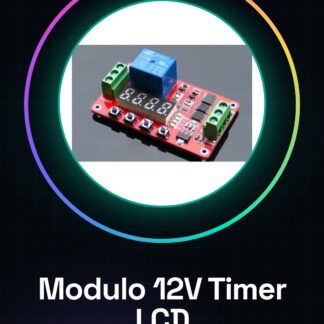
The 12V DC digital timer module with LCD and relay is a device used to control the activation of electrical devices in an automatic or remote manner. The module allows precise regulation of the activation time through the LCD display.
Features
- Supply voltage: 12V DC
- Includes LCD display for time data visualization
- Integrated adjustable relay
What it is for
This module is ideal for home automation projects, such as automatic irrigation systems or any other system that requires timed activation. It is compatible with Arduino and ESP for programming and control.
Tutorial: How to use 12V DC Digital Timer Module with LCD and Relay
The digital timer module with relay is ideal for anyone who wants to control an electrical device remotely or program its operation automatically. It is particularly useful for home automation projects, automatic irrigation systems, or any other system that requires timed activation.
What you need
- digital timer module
- Arduino (or compatible microcontroller)
- 12V DC power supply
- connectors for power cable
Steps
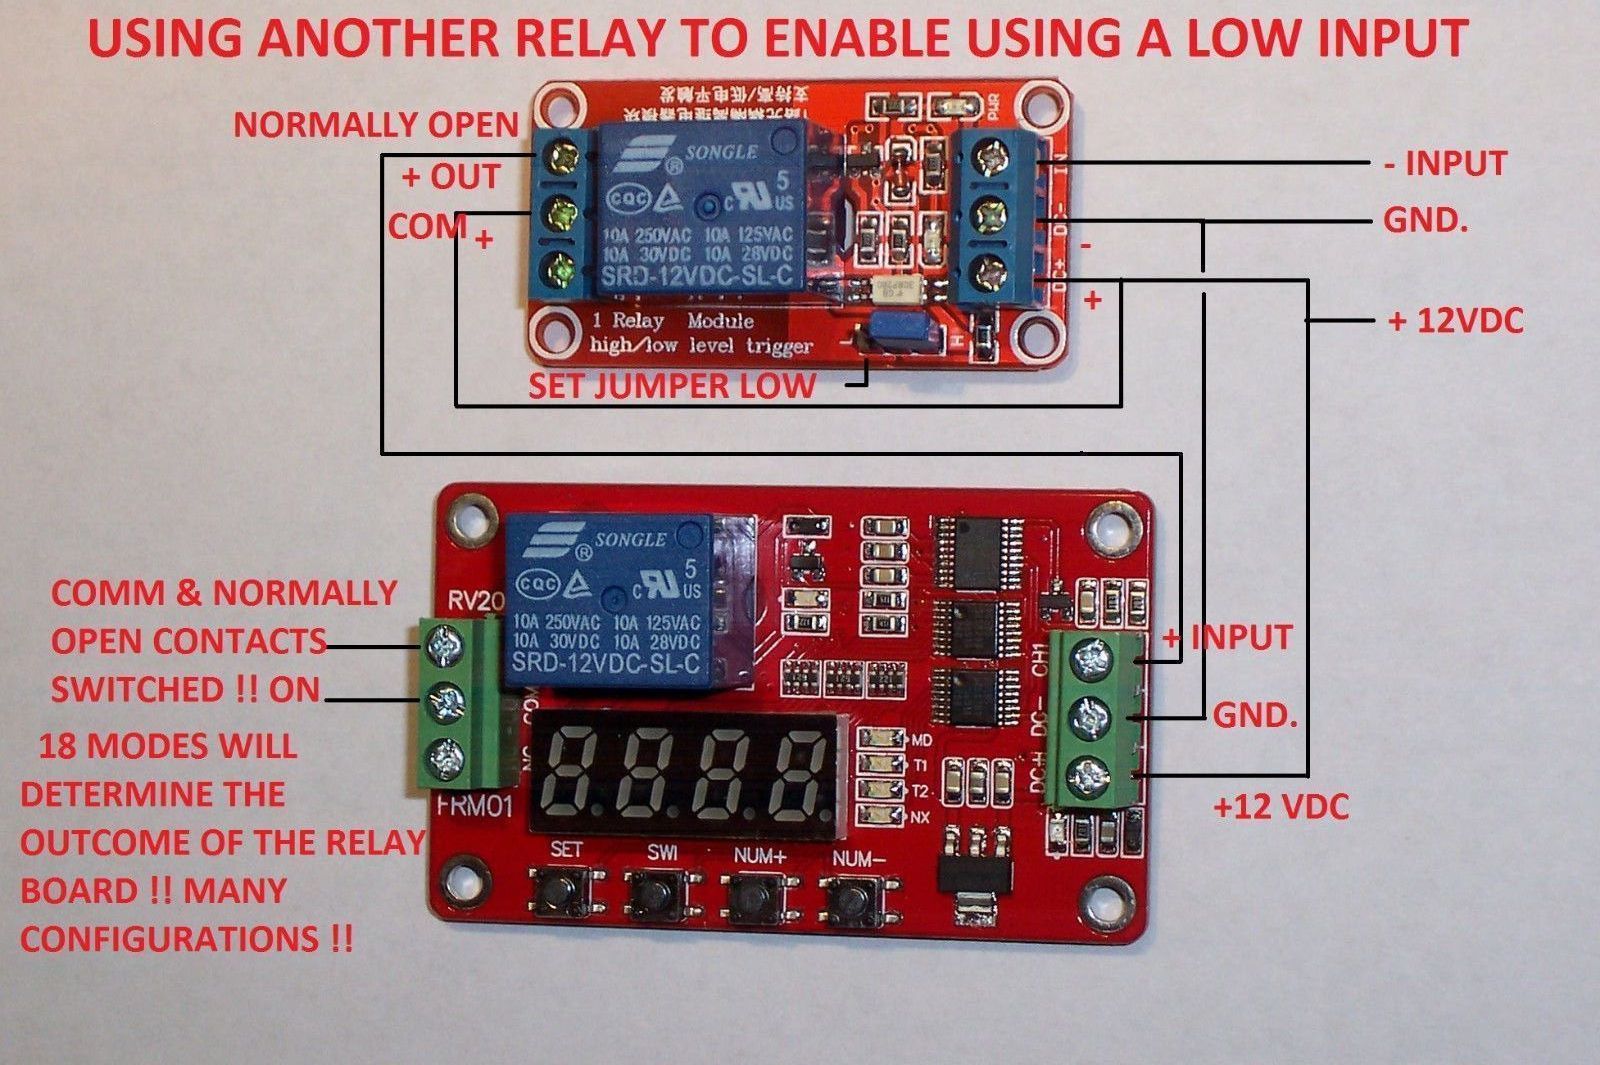
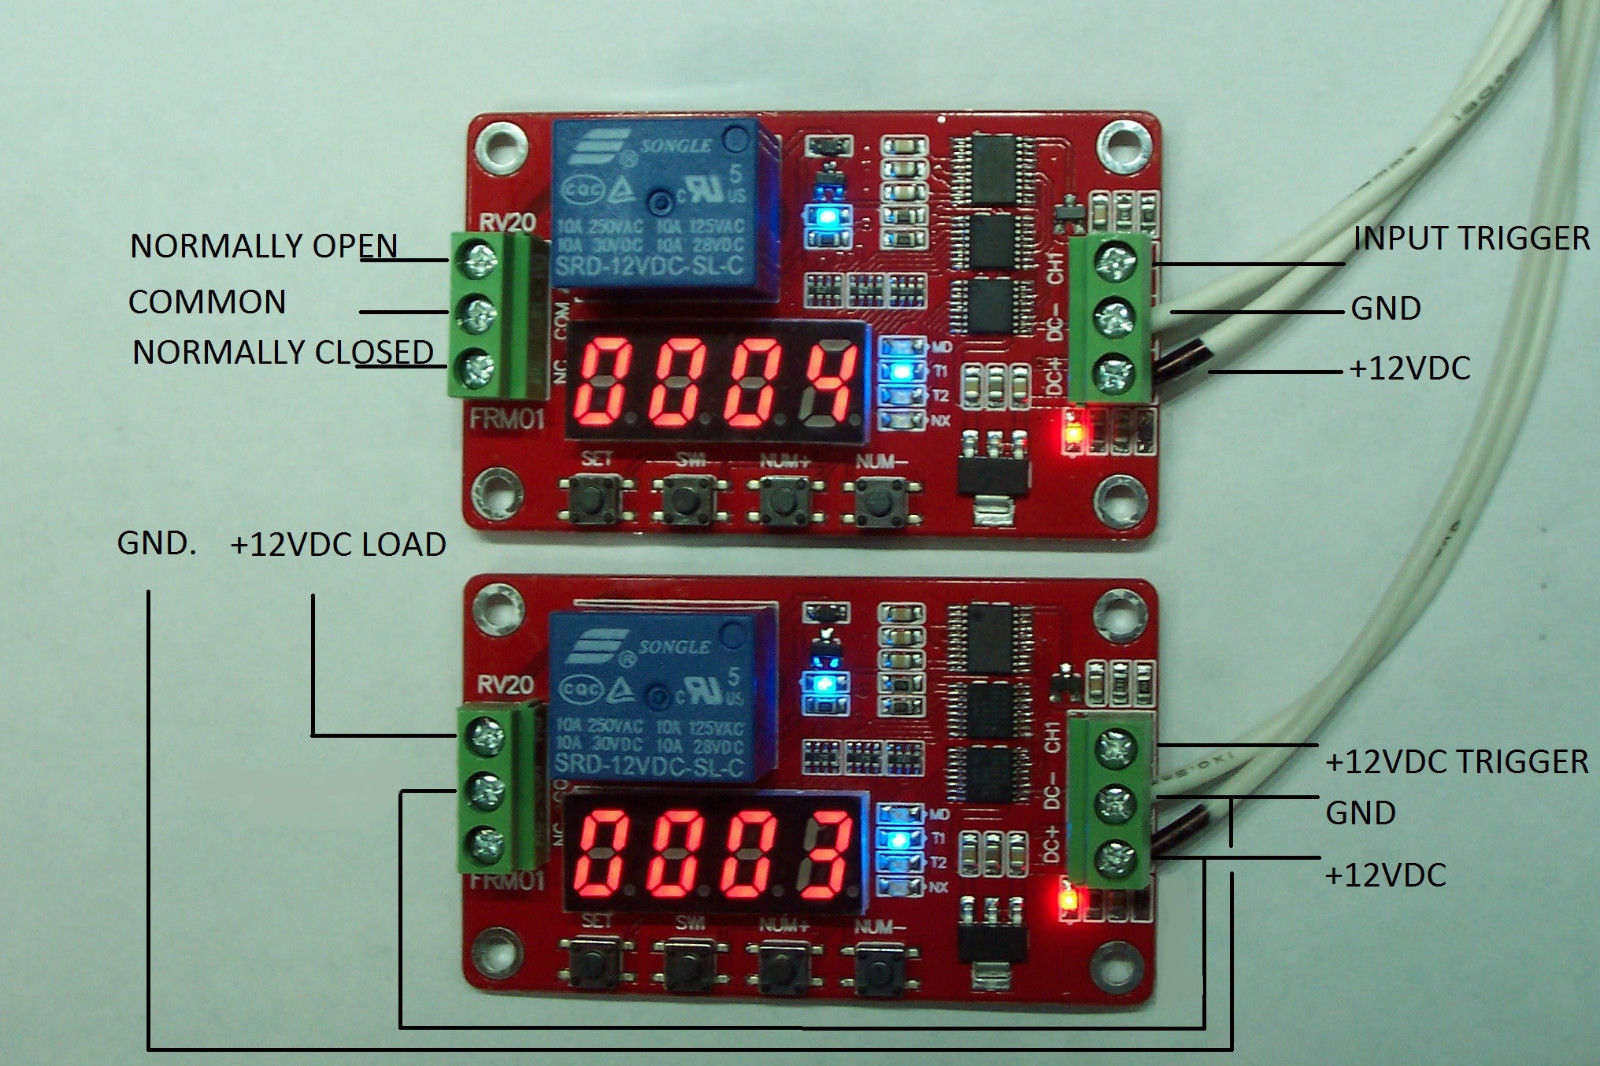
- Connect the digital timer module to the Arduino microcontroller using the appropriate connectors.
- Check the module’s power supply voltage (12V DC) and connect the power supply.
- Configure the Arduino’s digital pins to communicate with the digital timer module.
- Program the Arduino to send commands to the digital timer module through the digital pins.
- Adjust the timer on the LCD display of the timer module according to the project requirements.
- Check the proper activation and deactivation of the equipment connected to the relay.
- Test the user interface to modify the wait times or the behavior of the timer.
- Implement any additional functions such as configuration value storage.
Example code
// Esempio di codice Arduino
#include <LiquidCrystal.h>

const int relayPin = 7; // Pin collegato al relè del modulo temporizzatore
digitalWrite(relayPin, LOW); // Attiva il relè (HIGH o LOW dipende dalla configurazione)
Mini project
Create an automatic irrigation system that activates water for 10 minutes every morning at 7:00. Use a programmable timer and a timer module with relay.
Common mistakes
- Connect the timer module to a voltage different from the required one (12V DC).
- Configure the Arduino digital pins incorrectly.
- Do not adequately test the user interface of the timer module.
- Use a microcontroller with insufficient capacity to manage the timer module.
Recommended accessories
- 12V DC power supply cable
- Arduino Uno R3 or compatible
- Separate optocoupled relay (for more complex projects)
- Humidity sensors to improve the effectiveness of automatic irrigation
Frequently asked questions
How can I connect the timer module to my system?
Connect the timer module pins to the Arduino digital or analog pins as per the provided documentation.
What is the required supply voltage for the module?
The module requires 12V DC, check the datasheet for any variations.
Can I use the timer module without a microcontroller?
Yes, the module has a user interface that allows manual configuration of wait times.
Reviews
There are no reviews yet.