 EN
 IT Italiano
 ES Español
 FR Français
 DE Deutsch
Description
Technical Description
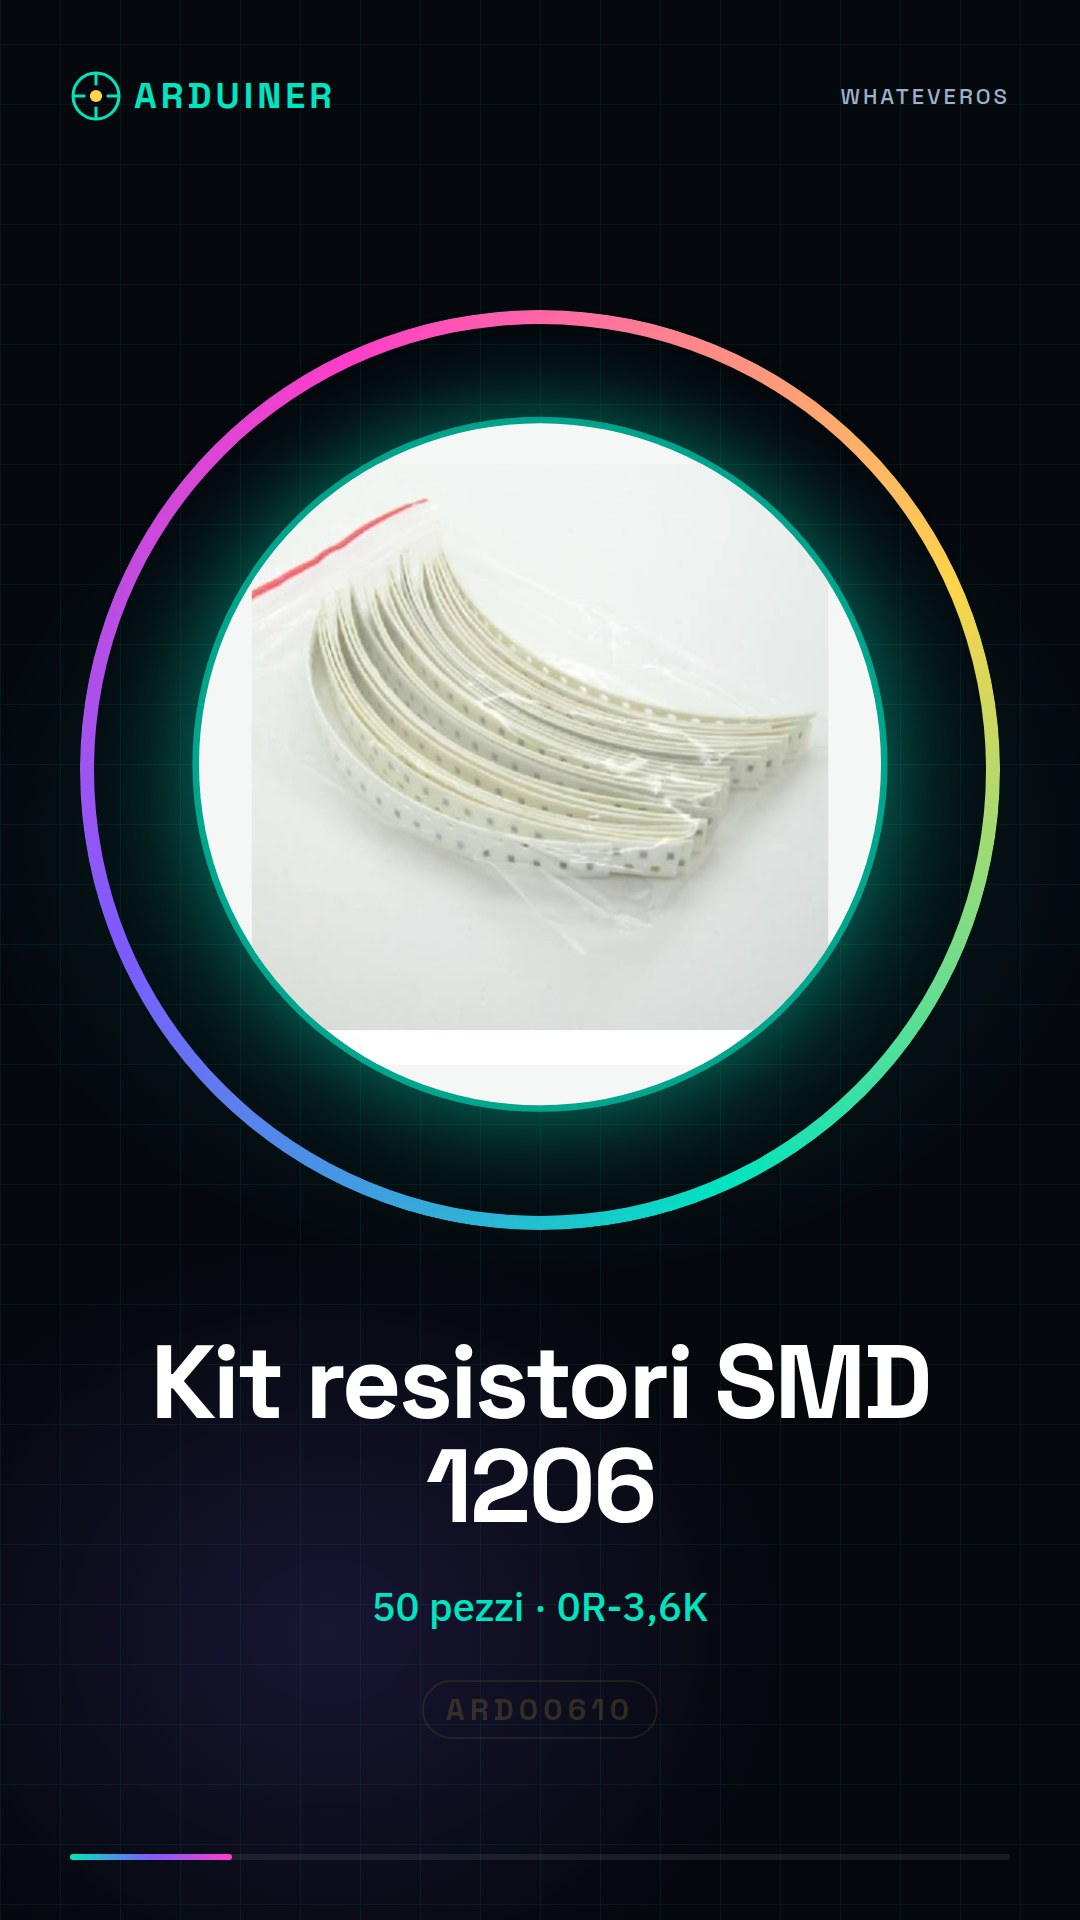
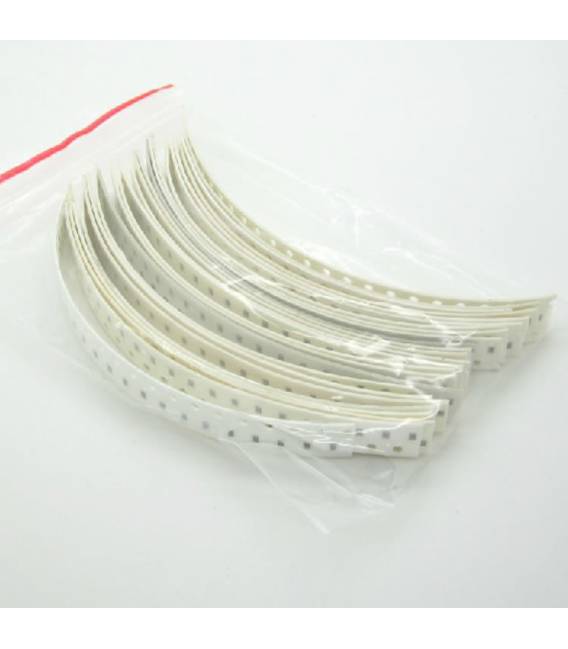
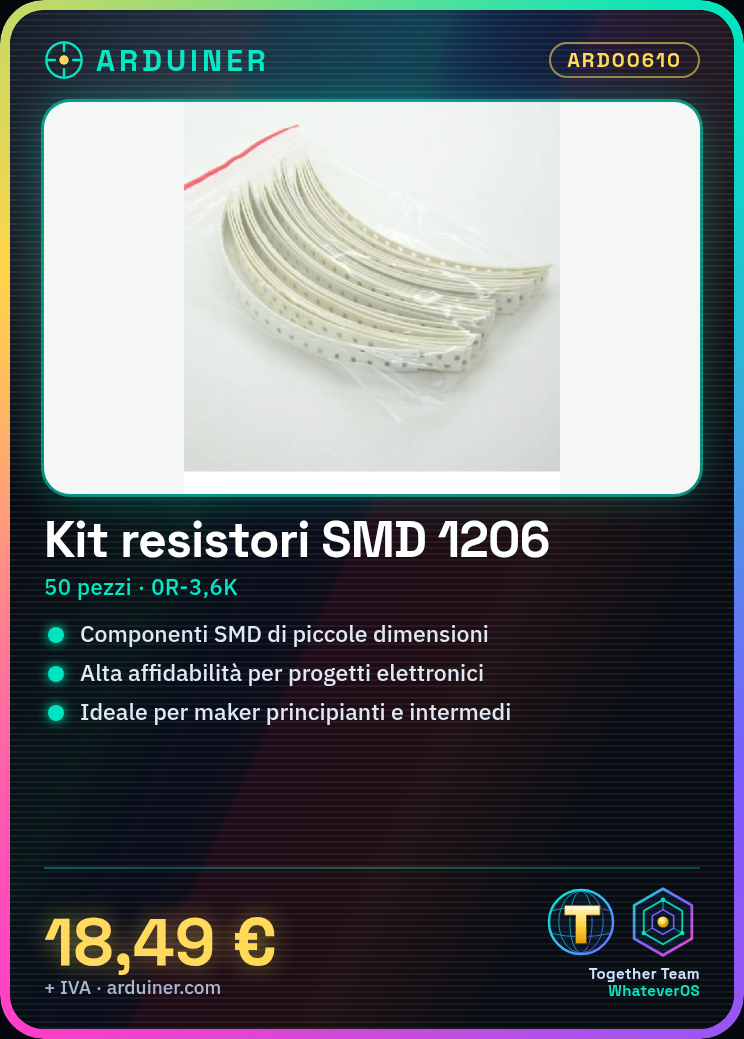
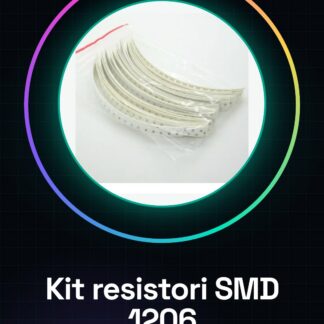
The SMD 1206 Resistor Kit includes 50 pieces of 50 different types of SMD resistors, with values ranging from 0 ohm to 3.6 kiloohm. These components are designed for applications that require small size and high reliability, such as electronic projects on Arduino boards or 3D printed PCBs. SMD resistors are useful for reducing space on the board and improving the electrical stability of the circuit.
SMD 1206 resistors are suitable for the realization of integrated circuits and electronic prototyping projects. Their small size allows them to be integrated into compact electronic schematics, improving integration density and ease of maintenance.
This kit is particularly useful for projects that require resistors of various values to regulate currents and voltages in the circuit. The presence of different types of resistors allows for testing and developing electronic projects with greater flexibility.
Key Specifications
| Parameter | Value |
| Model | SMD 1206 Resistor Kit |
| Values | 0R-3,6K |
| Total Quantity | 50 pieces |
| Types of Resistors | 50 types |
| Dimensions | 1206 |
| Container | Pack of 50 pieces |
Installation and Usage
- Check the values of the resistors on the provided datasheet.
- Prepare the PCB or motherboard for SMD installation.
- Use a soldering iron suitable for SMD components or a 3D printing station to install the resistors on the PCB.
- Check the connection of the resistors with a testing tool like a multimeter.
- Test the general functionality of the circuit.
Compatibility and Requirements
- This SMD resistor kit is compatible with Arduino projects and 3D printed PCBs.
- It is used to create integrated circuits and electronic prototyping projects.
- Requires a soldering iron suitable for SMD components or a 3D printing station for installation.
Limitations and Important Notes
- The SMD 1206 resistors are not suitable for high-power applications.
- The small size requires careful attention during installation to avoid positioning errors.
- For safety, ensure the use of appropriate electronic tools during installation and testing.
Troubleshooting
Incorrect pin connection of the resistor
Probable cause: Error during the installation of the SMD component.
Solution: Remove the resistor and reinstall it correctly.
A key resistor is missing from your circuit diagram.
Probable cause: Design error or oversight.
Solution: Check your circuit diagram and add the missing resistor.
Insufficient or excessive soldering that damages the component.
Probable cause: Incorrect soldering iron settings.
Solution: Recalibrate the soldering iron and try the installation again.
Incorrect 3D printing settings for SMD pads
Probable cause: Incorrect 3D printer configuration.
Solution: Recalibrate the 3D printer and try the installation again.
Use cases
Parking sensor for the garage
Objective: Create an alarm system for the parking area.
What you need: SMD Resistor Kit 1206, Arduino board, distance sensors.
Steps: 1) Design the electronic circuit. 2) Install the SMD resistors on the PCB. 3) Connect the distance sensors. 4) Test the alarm system.
Expected result: A functional alarm system for the parking area.
Home Light Regulator
Objective: Adjust the light intensity based on external light.
What’s needed: SMD Resistor Kit 1206, Arduino, photoresistor.
Steps: 1) Design the electronic circuit. 2) Install the SMD resistors on the PCB. 3) Connect the photoresistor. 4) Test the automatic light regulation system.
Expected result: An automatic light regulation system.
Digital Stopwatch
Objective: Create a digital stopwatch.
What’s needed: SMD Resistor Kit 1206, Arduino, LCD display.
Steps: 1) Design the electronic circuit. 2) Install the SMD resistors on the PCB. 3) Connect the LCD display. 4) Test the digital stopwatch.
Expected Result: A functioning digital stopwatch.
Step Counter
Objective: Count the steps of an individual.
What’s needed: SMD Resistor Kit 1206, Arduino, accelerometer.
Steps: 1) Design the electronic circuit. 2) Install the SMD resistors on the PCB. 3) Connect the accelerometer. 4) Test the step counter.
Expected Result: A functioning step counter.
Home Security System
Objective: Create a home security system.
What’s needed: SMD Resistor Kit 1206, Arduino, motion sensors.
Steps: 1) Design the electronic circuit. 2) Install the SMD resistors on the PCB. 3) Connect the motion sensors. 4) Test the security system.
Expected Result: A functioning home security system.
Temperature Regulator
Objective: Regulate the temperature of an environment.
What’s needed: SMD Resistor Kit 1206, Arduino, thermistor.
Steps: 1) Design the electronic circuit. 2) Install the SMD resistors on the PCB. 3) Connect the thermistor. 4) Test the temperature regulation system.
Expected result: A functioning temperature regulation system.
Noise Control System
Objective: To regulate the noise level in an environment.
What is needed: SMD Resistor Kit 1206, Arduino, microphone.
Steps: 1) Design the electronic circuit. 2) Install the SMD resistors on the PCB. 3) Connect the microphone. 4) Test the noise control system.
Expected result: A functioning noise control system.
Traffic Control System
Objective: To regulate traffic at an intersection.
What is needed: SMD Resistor Kit 1206, Arduino, motion sensors.
Steps: 1) Design the electronic circuit. 2) Install the SMD resistors on the PCB. 3) Connect the motion sensors. 4) Test the traffic control system.
Expected result: A functioning traffic control system.
In the package
- 50 pieces
Complete the project
- Kit of 0603 resistors, 0R-2.4K, 50 pieces from 50 types: 130Ω, 150Ω, 160Ω, 180Ω, 200Ω, 220Ω, 240Ω, 270Ω, 300Ω, 330Ω, 360Ω, 1Ω, 390Ω: Suitable for projects with higher value resistors.
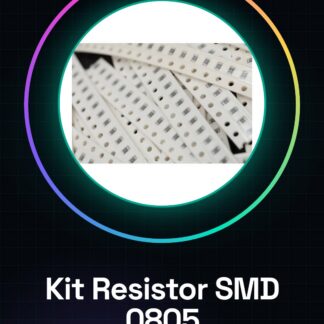
- 1% 0805 SMD resistor kit, 0R-3.6K, 50 pieces from 50 types: 130Ω 150Ω 160Ω 180Ω 200Ω 220Ω 240Ω 270Ω 300Ω 330Ω 360Ω 1Ω 39Ω: Suitable for projects with similar value SMD resistors but in different sizes.
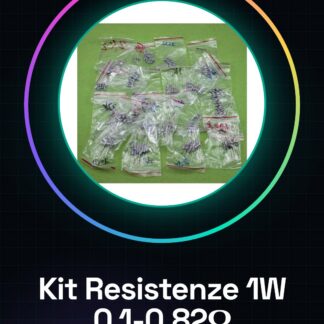
- Kit of 1% metal film resistors, 82K-1M, 10 pieces from 24 types: 75K, 82K, 91K, 100K, 120K, 150K, 180K, 200K, 220K, 240K, 270K
Technical FAQs
What is the difference between a surface mount resistor and a through-hole resistor?
Surface mount resistors (SMD) are smaller and lighter than through-hole resistors, allowing for denser and more compact circuits.
How can I verify if an SMD resistor is installed correctly?
Use a multimeter to check the electrical continuity between the two terminals of the resistor.
What tools are needed to install SMD resistors?
A soldering iron suitable for SMD components or a 3D printing station is required.
What are the advantages of using SMD resistors in electronic projects?
The advantages include reduced space on the PCB, improved electrical stability, and ease of integration into compact projects.
Tutorial: How to use SMD Resistor Kit 1206
This SMD resistor kit is ideal for electronic projects that require small size and high reliability. It is particularly useful for beginner and intermediate makers who are starting to work with SMD components.
What you need
- Arduino Projects
- 3D Print PCB Circuits
- Integrated Circuit
- Development Kit
Steps
- Check the datasheet for the values of the resistors included in the kit.
- Prepare your PCB or motherboard for SMD installation.
- Use a soldering iron suitable for SMD components or a 3D printing station to install the resistors on the PCB.
- Test the connection of the resistors with a testing tool such as a multimeter.
- Test the general functionality of the circuit.
- Fix any errors or incorrect connections.
Mini project
Create a small motherboard for Arduino using the SMD resistors from the kit and 3D printing for the PCB. Test the circuit with a simple lighting project.
Common mistakes
- Incorrect pin connection of the resistor
- A key resistor is missing in your circuit diagram
- Insufficient or excessive soldering that damages the component
- Incorrect 3D printing settings for SMD pads
Recommended accessories
- 3D printing kit for PCB
- Soldering iron suitable for SMD components
- Digital multimeter
- Electronic design software (e.g., EAGLE, Fritzing)
Frequently asked questions
What is the difference between a traditional resistor and an SMD resistor?
SMD resistors are smaller and suitable for circuits with limited space.
How can I verify that my SMD resistors are soldered correctly?
Use a multimeter to test the continuity between the two terminals of the resistor.
Reviews
There are no reviews yet.