 EN
 IT Italiano
 ES Español
 FR Français
 DE Deutsch
Description
What it is
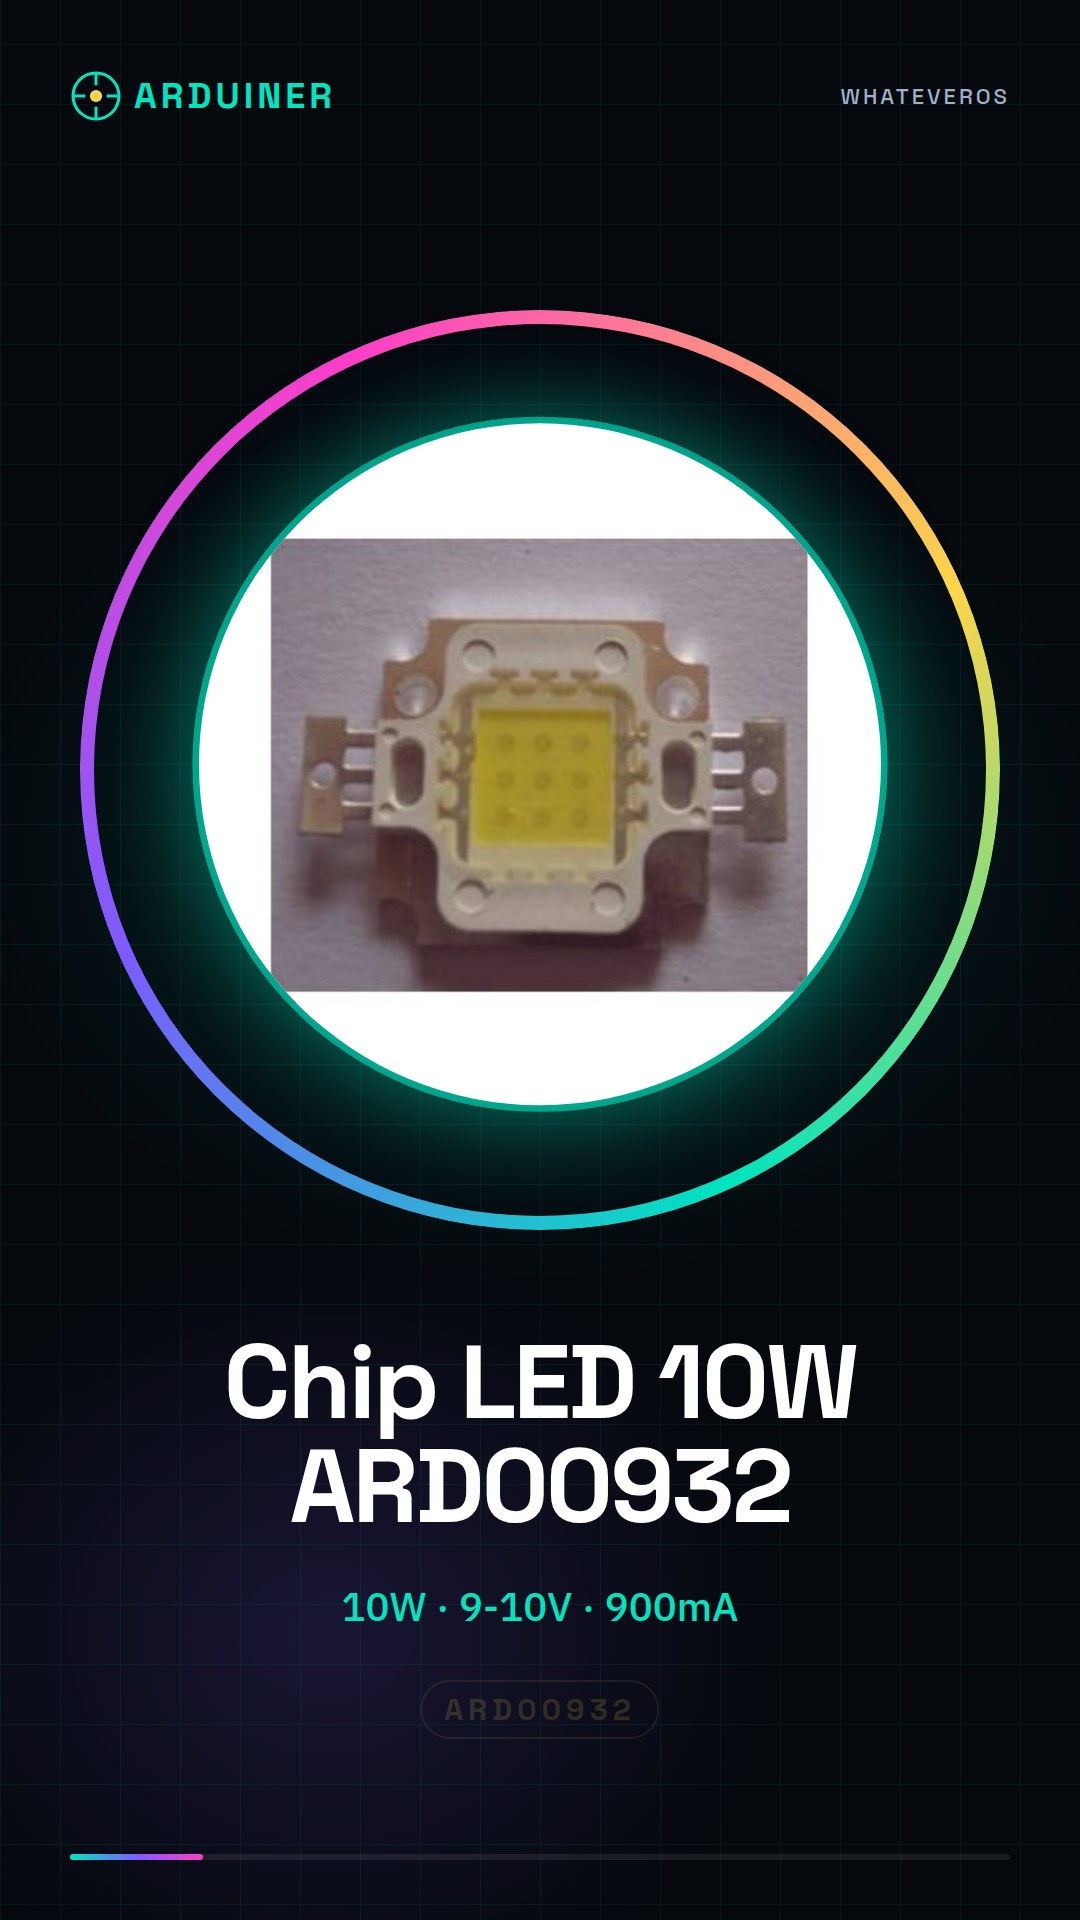
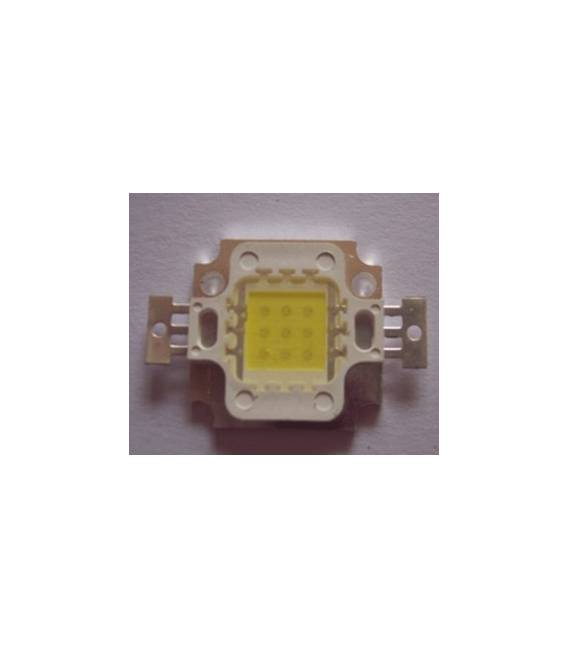
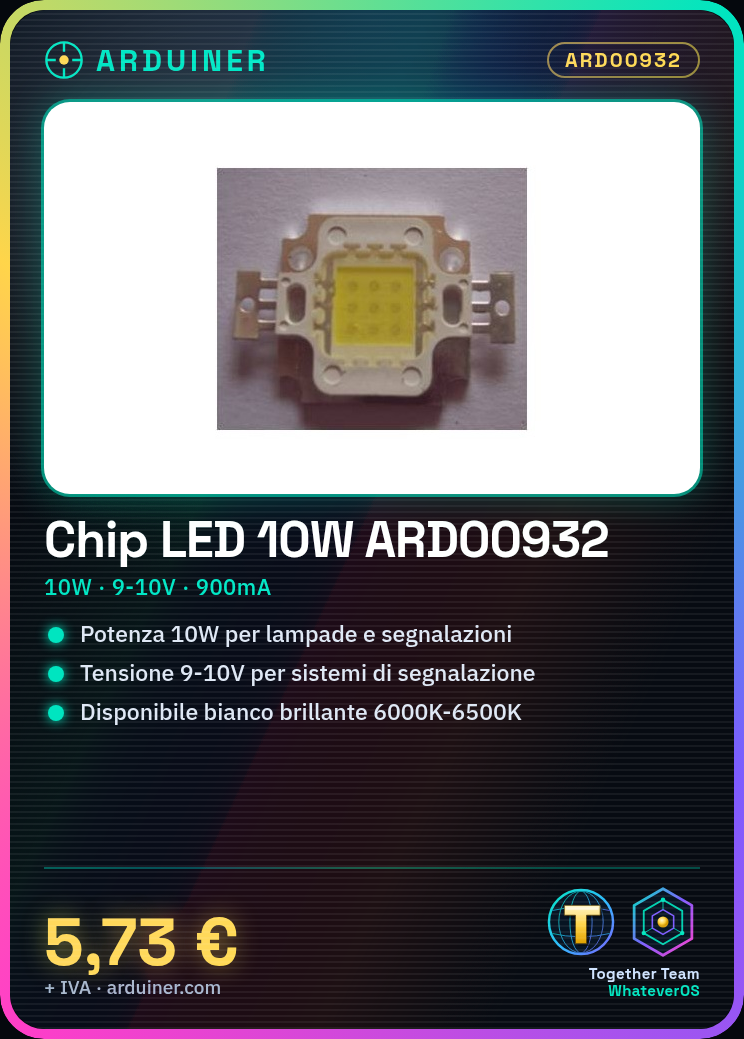
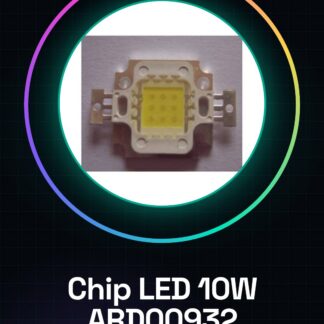
The ARD00932 LED Chip is an electronic component suitable for LED lighting projects. With a power of 10W, this chip can be used in applications requiring strong brightness.
Features
- Power: 10W
- Operating Voltage: 9-10V
- Maximum Current: 900mA
- Available in bright white (6000K-6500K) and warm white (3000K-3500K)
- Copper Stent 35 mil
What it is for
This LED chip can be used to create custom lamps, signaling systems, or any other project requiring strong illumination. It is compatible with Arduino and ESP for brightness control configuration using a potentiometer.
Tutorial: How to use 10W LED Chip
The 10W LED chip is an ideal component for projects requiring strong illumination, such as custom lamps or signaling systems. This tutorial will guide you through the installation and configuration of the LED chip.
What you need
- Arduino Uno
- Resistor suitable for the 10W LED chip (check the datasheet)
- Jumper wire
- Soldering kit
Steps
- Check the specifications of the 10W LED chip by consulting the datasheet.
- Connect the resistor between the Arduino output and the anode of the LED chip to limit the current (check the datasheet).
- Connect the cathode of the LED chip to the GND of the Arduino.
- Write a simple sketch that alternately turns the LED on and off every second.
- Test the circuit to ensure the LED works as expected.
Example code
void setup() {
  pinMode(13, OUTPUT);
}

void loop() {
  digitalWrite(13, HIGH);   // accendi il LED collegato a pin 13
  delay(1000);               // attende un secondo
  digitalWrite(13, LOW);    // spegni il LED
  delay(1000);               // attende un secondo
}
Mini project
Create a desk lamp with brightness control via Arduino. Use a potentiometer to adjust the brightness of the LED chip.
Common mistakes
- Failing to verify the specifications of the LED chip, causing damage to the component or the Arduino.
- Connecting the LED chip without the correct current-limiting resistor, risking to burn it out.
- Using an inappropriate voltage to power the LED chip.
- Failing to test the circuit before soldering it permanently.
Recommended accessories
- Variable resistors
- 10k ohm potentiometer
- 3D printing kit for the lamp
Frequently asked questions
How can I control the LED brightness?
Add a potentiometer to the circuit and use the values read from the potentiometer to adjust the PWM duty cycle.
My LED chip is too hot, what can I do?
Check that the resistor is correct and that there is sufficient cooling. Consider using a heat sink if necessary.
Reviews
There are no reviews yet.