 EN
 IT Italiano
 ES Español
 FR Français
 DE Deutsch
Description
What it is
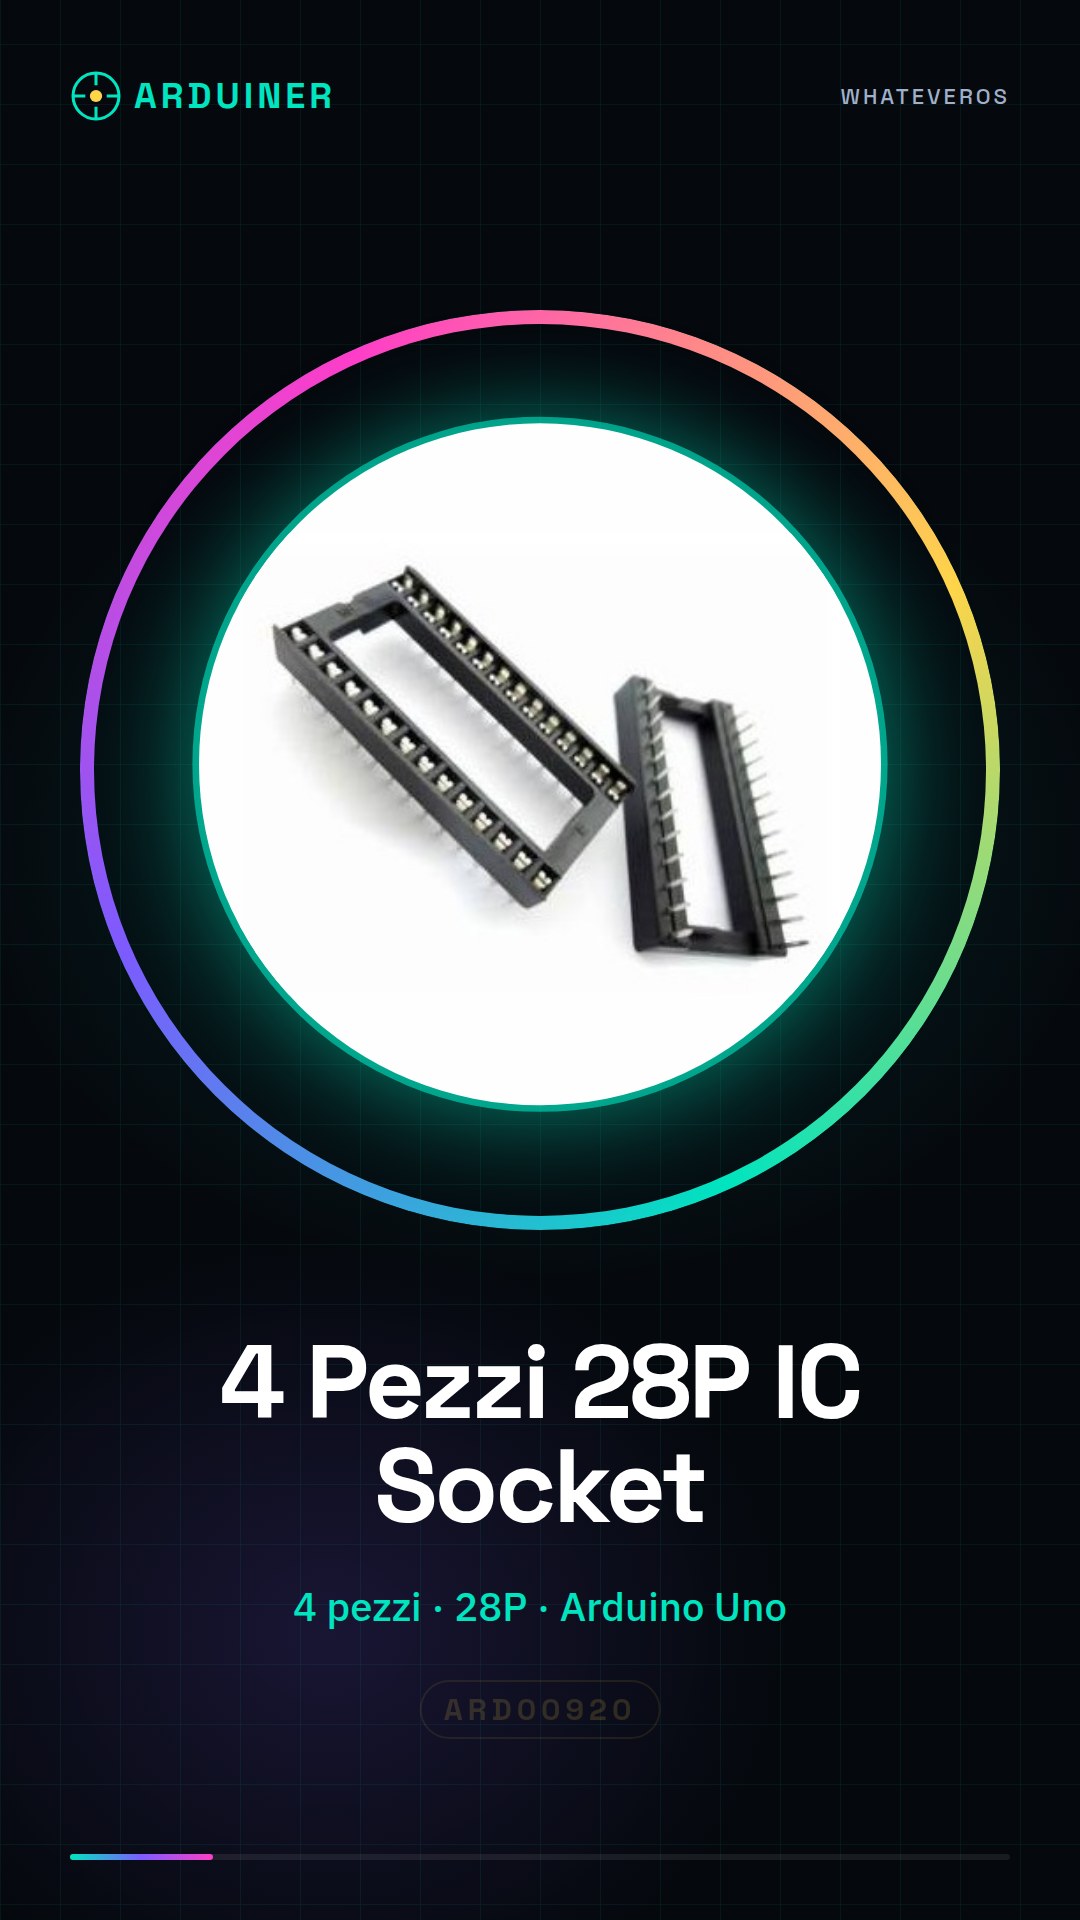
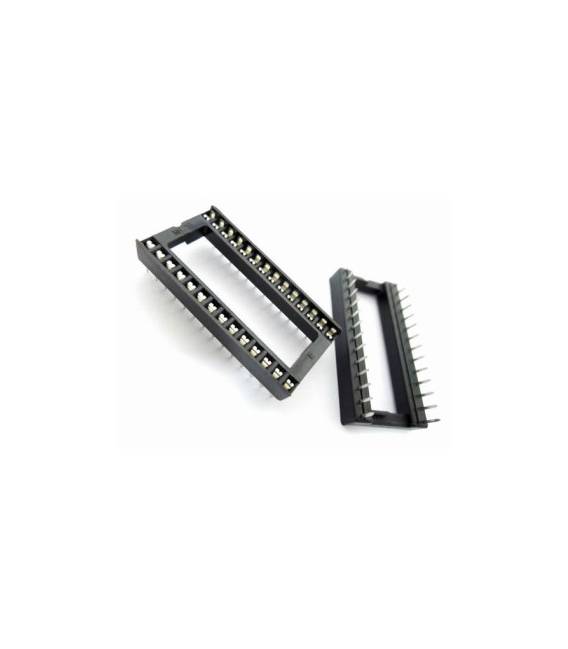
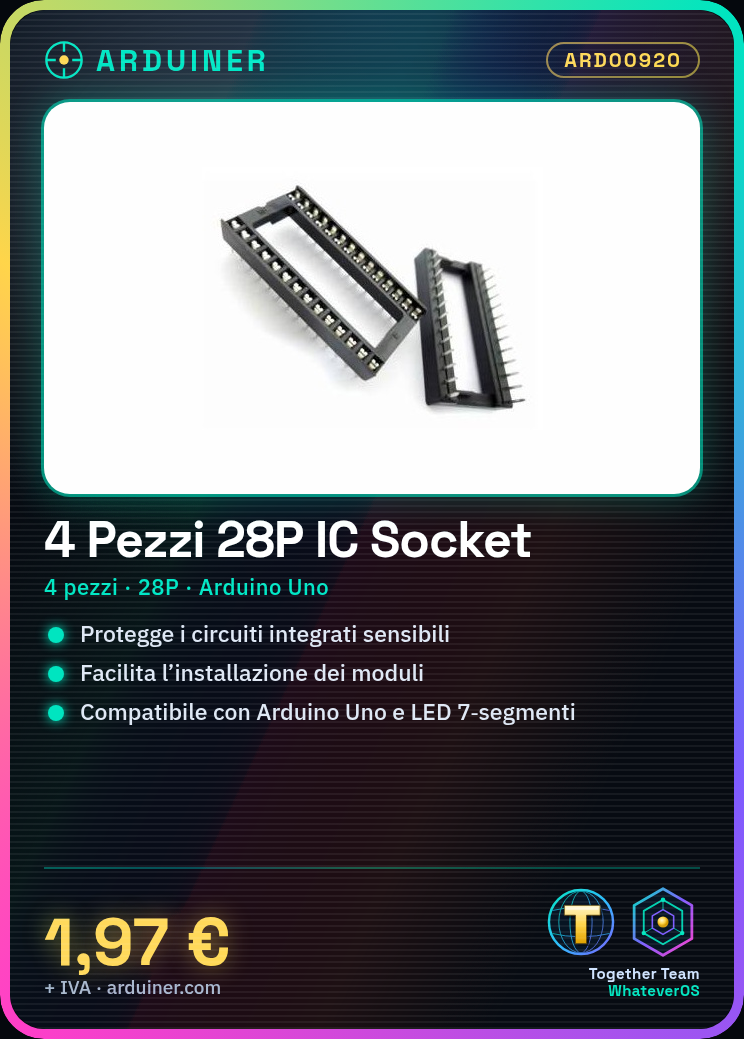
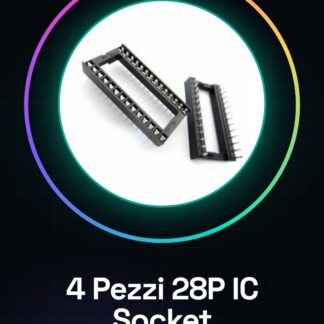
The 4-piece IC Socket 28P kit is an essential component for mounting and protecting integrated circuits in Arduino projects, electronic prototypes, and 3D printing applications.
Features
- 4-piece IC Socket 28P Kit
- Perfect for mounting ICs on Arduino modules and prototype circuits
What it is for
The 28-pin IC Socket is ideal for projects requiring the protection of sensitive components, facilitating both installation and replacement of integrated circuits. It is compatible with microcontrollers like Arduino Uno and can be used in conjunction with 7-segment LED displays and buttons.
Tutorial: How to Use 28-Pin IC Socket
The 28-pin IC Socket is a fundamental component for protecting sensitive integrated circuits and facilitating component replacement. It is ideal for Arduino projects, 3D printing, and electronic prototypes.
What you need
- Arduino Uno
- 28-Pin Integrated Circuit (IC)
- Fine Tip Pliers
Steps
- Check that the IC Socket is compatible with your IC based on the number of pins and pinout.
- Gently place the IC Socket on the circuit board, ensuring that the orientation marks are correct.
- Use pliers to slightly bend the outer legs of the IC socket downwards.
- Secure the IC Socket to the circuit board by applying a bit of thermoplastic glue or electronic adhesive.
- Connect the circuit wires to the corresponding ones on the IC Socket using pliers.
- Check the connection of the IC Socket legs with the multimeter to ensure there are no short circuits or breaks.
- Gently insert the IC into the socket, ensuring it is properly seated and oriented correctly.
- Test the integrated circuit connection using the Arduino software to verify that everything is working correctly.
Mini project
Create a simple digital interface prototype with a 7-segment LED display and a button. Connect the IC Socket to a microcontroller like Arduino Uno to manage the display.
Common mistakes
- Do not orient the IC Socket correctly before insertion.
- Force the insertion of the IC into the socket, causing damage to the legs or the printed circuit board.
- Omit the verification of connections with the multimeter before using the component.
- Use an inappropriate adhesive that could damage the socket pins.
Recommended accessories
- Multimeter
- Fine-nose pliers
- Thermoplastic glue or electronic adhesive
- Arduino Uno
Frequently asked questions
Why should I use an IC Socket?
The IC Socket protects the integrated circuit from mechanical damage and facilitates the replacement of the component.
How can I verify that the IC is correctly oriented in the socket?
Check the orientation marks on the printed circuit board and the IC socket to ensure they match those of the IC.
Reviews
There are no reviews yet.