 EN
 IT Italiano
 ES Español
 FR Français
 DE Deutsch
Description
Technical Specifications
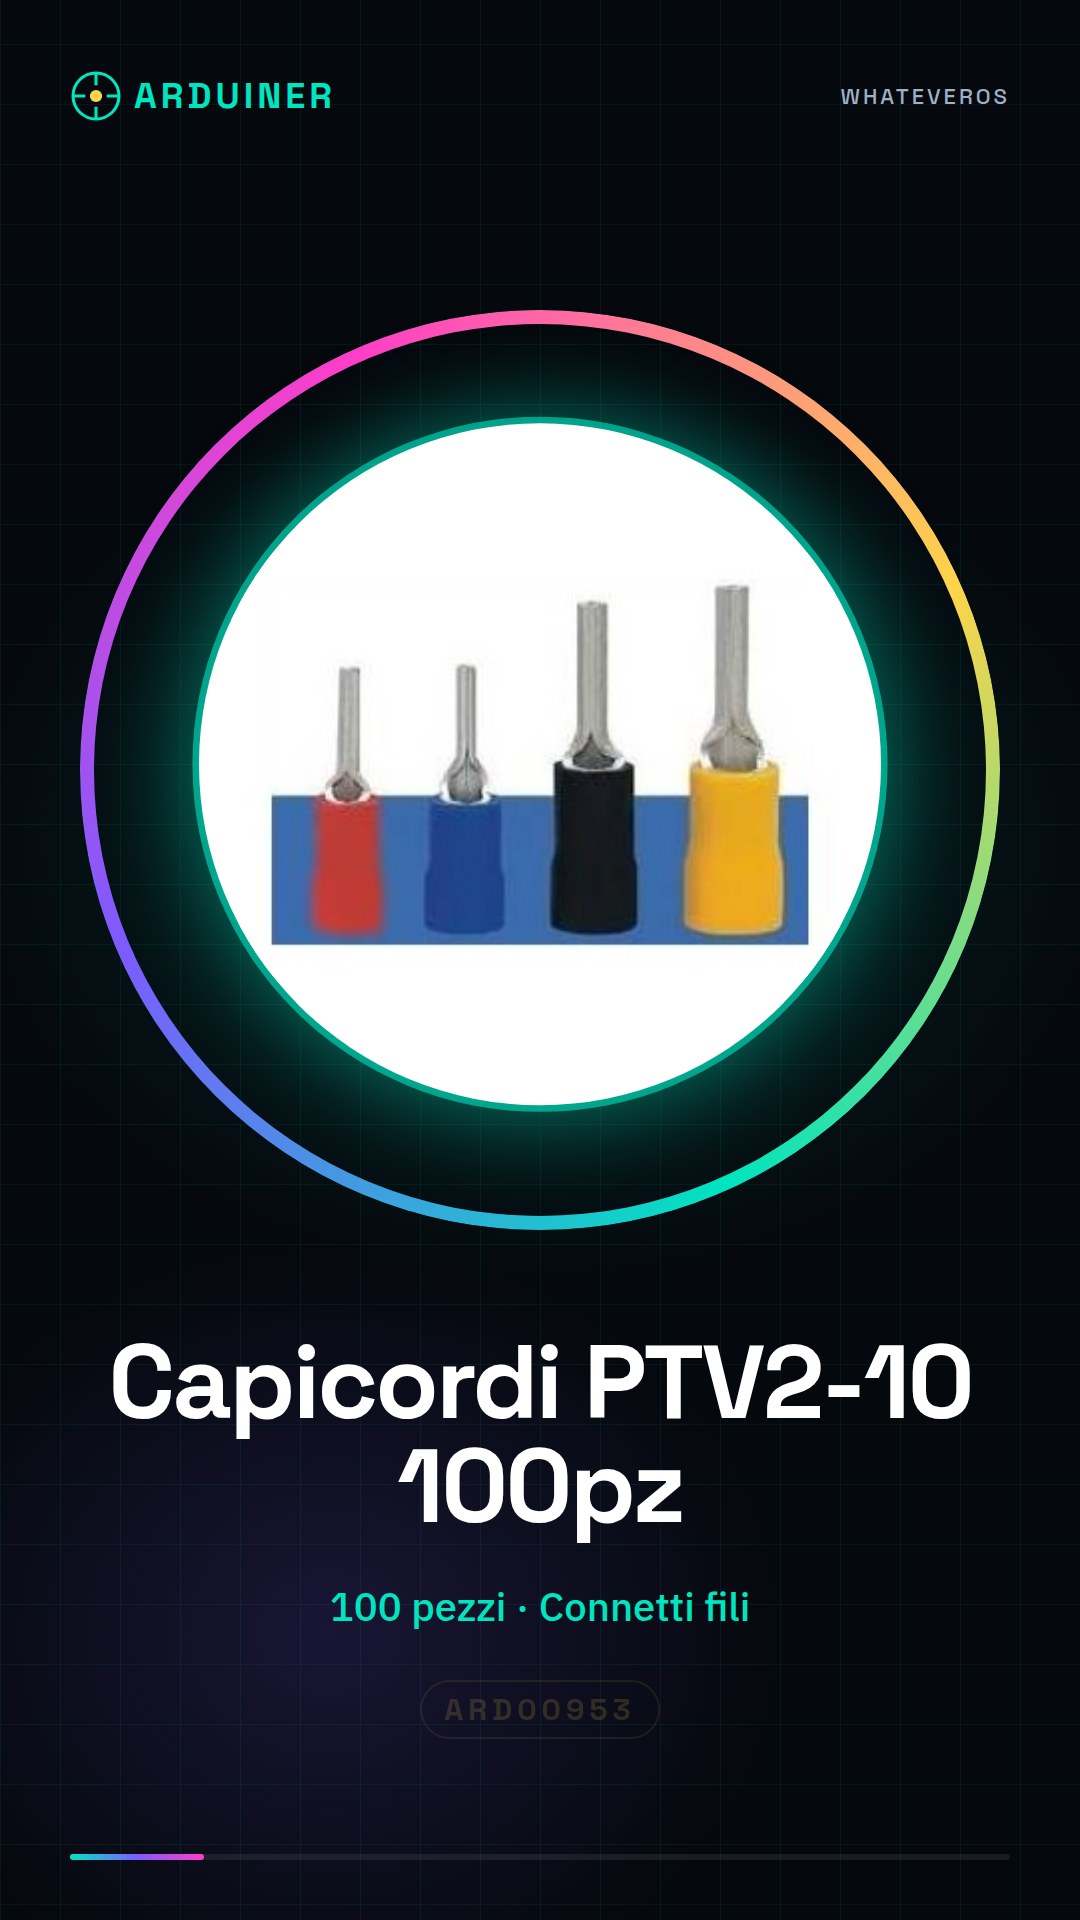
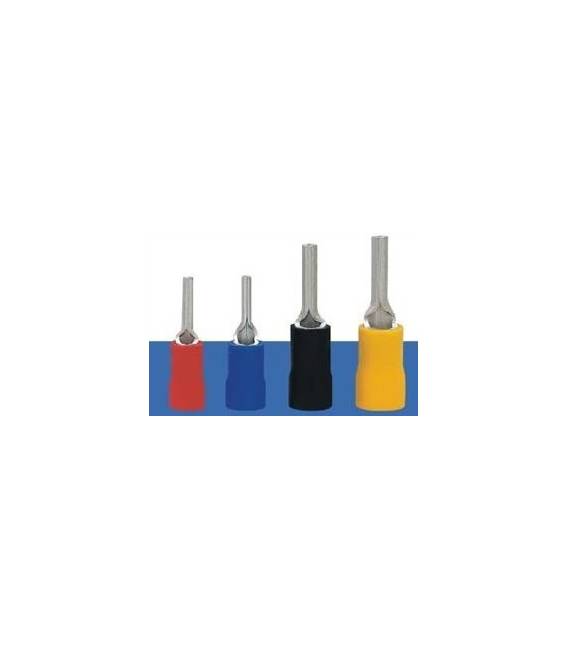
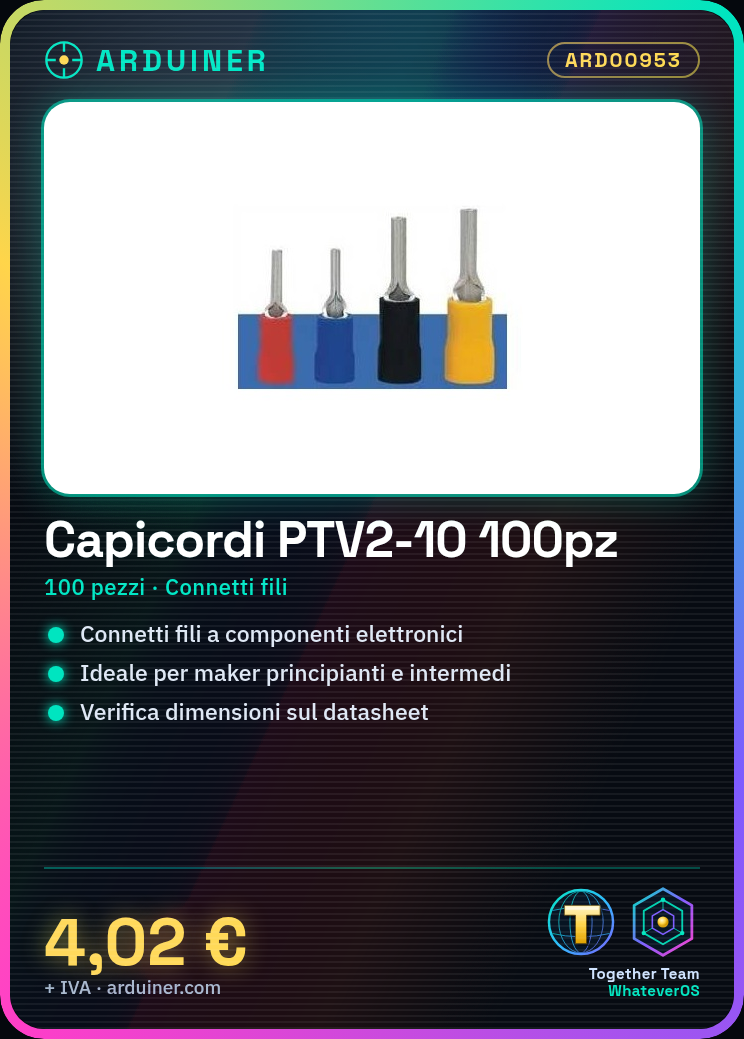
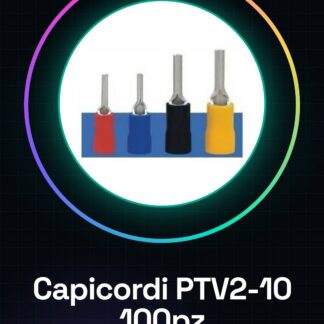
PTV2-10 insulated terminals are components used to safely and quickly connect electrical wires to electronic components. These pre-insulated terminals are designed to facilitate the installation and maintenance of electronic circuits, making it easier to create robust connections between various project elements. They are particularly suitable for Arduino projects and applications where a quick and secure connection between wires and components is necessary.
The process of using these terminals involves inserting the wire into the terminal lug up to the break-off mark, followed by a secure crimp with appropriate tools to ensure a solid connection. Their application is widely used in various fields, such as electronic prototyping, maintenance of electronic equipment, and DIY project realization.
To ensure proper use, it is important to verify the wire diameter compatibility with the terminal lug and protect the final connection with insulation to prevent short circuits or accidental contacts.
Key Specifications
| Parameter | Value |
| Model | PTV2-10 |
| Quantity | 100 pieces |
| Materials | N/D (see manufacturer’s technical sheet) |
| Dimensions | N/D (see manufacturer’s technical sheet) |
| Interface | Pre-insulated pins |
| Container | N/D (see manufacturer’s technical sheet) |
Installation and Usage
- Check the wire diameter compatibility with the PTV2-10 wire terminal by consulting the documentation.
- Cut the wire to the desired length using wire cutters.
- Insert the wire into the wire terminal up to the break-off mark.
- Use pliers to crimp the wire terminal around the wire, ensuring there are no exposed or bare parts.
- Use wire strippers to bend the wire end inside the wire terminal to prevent short circuits.
Compatibility and Requirements
- PTV2-10 wire terminals are compatible with a wide range of circuit boards and electronic systems, including Arduino and other circuits.
- To use these terminals, compatible wires and tools such as wire cutters, pliers, and wire strippers are required.
- These terminals are suitable for connecting wires to pre-insulated pins or cables in general electronics projects.
Limitations and Important Notes
- PTV2-10 wire terminals are not designed to connect wires of incompatible sizes.
- It is important to fully protect the final connection with insulation to prevent short circuits or accidental contact.
- Using unsuitable tools to crimp the terminals can damage the connection.
- Ensure that wire terminals are only used with compatible wires to guarantee safety and stability of the connection.
Troubleshooting
The wire does not fully enter the wire terminal.
Probable cause: The wire diameter is not compatible with the wire terminal.
Solution: Check the wire compatibility with the wire terminal and cut the wire to an appropriate length.
The connection between the wire and the terminal lug is weak.
Probable cause: The terminal lug crimp was not performed correctly.
Solution: Recrimp the terminal lug using an appropriate crimping tool.
There are exposed wire parts outside the terminal lug.
Probable cause: The connection was not completed properly.
Solution: Check that the wire is inserted up to the cut mark and crimp the terminal lug correctly.
The terminal lug comes off the wire easily.
Probable cause: The connection was not crimped tightly enough.
Solution: Recrimp the terminal lug using an appropriate crimping tool and ensure the wire is inserted up to the cut mark.
Use cases
Garage parking sensor
Objective: Create an alarm system for the garage that signals the entry of a vehicle.
What is needed: PTV2-10 terminal connectors, distance sensors, Arduino Uno, electrical cables.
Steps: 1) Check the wire compatibility with the terminal connector. 2) Insert the wire into the terminal connector. 3) Tighten the terminal connector around the wire. 4) Connect the terminal connector to the distance sensor. 5) Verify the connection with a multimeter.
Expected result: The alarm system works correctly, signaling the entry of a vehicle into the garage.
Home Light Control Circuit
Objective: Create a circuit that controls the home light switch.
What is needed: PTV2-10 terminal connectors, light switch, Arduino Uno, electrical cables.
Steps: 1) Check the wire compatibility with the terminal connector. 2) Insert the wire into the terminal connector. 3) Tighten the terminal connector around the wire. 4) Connect the terminal connector to the light switch. 5) Verify the connection with a multimeter.
Expected result: The light control circuit works correctly, turning the house light on and off.
Thermostat Control Circuit
Objective: Create a circuit that controls the house thermostat.
What you need: PTV2-10 terminal connectors, thermostat, Arduino Uno, electrical cables.
Steps: 1) Check the wire compatibility with the terminal connector. 2) Insert the wire into the terminal connector. 3) Tighten the terminal connector around the wire. 4) Connect the terminal connector to the thermostat. 5) Verify the connection with a multimeter.
Expected Result: The thermostat control circuit functions correctly, regulating the house temperature.
Temperature Control Circuit for a Laboratory
Objective: Create a circuit that monitors and controls the temperature in a laboratory.
What’s Needed: PTV2-10 terminal block connectors, temperature sensors, Arduino Uno, electrical cables.
Steps: 1) Check the wire compatibility with the terminal block connector. 2) Insert the wire into the terminal block connector. 3) Tighten the terminal block connector around the wire. 4) Connect the terminal block connector to the temperature sensor. 5) Verify the connection with a multimeter.
Expected Result: The temperature control circuit functions correctly, monitoring and regulating the laboratory temperature.
Security System Control Circuit
Objective: Create a circuit that activates the home security system.
What is needed: PTV2-10 terminal connectors, motion sensors, Arduino Uno, electrical cables.
Steps: 1) Check the wire compatibility with the terminal connector. 2) Insert the wire into the terminal connector. 3) Tighten the terminal connector around the wire. 4) Connect the terminal connector to the motion sensor. 5) Verify the connection with a multiettolampada.
Expected result: The control circuit for the security system works correctly, activating the home security system.
Irrigation system control circuit
Objective: Create a circuit that controls the garden irrigation system.
What is needed: PTV2-10 terminal connectors, soil moisture sensors, Arduino Uno, electrical cables.
Steps: 1) Check the wire compatibility with the wire terminal. 2) Insert the wire into the wire terminal. 3) Tighten the wire terminal around the wire. 4) Connect the wire terminal to the soil moisture sensor. 5) Verify the connection with a multimeter.
Expected result: The ventilation system control circuit works correctly, regulating the ventilation of the house.
Ventilation system control circuit
Objective: Create a circuit that controls the house ventilation system.
What you need: PTV2-10 wire terminals, CO2 sensors, Arduino Uno, electrical cables.
Steps: 1) Check the wire compatibility with the terminal connector. 2) Insert the wire into the terminal connector. 3) Tighten the terminal connector around the wire. 4) Connect the terminal connector to the CO2 sensor. 5) Verify the connection with a multimeter.
Expected result: The control circuit of the ventilation system works correctly, regulating the air in the house.
Control circuit for the lighting system
Objective: Create a circuit that controls the home lighting system.
What you need: PTV2-10 terminal connectors, light sensors, Arduino Uno, electrical cables.
Steps: 1) Check the wire compatibility with the terminal connector. 2) Insert the wire into the terminal connector. 3) Tighten the terminal connector around the wire. 4) Connect the terminal connector to the light sensor. 5) Verify the connection with a multimeter.
Expected Result: The control circuit of the lighting system works correctly, regulating the house lighting.
In the package
- 100 pieces
Complete the project
- 100 Pieces RV2-4 Spade Terminal, Round Terminals, Pre-Insulated Terminal Lug, Copper Wiring Nose: To connect the spade terminals to the JST wires.
Technical FAQs
Which wires are compatible with the PTV2-10 terminals?
Check the wire diameter compatibility with the spade terminal by consulting the manufacturer’s documentation.
Can I use these terminals with pre-insulated wires?
Yes, the PTV2-10 spade terminals are designed to work with pre-insulated wires.
What tools are needed to use the PTV2-10 spade terminals?
A wire stripper, pliers, and wire cutters are required to use the PTV2-10 spade terminals correctly.
How can I protect the final connection?
It is important to fully protect the final connection with insulation to prevent short circuits or accidental contact.
Tutorial: How to use PTV2-10 Wire Terminal Caps
PTV2-10 wire terminal caps are useful for connecting electrical wires to electronic components, such as pre-insulated pins or wires. They are ideal for beginner and intermediate makers working on Arduino, 3D printing, or general electronics projects.
What you need
- wire cutter
- pliers
- wire stripper
Steps
- Check the size of your wires and compatibility with PTV2-10 wire terminal caps, check the datasheet.
- Cut the wire to the desired length using a wire cutter.
- Insert the wire into the wire terminal cap until it reaches the break-off mark.
- Use the pliers to crimp the wire terminal cap around the wire, ensuring there are no exposed or bare parts.
- Use wire cutters to bend the end of the wire inside the wire terminal to prevent short circuits.
- Check the connection and final cut with a multimeter or continuity tester.
- If necessary, apply solder or insulation around the connection point to protect from accidental contact.
- Connect the wire terminals to the desired electronic components.
Mini project
Create a simple signal warning circuit with Arduino, using the wire terminal to connect a button to a digital pin on the Arduino.
Common mistakes
- Inserting too much or too little wire into the wire terminal
- Not fully protecting the connection with insulation
- Using pliers or unsuitable tools to crimp the terminals
Recommended accessories
- Arduino Uno
- Buttons
- LEDs
Frequently asked questions
Which wires are compatible?
Check the datasheet for compatibility of your wire sizes.
Can I use these pre-insulated wire terminals?
Yes, the PTV2-10 wire terminals are designed to work well with pre-insulated wires.
Reviews
There are no reviews yet.