 EN
 IT Italiano
 ES Español
 FR Français
 DE Deutsch
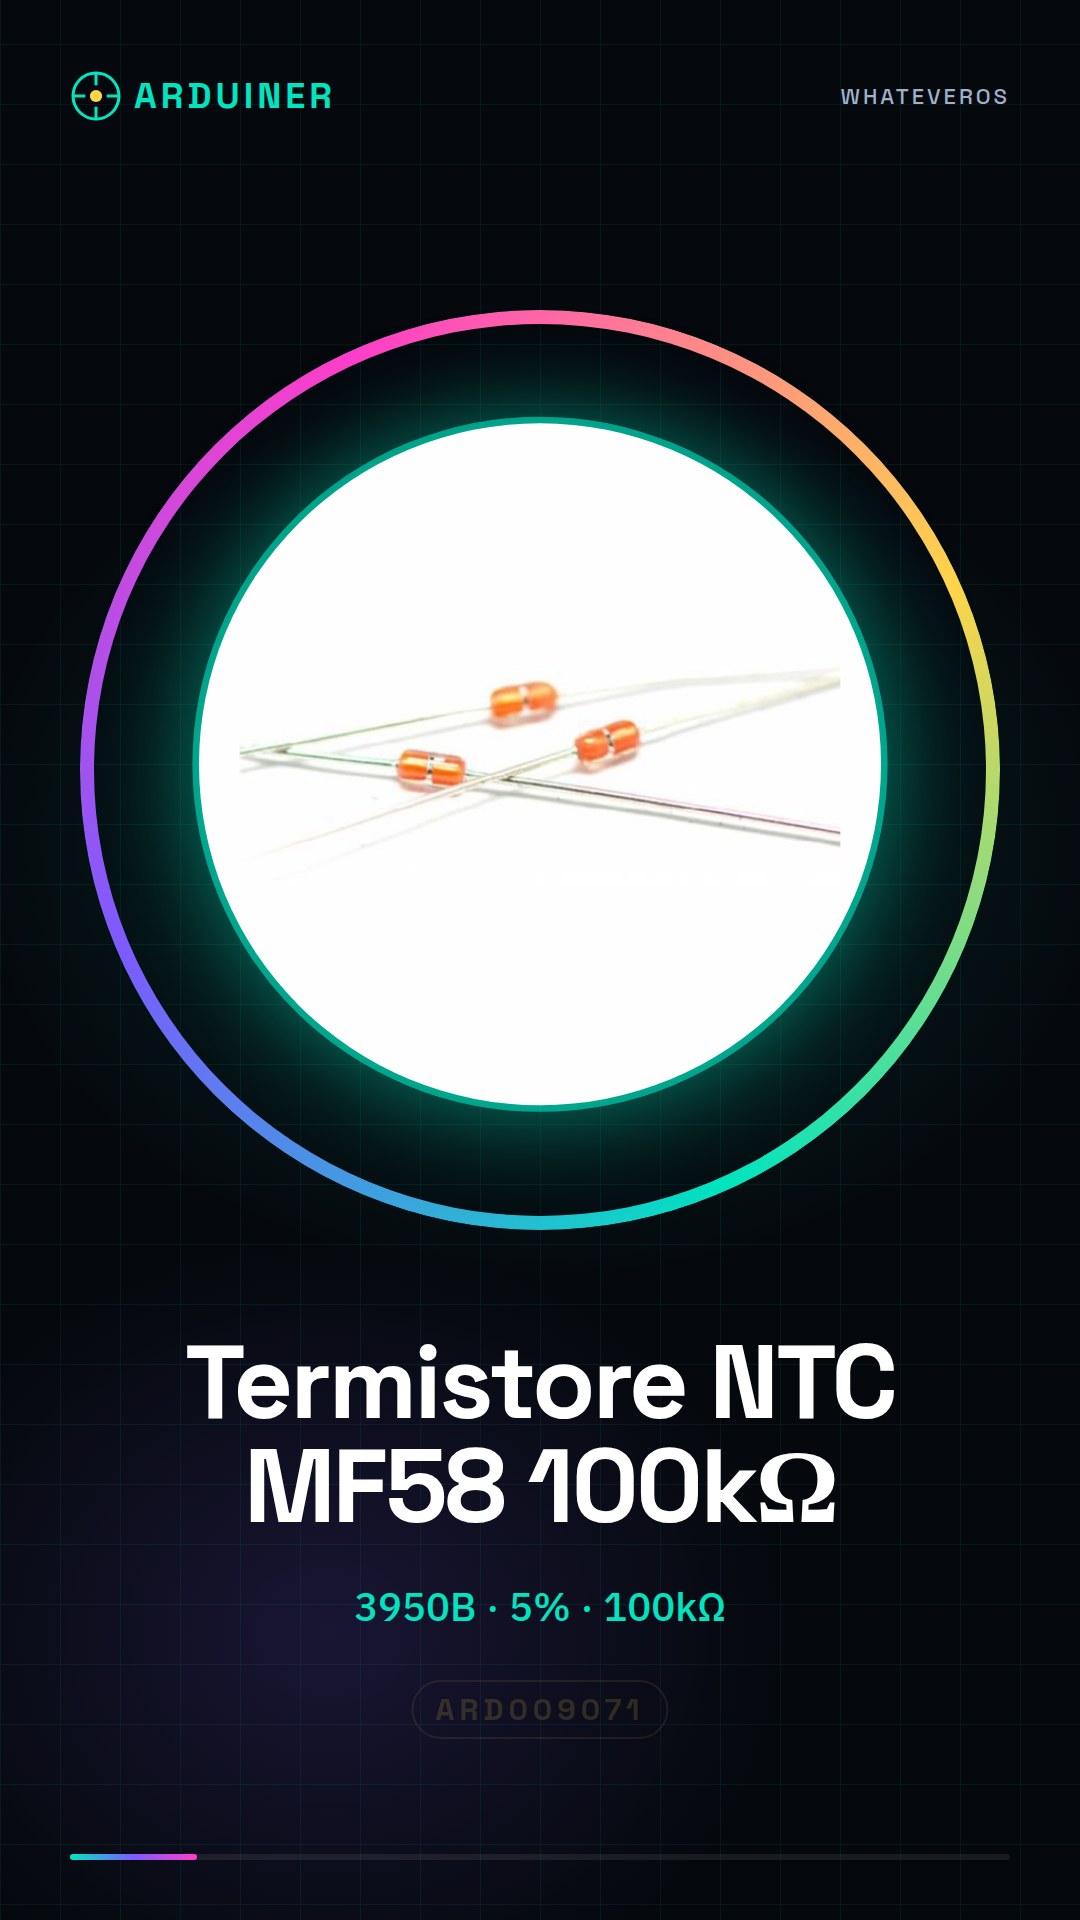

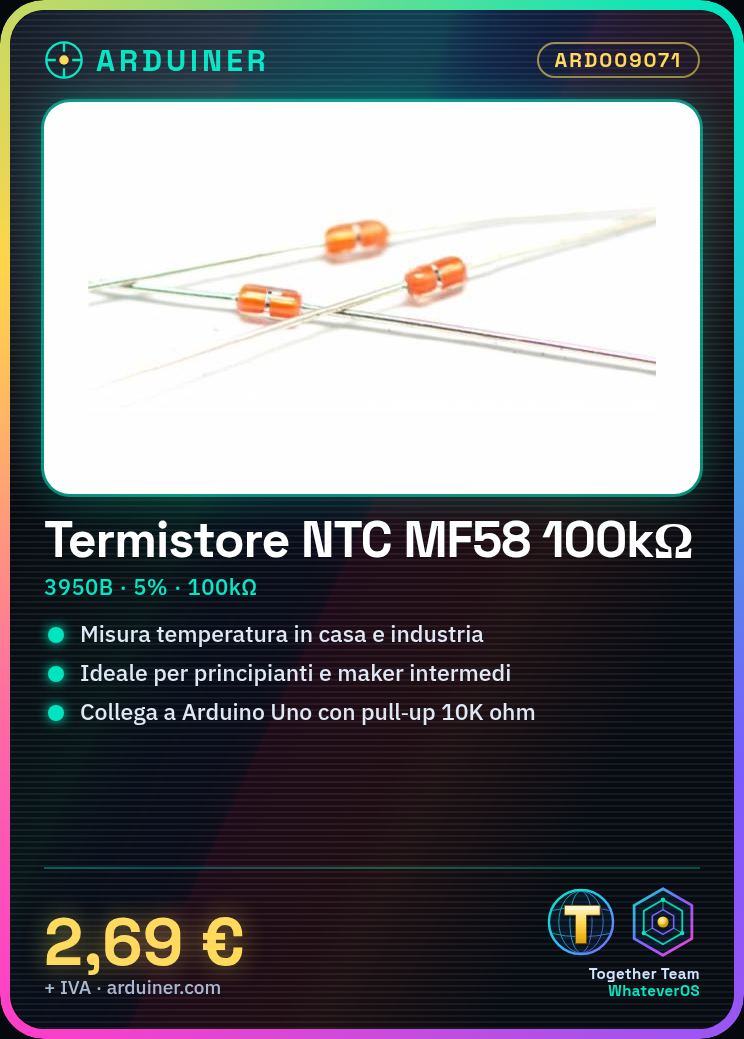
Description
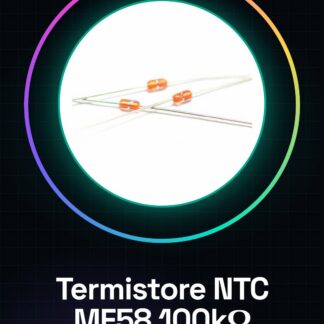
Tutorial: How to Use NTC MF58 3950 B 100K ohm 5% Thermistor
The NTC MF58 3950 B 100K ohm 5% thermistor is ideal for measuring temperatures in domestic and industrial environments. Useful for beginners and intermediate makers.
What you need
- Multimeter
- 10K ohm resistor
- Arduino Uno
- Connection cable
Steps
- 1. Connect the thermistor to pin A0 of the Arduino.
- 2. Connect the 10K ohm resistor between VCC and GND of the Arduino.
- 3. Connect one end of the resistor to GND and the other to VCC of the Arduino.
- 4. Connect the other end of the resistor to pin A0 of the Arduino.
- 5. Load the Arduino code.
- 6. Check the datasheet for resistance values at different temperatures.
- 7. Test the thermistor with a multimeter.
- 8. Verify correct operation with a sample sketch.
Example code
```int sensorPin = A0;
int sensorValue = 0;
void setup() {
  Serial.begin(9600);
}
void loop() {
  sensorValue = analogRead(sensorPin);
  Serial.println(sensorValue);
  delay(1000);
}```
Mini project
Build a simple digital thermometer using the thermistor and an LCD display.
Common mistakes
- Connect the thermistor directly to VCC and GND.
- Omit the pull-up resistor.
- Do not verify resistance values on the datasheet.
- Forget to verify correct functioning with a sample sketch.
Recommended accessories
- 16×2 LCD Display
- 10K ohm pull-up resistor
- Connection cable
- Multimeter
Frequently asked questions
How can I verify resistance values on the datasheet?
Check the resistance table at different temperatures.
Can I use an NTC thermistor without a pull-up resistor?
No, always use a pull-up resistor for proper connection.
Does the thermistor work with Arduino Nano?
Yes, the thermistor works with Arduino Nano.
Reviews
There are no reviews yet.