 EN
 IT Italiano
 ES Español
 FR Français
 DE Deutsch
Description
What it is
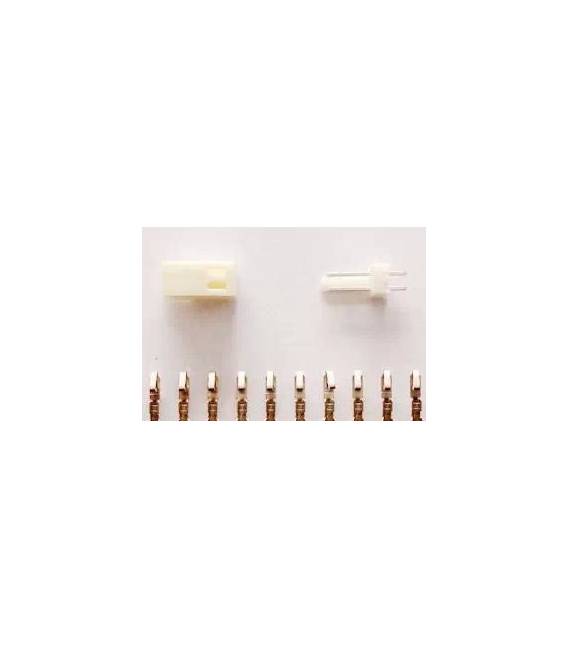
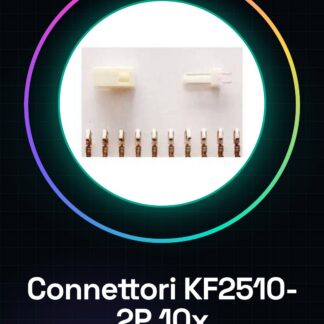
The KF2510-2P connectors are electronic connection pieces useful for projects requiring connections between various components. This specific item includes 10 pieces.
Features
- Pitch: 2,54 mm (0,1”)
- Connector Type: KF2510-2P
- Number of Contacts: check the datasheet
What it is for
The KF2510-2P connectors are useful for connecting signal and power lines between various electronic components in projects such as keyboards or printing systems. They are compatible with Arduino and other microcontrollers.
Tutorial: How to Use KF2510-2P Connector 2.54 Pitch
The KF2510-2P connectors with 2,54 pitch are useful for connecting signal and power lines between various electronic components in projects such as keyboards or printing systems. This tutorial will guide you through the installation of these connectors.
What you need
- KF2510-2P Connector
- Pin tool to open the connector (optional)
- Pliers or suitable tool for inserting wires into the connector
- Cable with sufficient insulation for insertion
- Arduino or other microcontroller to test the connection
Steps
- Check that the cable has a diameter suitable for insertion into the connector without damaging it.
- Use pliers to remove insulation from the cable only in the central part, leaving about 1-2 mm of insulation around the wire tip.
- Insert the wire into the KF2510-2P connector. Check the datasheet for the correct position.
- If necessary, use a pointed tool to slightly open the internal parts of the connector and facilitate wire insertion.
- Repeat steps 2-4 for the second wire if you are using a two-pole connector.
- Check the stability of the connection by gently pressing on the inserted cable.
- Connect the connector to your electronic project, such as an Arduino board or another microcontroller, by verifying the pinout specifications.
- Test the connection with a simple Arduino sketch.
Example code
// Uno sketch semplice per testare il collegamento
void setup() {
  pinMode(13, OUTPUT);
}

void loop() {
  digitalWrite(13, HIGH);   // Accendi LED interno alla scheda
  delay(1000);               // Attende un secondo
  digitalWrite(13, LOW);    // Spegni LED interno alla scheda
  delay(1000);               // Attende un secondo
}
Mini project
Create a simple keyboard with Arduino and KF2510-2P connectors. Connect the buttons to one side of the connector and read the key presses through another connector connected to the Arduino.
Common mistakes
- Insert the wire without completely removing the insulation.
- Force the wire into the connector without properly preparing it.
- Use a wire diameter that is too large or too small for the connector.
Recommended accessories
- KF2510-4P Connector 2.54 Pitch
- Electronic Test Kit
- Variable Insulation Wire Bundle
- Arduino Uno
Frequently asked questions
How can I remove a wire from this connector?
Use an appropriate tool to gently separate the internal contacts of the connector.
Can I directly connect an LED to these connectors?
No, it is recommended to use resistors and other intermediate components to protect the circuit.
Reviews
There are no reviews yet.