 EN
 IT Italiano
 ES Español
 FR Français
 DE Deutsch
Description
What it is
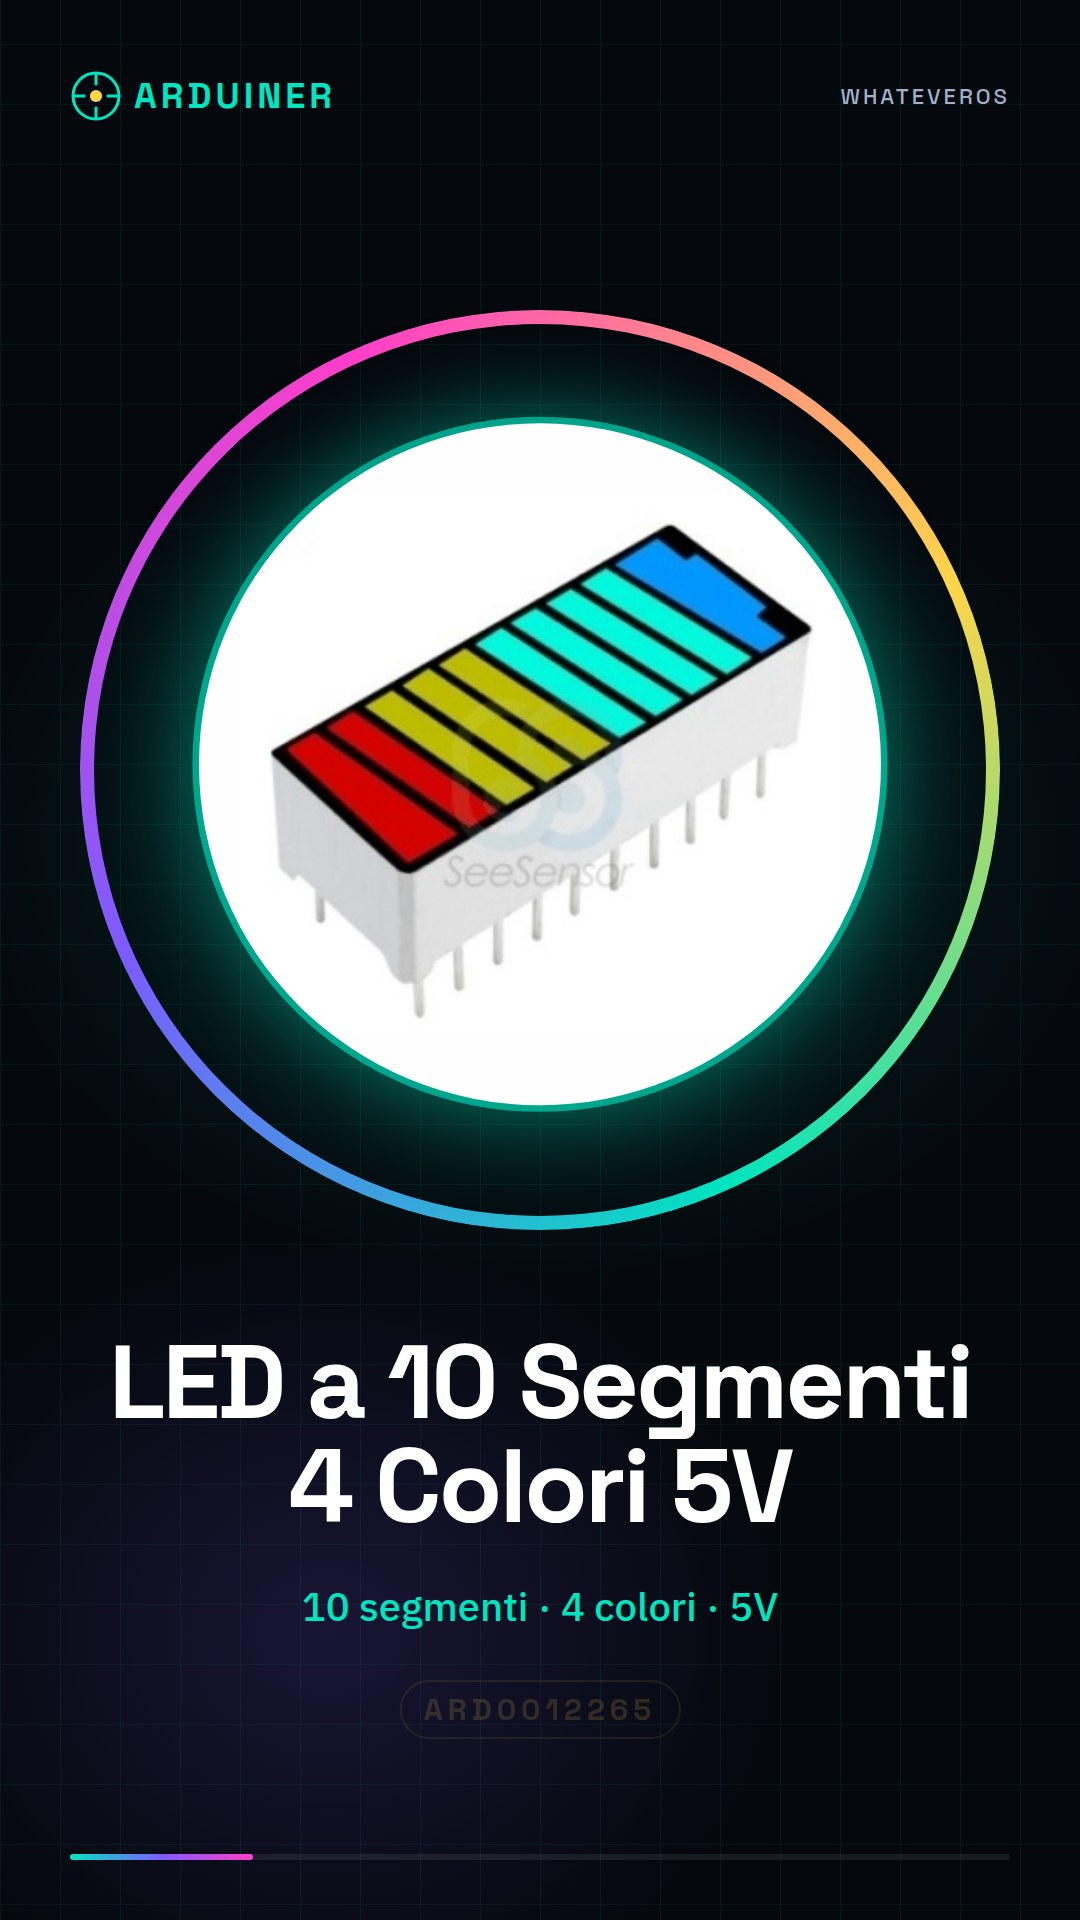
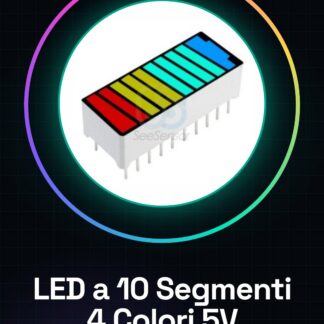
The 10-segment LED indicator in four colors (red, yellow, green, and blue) is a useful component for displaying battery level or other quantities of interest. This device can be used to create charge state indicators with various shades of light.
Features
- Battery level indicated by 10-segment LED
- LED chains in four colors (red, yellow, green, and blue)
- Power supply display indicator with bar graph
- Compatible with Arduino for programming
- Supplied at 5V
What it is for
The LED indicator is ideal for projects that require a clear display of battery level or other quantities. It is particularly useful for beginner and intermediate makers, allowing the creation of charge indicators with red lights indicating low charge, yellow for medium charge, and green for full charge.
Tutorial: How to Use a 10-Segment 4-Color LED
This multifunction indicator is ideal for displaying the state of a battery or any other quantity. Useful for beginner and intermediate makers.
What you need
- Arduino Uno or Compatible
- USB Cable
- 220 Ohm Resistor
- 5V Battery
- Multimeter (optional)
Steps
- 1. Connect the Arduino to a power source.
- 2. Connect the 10-Segment 4-Color LED to an Arduino output port.
- 3. Connect the 220 Ohm resistor between the LED and the Arduino output port.
- 4. Connect the LED power port to a 5V power source.
- 5. Load the following code onto the Arduino.
- 6. Check the datasheet for power specifications.
- 7. Turn on the Arduino and observe the LED.
- 8. Verify functionality with a multimeter (optional).
Example code
```
#include <Arduino.h>

void setup() {
  pinMode(9, OUTPUT);
}

void loop() {
  digitalWrite(9, HIGH);
  delay(1000);
  digitalWrite(9, LOW);
  delay(1000);
}
```
Mini project
Create a battery charge indicator with red lights for low charge, yellow for half charge, and green for full charge.
Common mistakes
- Do not connect the LED directly to the output port without a resistor.
- Power the LED with a voltage different from 5V.
- Use an incompatible Arduino.
- Omit the configuration code.
Recommended accessories
- Multimeter
- 5V Batteries
- Connection Cables
- 220 Ohm Resistor
Frequently asked questions
How can I customize the LED lights?
Check the datasheet for the specific pins of each function and modify the code.
Can I use an Arduino Uno or compatible?
Yes, any Arduino Uno or compatible works.
Does the LED work with batteries other than 5V?
Check the datasheet for the correct power supply voltage.
How can I test the correct functioning of the LED?
Use a multimeter to check the current and voltage.
Reviews
There are no reviews yet.