 EN
 IT Italiano
 ES Español
 FR Français
 DE Deutsch
Description
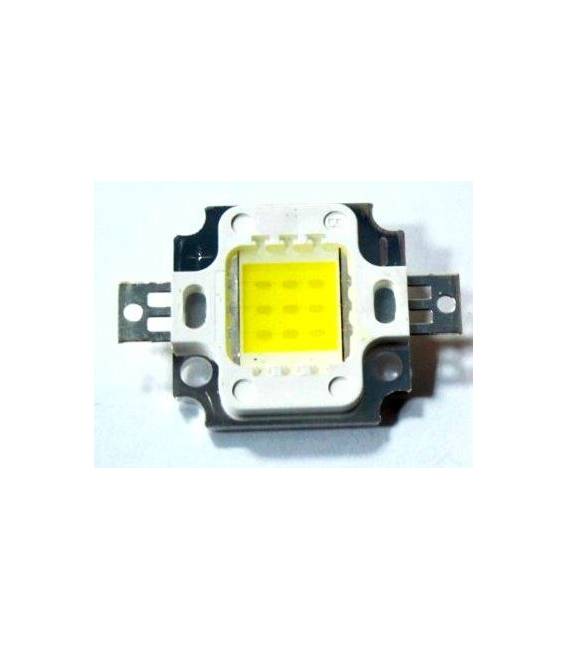
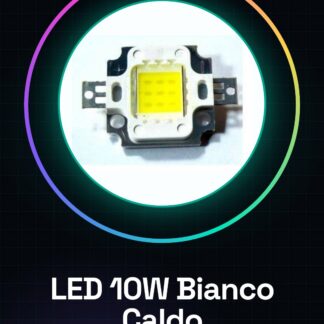
10W 900mA 900-1000LM 2900-3200K 120-140C Warm White 10W 900mA 900-1000LM 2900-3200K 120-140C Light Output
[Nome prodotto] : 10W high power LED integrated light source
[Chip ]: 30 * 30 ( double gold wire )
[ Forward Forward ]: ( 3 Series 3 and ) DC 9-12V ( 12V DC if it is better to use a series resistor to use about 2 ohm )
[Forward Forward]: (3 Series 3 and) 900mA
[Colore]: warm white: 2900-3200K
] [Flusso luminoso: 900-1000LM (lm)
Angolo di visione [gradi]: 120-140
[Durata]: over 100,000 hours
[Temperatura di funzionamento]: -20-60 degrees
[Temperatura di immagazzinamento]: -20-60 degrees
We have available the technical sheet of all components, if not present in the product download card, send us a message from the contact us module and we will publish as soon as possible on our website.
Tutorial: How to use 10W Warm White LED
This 10W warm white LED is ideal for applications requiring strong illumination in limited spaces. It is suitable for both home and professional projects, such as room lighting or the creation of custom lamps.
What you need
- Arduino Uno
- Resistor
- Connectors
- Solar panel (optional)
- Voltage regulator
Steps
- Check the datasheet for the value of the resistor needed to protect the LED.
- Connect the anode of the LED to the digital output pin of the Arduino and the cathode to the negative (-) power supply of the circuit.
- Connect a resistor between the digital output pin of the Arduino and the anode of the LED to limit the current.
- If necessary, connect a voltage regulator between the power supply and the Arduino to ensure that the voltage does not exceed the maximum limits of the LED (check the datasheet).
- Verify the functionality of the LED by turning the digital pin on and off with Arduino.
- If desired, connect a solar panel to power the Arduino and the LED autonomously.
Example code
const int ledPin = 13;
void setup() {
pinMode(ledPin, OUTPUT);
}

void loop() {
digitalWrite(ledPin, HIGH);
delay(500);
digitalWrite(ledPin, LOW);
delay(500);}
Mini project
Create a custom LED lamp using this LED and a transparent container. Connect the LED to a battery-powered Arduino for portability.
Common mistakes
- Using a resistor that is too small or not using one at all, causing damage to the LED.
- Power the circuit with voltage exceeding the maximum limits of the LED (check the datasheet).
- Omitting to regulate the current through the LED to avoid overloads.
- Using an Arduino that is not suitable for the power required by the LED, causing damage to the Arduino.
Recommended accessories
- Variable resistors
- Voltage regulators
- Small solar panels
- LED housings
Frequently asked questions
What is the color temperature of the LED?
2900-3200K, which corresponds to a warm white.
How much light does the LED emit?
900-1000LM, a strong illumination for small rooms or creative projects.
Reviews
There are no reviews yet.