 EN
 IT Italiano
 ES Español
 FR Français
 DE Deutsch
Description
What it is
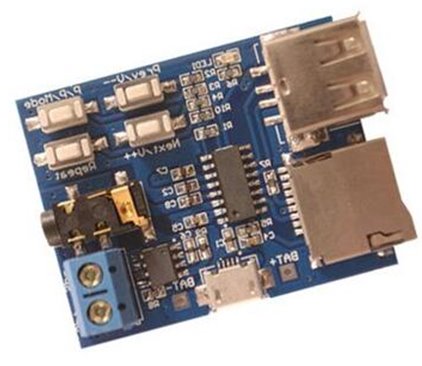
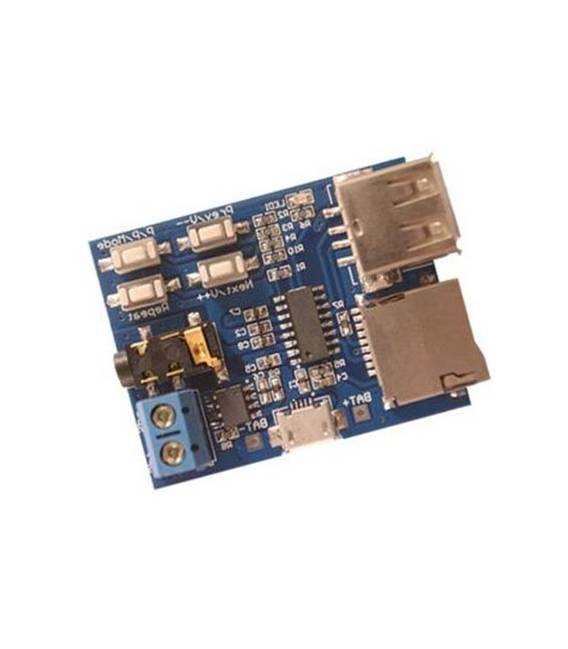
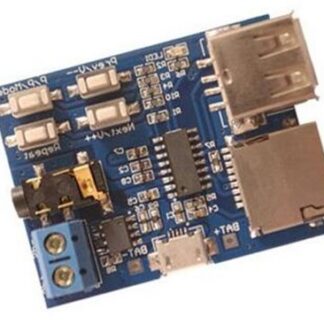
The ARD0010482 module is an audio decoder for Arduino that allows reading and reproducing MP3 files from TF cards (microSD) or USB devices. This device is designed to facilitate the integration of audio features in microcontroller-based projects.
Features
- Enables reading and reproducing MP3 files from TF cards or USB devices
- Ideally used in audio and drone projects
What it is for
This module is useful for creating small jukeboxes that turn on an LED when a folder with MP3 files is inserted, activating audio playback. It is compatible with Arduino and can be used in various electronic audio projects.
Tutorial: How to use TF Card U Disk MP3 Decoder
This module allows reading MP3 files from a TF card or USB drive, ideal for electronic audio projects.
What you need
- TF card or USB drive
- Arduino
- USB cable
- 10kΩ resistor
Steps
- 1. Connect the Arduino to the computer via USB cable.
- 2. Install the latest version of Arduino IDE.
- 3. Download the following code and upload it to the Arduino.
- 4. Connect pin D10 of the Arduino to the VCC pin of the module.
- 5. Connect the GND pin of the Arduino to the GND pin of the module.
- 6. Connect pin D9 of the Arduino to the SCK pin of the module.
- 7. Connect pin D8 of the Arduino to the MOSI pin of the module.
- 8. Connect pin D11 of the Arduino to the MISO pin of the module.
- 9. Connect pin D12 of the Arduino to the CS pin of the module.
- 10. Connect pin D7 of the Arduino to the DREQ pin of the module.
- 11. Connect pin D6 of the Arduino to the GPO pin of the module.
- 12. Connect the GPO pin of the module to the pin of an LED.
- 13. Connect the GND pin of the module to the GND pin of the Arduino.
- 14. Connect a 10kΩ resistor between VCC and CS of the module.
- 15. Upload the code to the Arduino.
- 16. Insert a TF card or a USB flash drive into the module.
- 17. Load an MP3 file onto the device.
- 18. Power up the Arduino and listen to the audio.
Example code
```void setup() { pinMode(10, OUTPUT); pinMode(9, OUTPUT); pinMode(8, OUTPUT); pinMode(11, OUTPUT); pinMode(12, OUTPUT); pinMode(7, INPUT); pinMode(6, OUTPUT);}void loop() { if(digitalRead(7) == HIGH) { digitalWrite(6, HIGH); } else { digitalWrite(6, LOW); }}```Mini project
Create a small jukebox that turns on an LED when a folder with MP3 files is inserted and activates the audio.
Common mistakes
- Do not connect the pins correctly.
- Use a 10kΩ resistor between VCC and CS.
- Check the datasheet to see if the module supports your type of MP3 file.
- Make sure the MP3 file is in a compatible format.
Recommended accessories
- LED
- TF card
- USB flash drive
- 10kΩ resistor
Frequently asked questions
How can I check if the MP3 file is compatible?
Check the module’s datasheet or the manufacturer’s website.
Which MP3 files does the module support?
Check the module’s datasheet or the manufacturer’s website.
Why doesn’t the LED turn on?
Check if pin D7 is correctly connected and if the MP3 file is in the correct folder.

Reviews
There are no reviews yet.