 EN
 IT Italiano
 ES Español
 FR Français
 DE Deutsch
Description
What it is
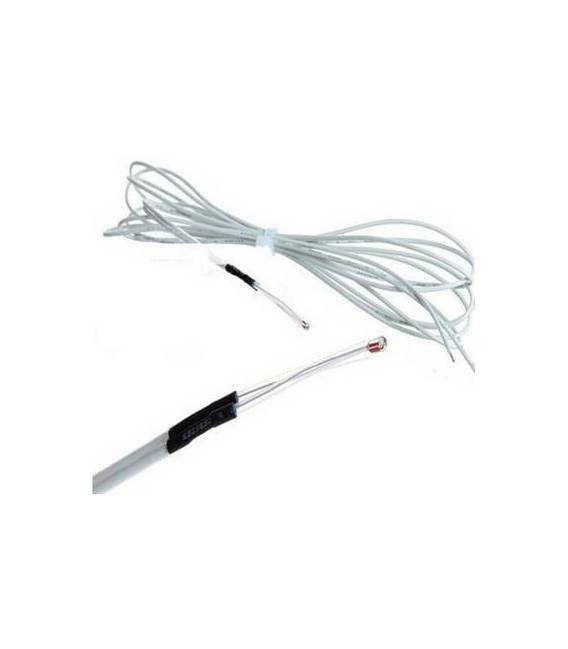
The NTC 100K 3950 Temperature Sensor is used to monitor and regulate temperature in applications such as 3d printers. This component helps maintain a constant internal climate during printing operations, improving the quality of the parts produced.
Features
- NTC 100K 3950 Sensor
- Precise temperature control for 3D printing process optimization
What it is for
The thermistor is essential for creating an alarm system that warns when the temperature exceeds a certain threshold. It is compatible with Arduino and ESP, making integration into automation projects easy.
Tutorial: How to Use NTC 100K Thermistor Sensor
The NTC 100K thermistor is an ideal temperature sensor for monitoring temperature in environments like 3D printers. This component helps maintain a constant internal climate during printing operations, improving the quality of printed parts.
What you need
- Arduino Uno
- USB cable
- Breadboard
- Pull-up resistor
Steps
- Connect the NTC 100K thermistor to a digital pin of the Arduino using a pull-up resistor to form a voltage divider.
- Download and install the Adafruit Thermistor library or similar on the Arduino IDE.
- Open an existing sketch in the Arduino IDE or create a new one.
- Insert the sensor code into your sketch, making sure to specify the correct pin and characteristics of the thermistor (check the datasheet).
- Save the sketch as ‘Thermistor_100K’.
- Upload the sketch to the Arduino.
- Open the Serial Monitor section in Arduino IDE to see the temperature data received from the sensor.
- Adjust the value of the pull-up resistor and repeat the experiment if necessary.
Example code
// Esempio di codice
#include <Adafruit_Temperature.h>
#include <Adafruit_Thermistor.h>

#define THERMISTOR_PIN 2 // Pin in cui il termistor è collegato
#define SERIES_RESISTOR 10000 // Valore della resistenza pull-up (verifica sul datasheet)

Adafruit_Thermistor thermistor = Adafruit_Thermistor(THERMISTOR_PIN, SERIES_RESISTOR);
void setup() {
Serial.begin(9600);}
void loop() {
float temperatureC = thermistor.readCelsius();
Serial.print("Temperatura: ");
Serial.println(temperatureC);
delay(1000);}
Mini project
Create a 3D printer alarm system that warns when the temperature exceeds a certain threshold.
Common mistakes
- Fail to properly set the value of the pull-up resistor.
- Use an analog pin instead of a digital one.
- Enter the wrong characteristics of the thermistor in the code.
- Ignore the importance of proper power supply for the circuit.
Recommended accessories
- Arduino Uno
- Breadboard
- Variable resistors
- USB cable
Frequently asked questions
How can I calibrate this sensor?
To calibrate it, compare the thermistor reading with an accurate thermometer at various temperatures and adjust the code accordingly.
Can it also be used to monitor humidity?
No, it is specific for measuring temperature. For humidity, use a sensor like DHT11 or similar.


Reviews
There are no reviews yet.