 EN
 IT Italiano
 ES Español
 FR Français
 DE Deutsch
Description
What it is
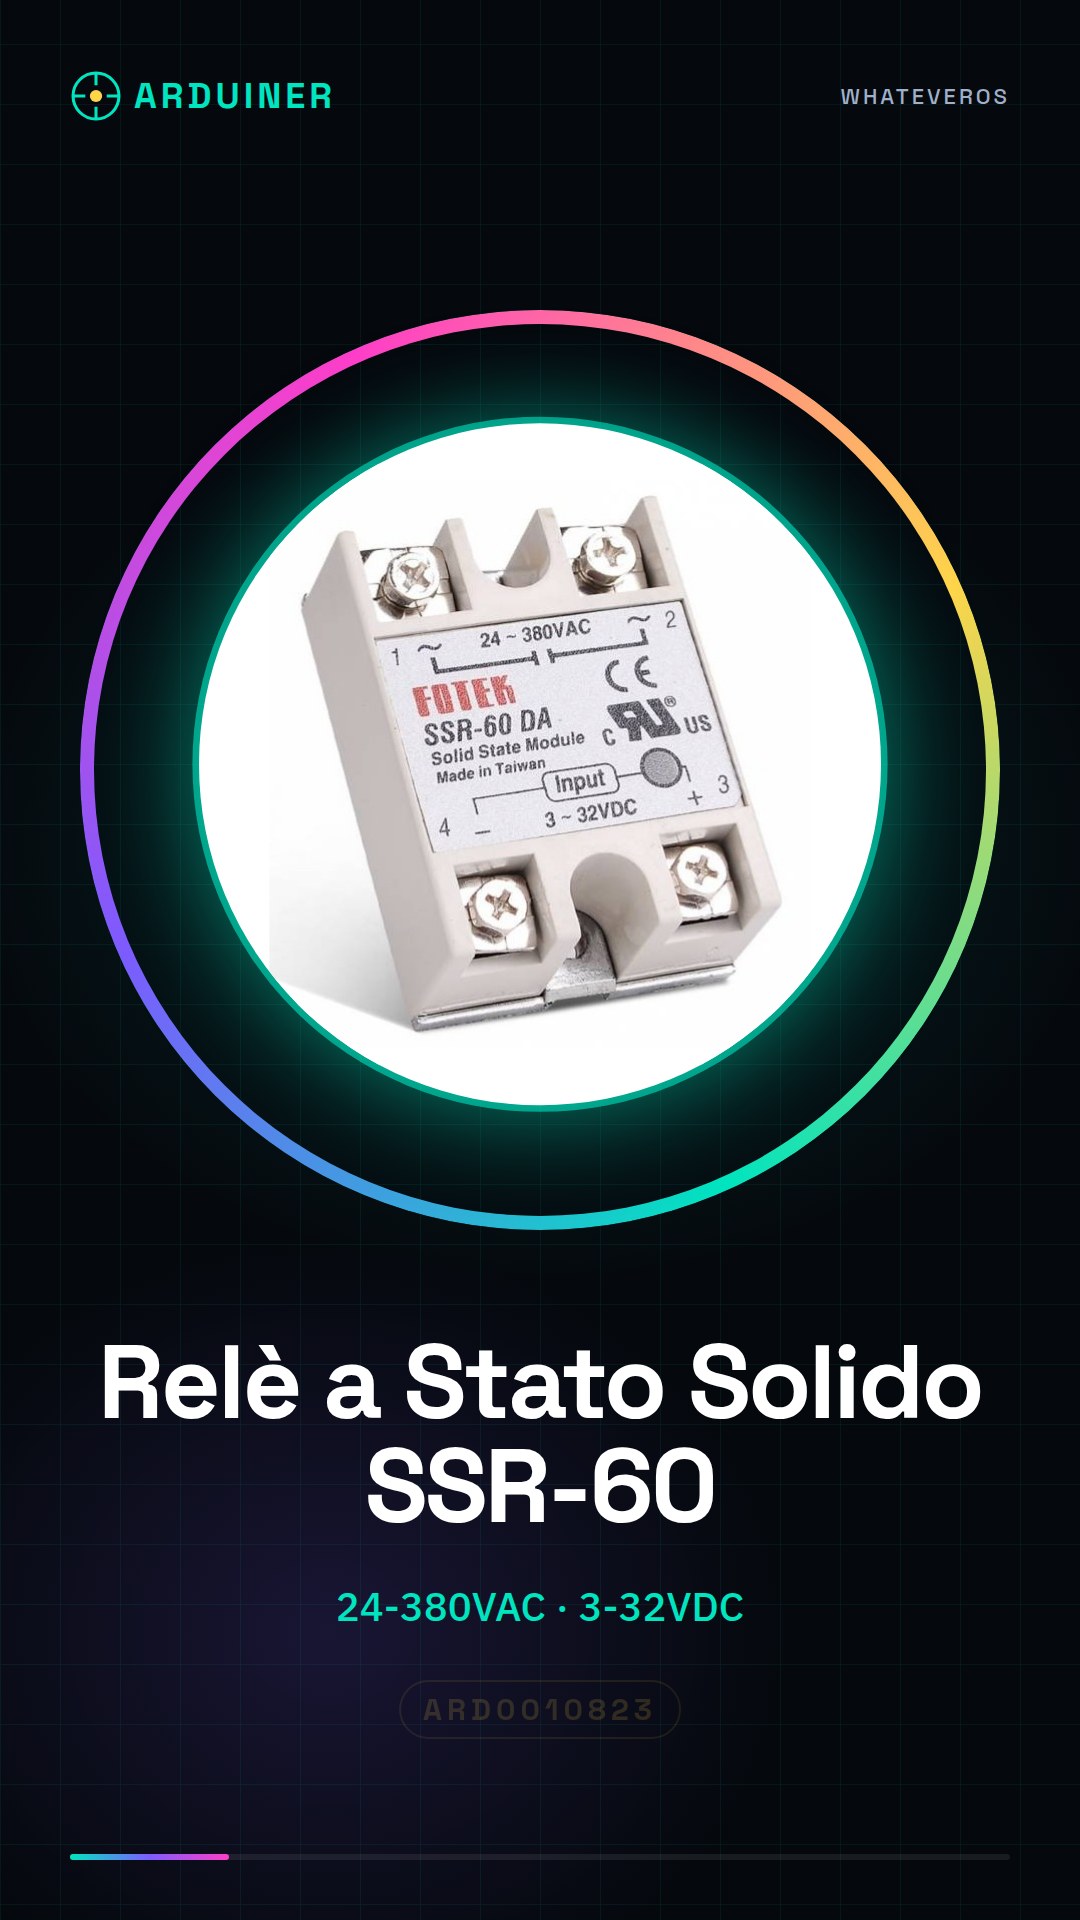
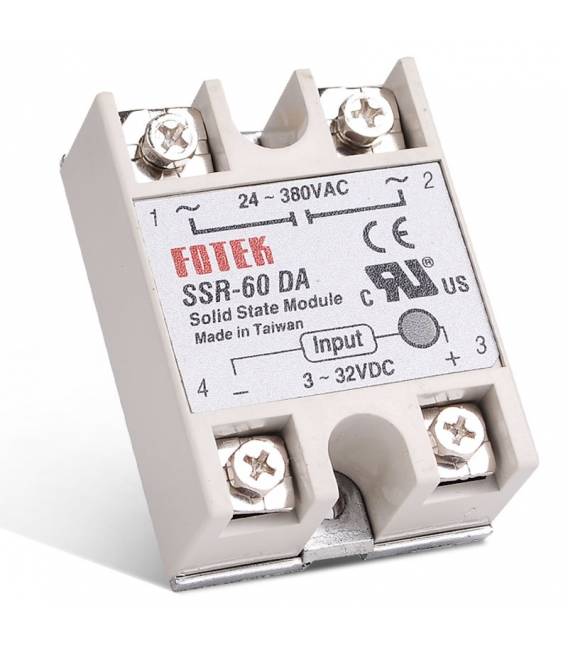
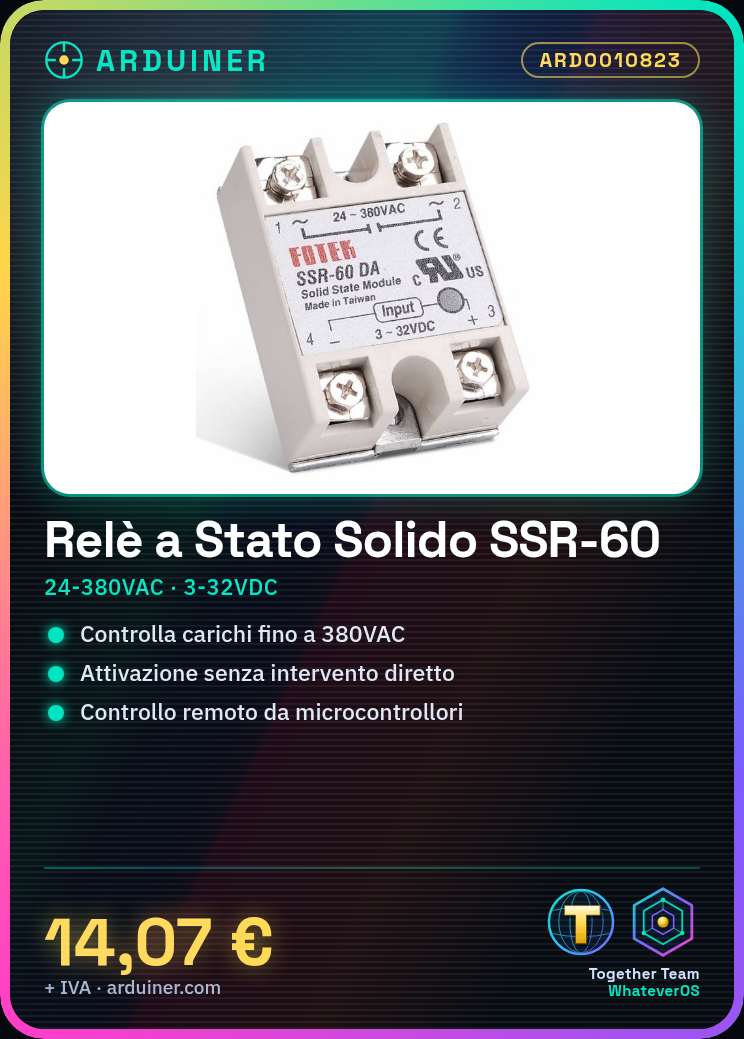
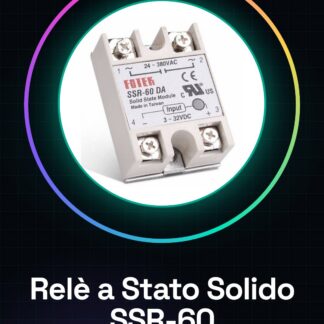
The SSR-60 solid state relay is an electronic component that allows controlling high voltage circuits from devices such as Arduino or other microcontrollers. This device enables managing loads up to 380VAC with a low control voltage between 3-32VDC.
Features
- Operating Voltage: 24-380VAC
- Control Voltage: 3-32VDC
What it is for
The SSR-60 is ideal for projects that require the activation of high voltage loads safely and without direct intervention. It can be used to create automatic lighting systems, temperature controllers, or any other system that requires remote control over high voltage devices.
Tutorial: How to use Solid State Relay SSR-60
The SSR-60 solid state relay is an ideal component for controlling high voltage electrical circuits from Arduino or other microcontrollers. It is particularly useful for projects requiring the activation of loads up to 380VAC without risks.
What you need
- Arduino Uno
- Jumper wire
- Battery power supply
Steps
- Check the voltage of the circuit to be controlled and ensure it is compatible with the SSR-60’s input specifications (check the datasheet).
- Connect the relay control signal to a digital pin of Arduino.
- Connect the external circuit power supply to the SSR-60 power pins (check the datasheet).
- Ensure that the ground is correctly connected between Arduino and SSR-60 to avoid short circuits.
- Upload the sketch to Arduino that activates the relay when a HIGH signal is received on the digital pin.
- Test the system by turning the external load on and off with commands from Serial Monitor or buttons.
- If necessary, adjust the delay times or control sensitivity based on the project requirements.
Example code
void setup() {
  pinMode(2, OUTPUT);
}

void loop() {
  digitalWrite(2, HIGH); // Attiva il relè
  delay(5000);           // Attende 5 secondi
  digitalWrite(2, LOW);  // Spegne il relè
}
Mini project
Create an automatic lighting system that turns a lamp on and off based on commands from Arduino.
Common mistakes
- Incorrect ground connection between Arduino and SSR-60.
- Control voltage not compatible with the relay.
- External load too heavy for the relay’s capacity.
Recommended accessories
- Arduino Uno
- Jumper wire set
- 9V battery power supply
Frequently asked questions
How can I protect the Arduino from induced currents?
Use a diode in parallel between ground and relay signal, with the cathode towards the relay.
Can I control motors with this relay?
Yes, but make sure the voltage and current are compatible with the SSR-60 specifications (check the datasheet).
Reviews
There are no reviews yet.