 EN
 IT Italiano
 ES Español
 FR Français
 DE Deutsch
Description
What it is
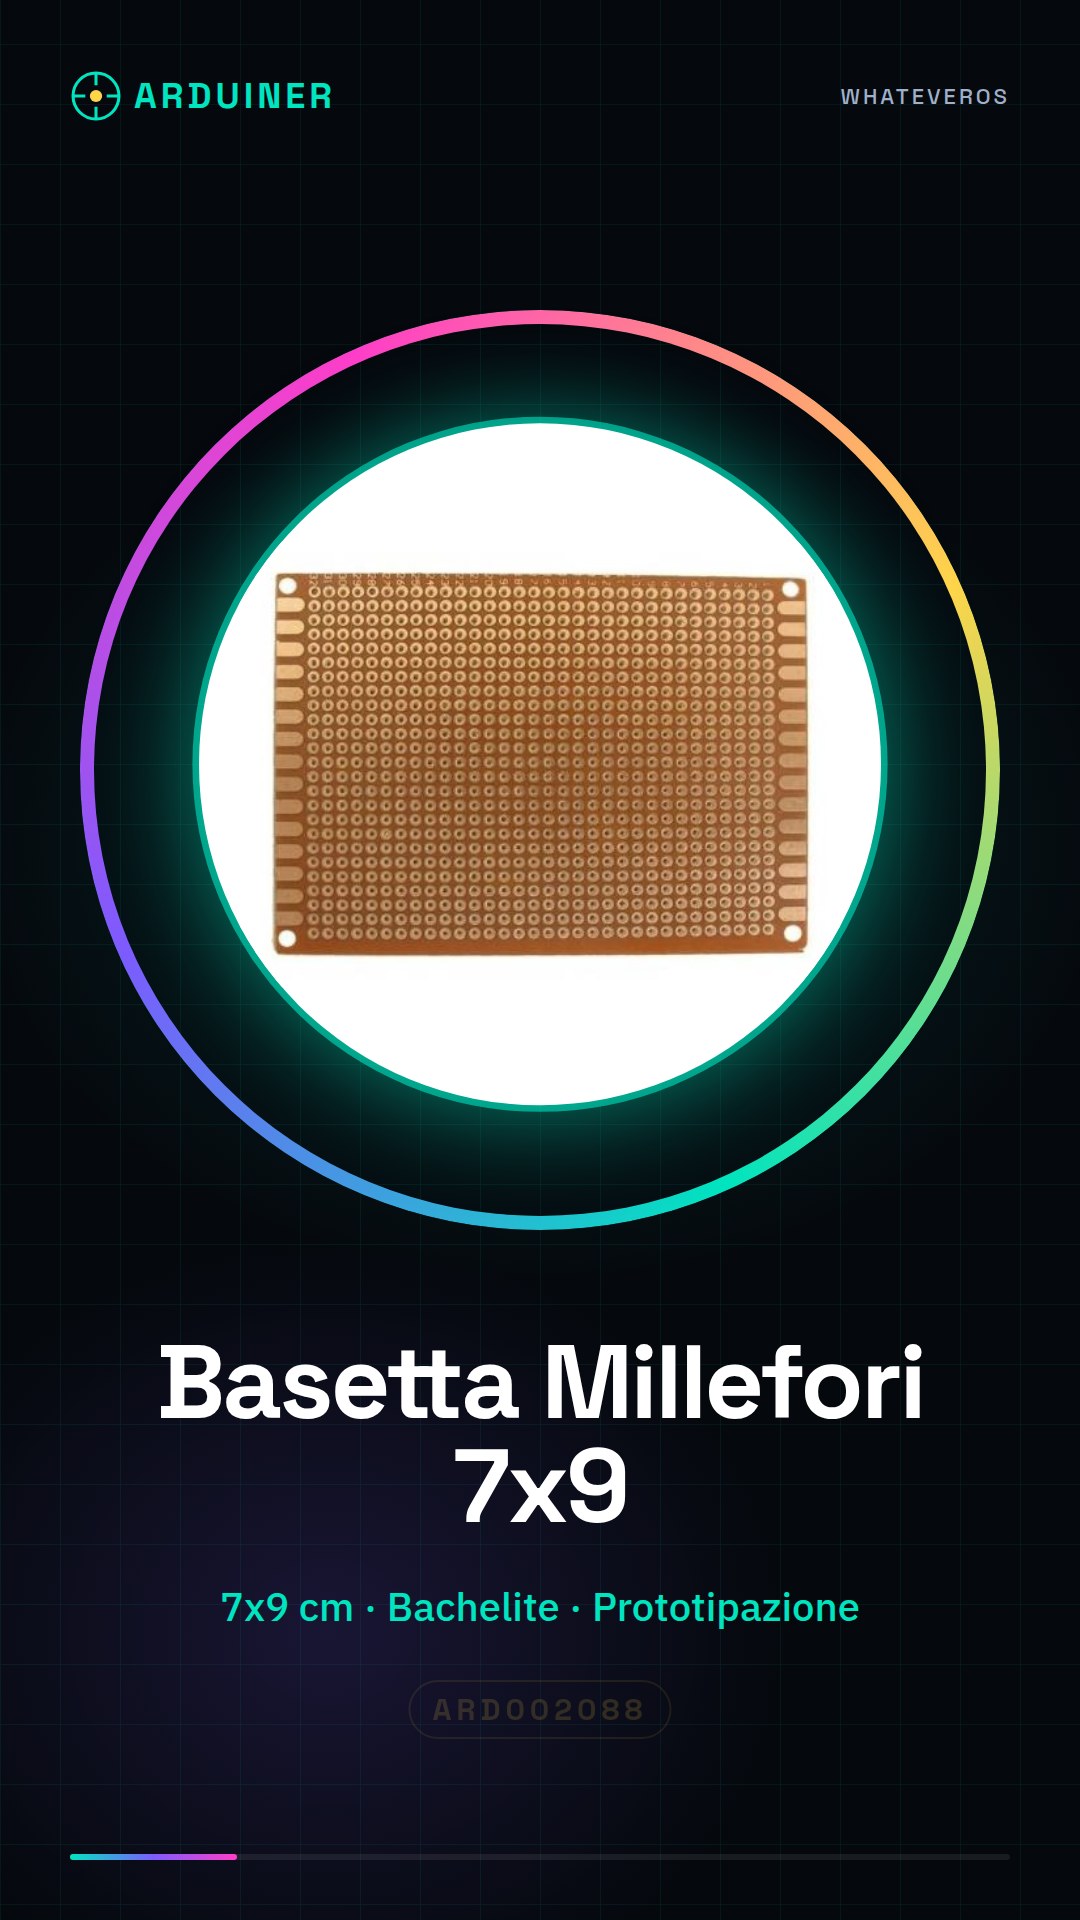
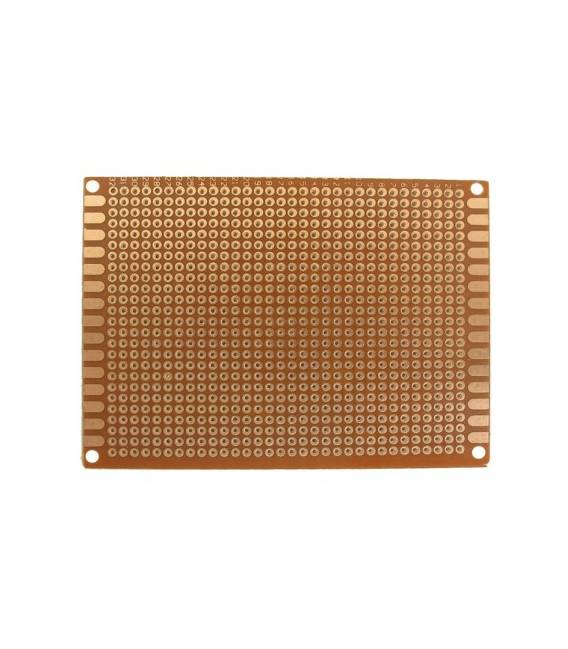
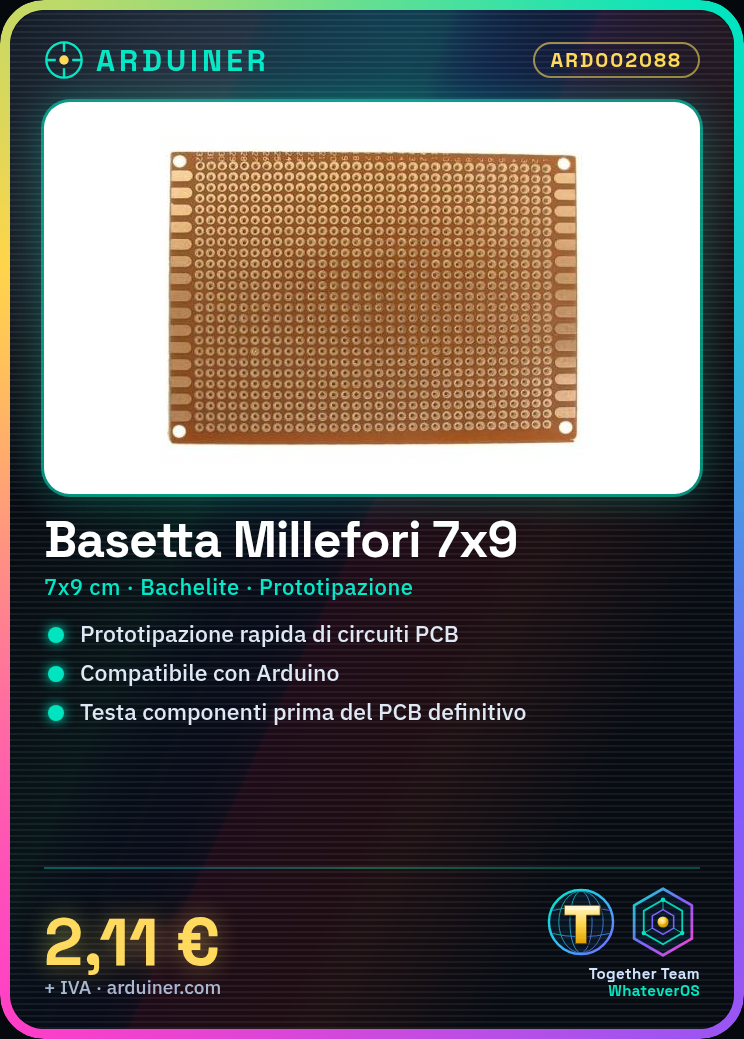
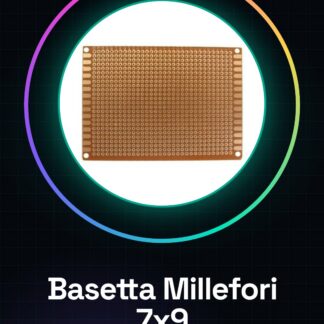
The single-sided through-hole breadboard in Bachelite measuring 7×9 cm is an essential component for PCB circuit prototyping. This tool allows electronics enthusiasts and professionals to quickly test and experiment with various projects.
Features
- Size: 7×9 cm
- Type: Single-sided through-hole breadboard
- Materials: Bachelite for PCB
What it is for
Ideal for electronic circuit prototyping, this breadboard is compatible with Arduino and other microcontrollers. You can use it to create simple lighting circuits controlled by Arduino or to test electronic components before the final PCB production.
Tutorial: How to Use the Single-Sided Through-Hole Breadboard
The single-sided breadboard is a fundamental component for prototyping electronic circuits. Ideal for Arduino enthusiasts, Raspberry Pi users, or any other project that requires the temporary assembly of components.
What you need
- Arduino Uno
- Electronic components (resistors, capacitors)
- Battery or USB power supply
Steps
- Position the breadboard on the workbench in a stable manner.
- Connect the electronic components to the breadboard using the wire intersections.
- Connect the microcontroller (e.g., Arduino Uno) to the pins of the breadboard.
- Check the connection between all connected elements.
- Write and load the appropriate sketch onto the microcontroller.
- Test the complete circuit to ensure everything works correctly.
Mini project
Create a simple lighting circuit controlled by Arduino. Connect an LED to the breadboard and program the Arduino to turn the LED on and off.
Common mistakes
- Do not verify connections properly before uploading the sketch to the microcontroller.
- Use electronic components with incorrect values.
- Omit powering the circuit.
- Connect pins incorrectly.
Recommended accessories
- Arduino Uno
- LEDs of various colors
- 220 Ohm resistors
Frequently asked questions
What is the difference between a single-sided breadboard and a double-sided breadboard?
The single-sided has intersections only on one side, while the double-sided has intersections on both sides.
Can I use the breadboard for long-term projects?
The breadboard is ideal for temporary prototypes, but not recommended for permanent circuits.
Reviews
There are no reviews yet.