 EN
 IT Italiano
 ES Español
 FR Français
 DE Deutsch
Description
What it is
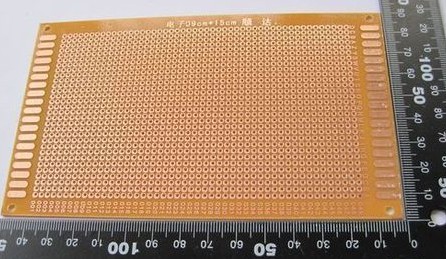
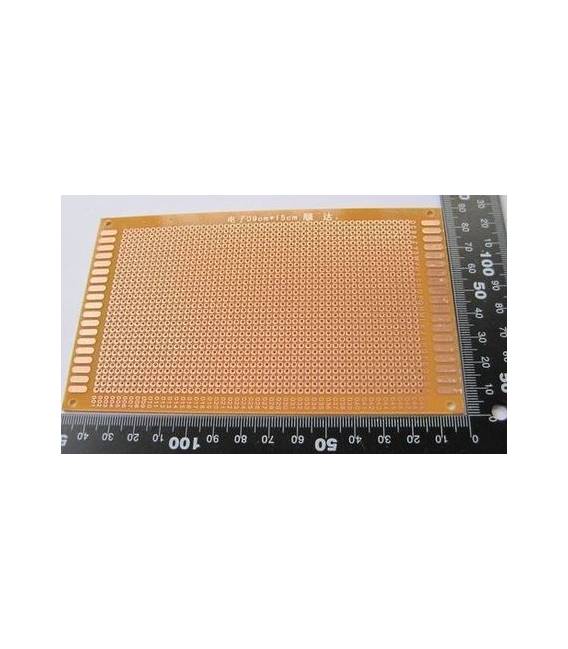
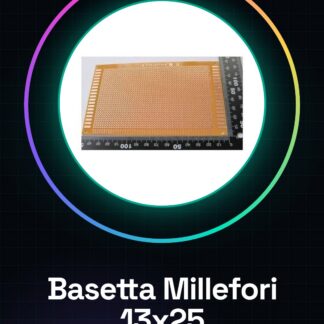
The single-sided 13×25 cm breadboard is an essential component for prototyping and mounting electronic circuits. This tool allows makers, students, and experts to quickly create prototypes without the need for soldering.
Features
- Size: 13×25 cm
- Vetronite PCB for protection and durability
What it is for
Ideally usable with Arduino, ESP, and 3D printing projects. Allows the connection of various electronic components to create prototype circuits. Suitable for both beginners and experts.
Tutorial: How to use the Single-Sided Breadboard
The single-sided 13×25 cm breadboard is a fundamental tool for makers and students who want to quickly create prototypes of electronic circuits. Ideal for both beginners and experts, it allows the connection of various components without the need for soldering.
What you need
- Arduino Uno
- Resistors
- LEDs
- Relays
- Sensors
Steps
- Check the compatibility of the breadboard with your electronic components.
- Arrange the components on the breadboard’s grid, ensuring that their pins are properly inserted into the contact rows.
- Connect the wires between the various components using the breadboard’s grid as a guide for the necessary connections.
- Verify all connections with a multimeter or an LED light to ensure there are no short circuits or breaks.
- Connect the circuit to the power source and/or the Arduino microcontroller, if necessary.
- Test the prototype’s functionality with a simple Arduino sketch.
Mini project
Create an LED lamp controlled by a light sensor: connect a light sensor and an LED to the breadboard, then write a sketch that turns on the LED when the light is low.
Common mistakes
- Do not properly check the connections before powering the circuit.
- Use electronic components with pin sizes that are too large or too small for the breadboard.
- Fail to use resistors between LEDs and the breadboard, causing damage to the component.
- Fail to check the specifications of the sensor datasheet before connecting them.
Recommended accessories
- Arduino Uno
- Dual-sided breadboard
- Variable resistor kit
- Electronic prototyping kit
Frequently asked questions
Is this breadboard compatible with Arduino?
Yes, the breadboard is designed to be used in combination with Arduino.
Can I use multiple breadboards together?
Yes, you can connect multiple breadboards to each other using the side connectors.
Reviews
There are no reviews yet.