 EN
 IT Italiano
 ES Español
 FR Français
 DE Deutsch
Description
What it is
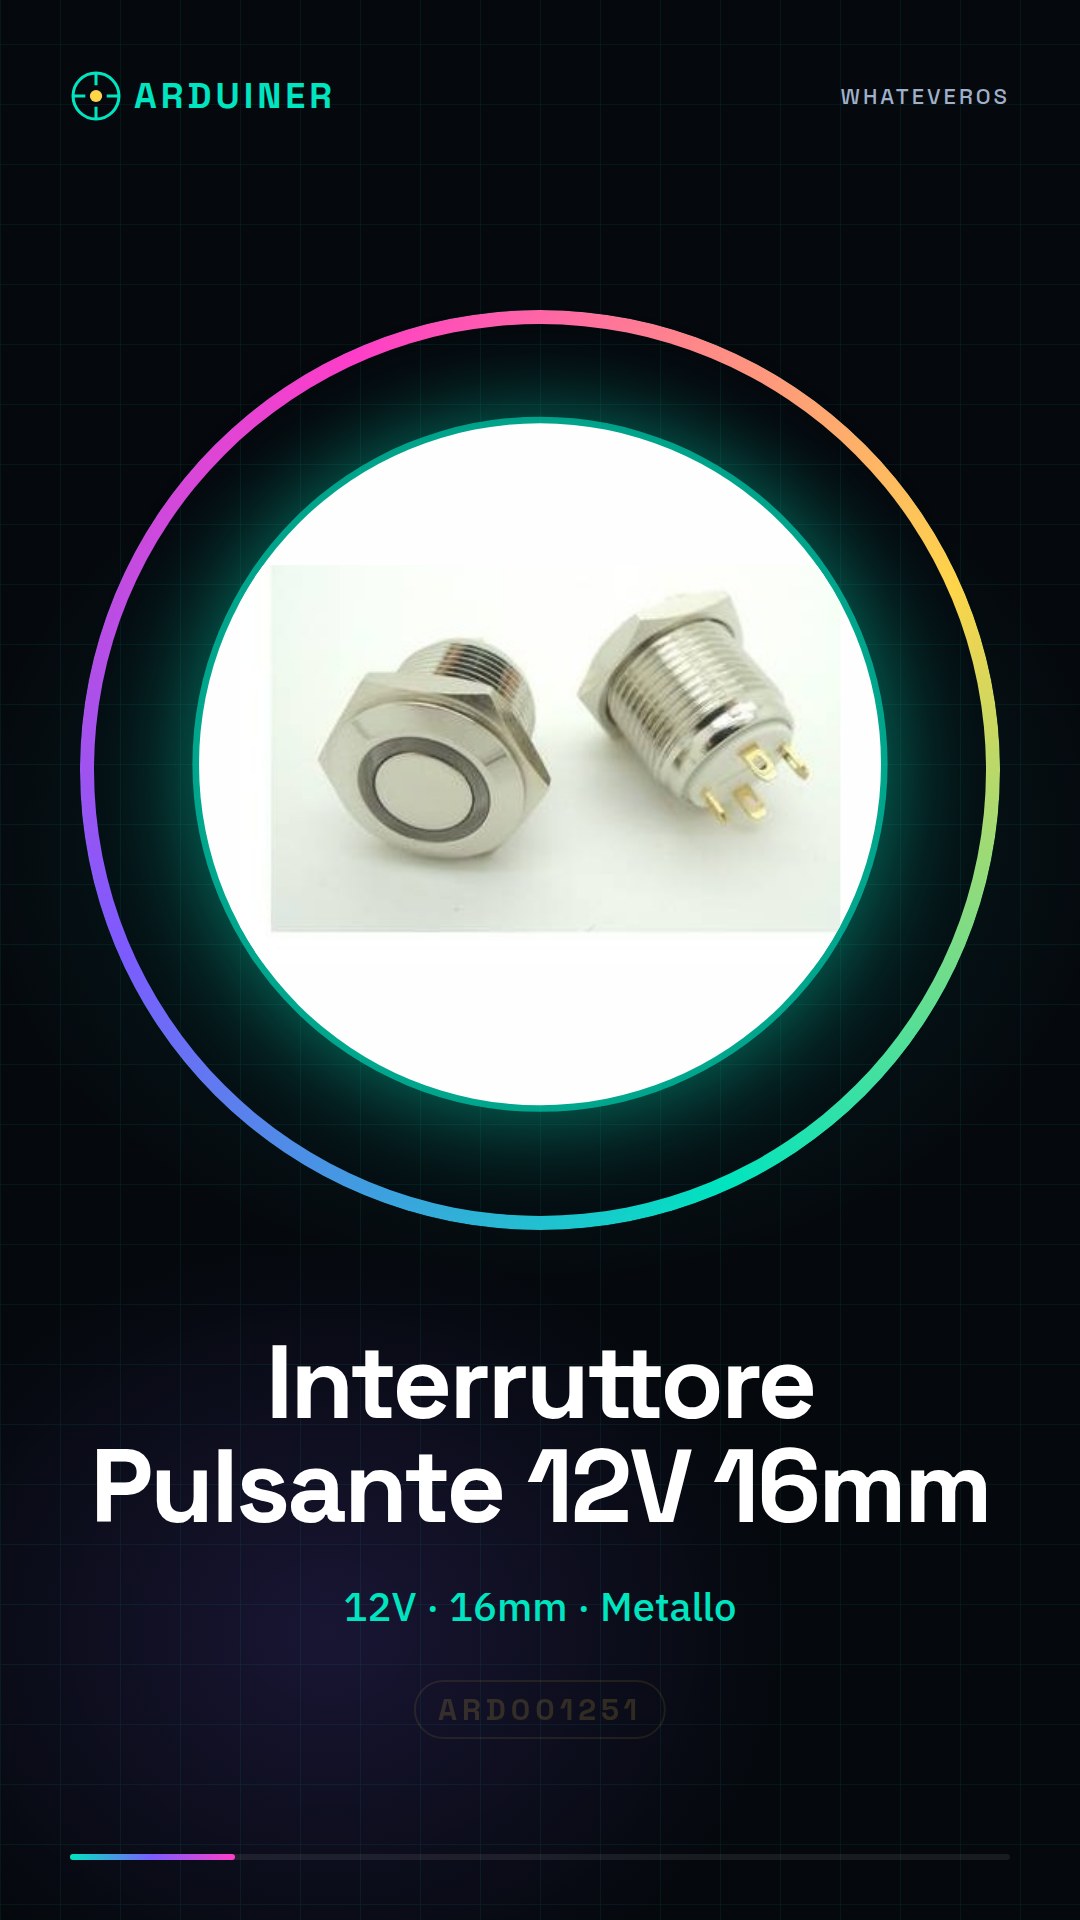
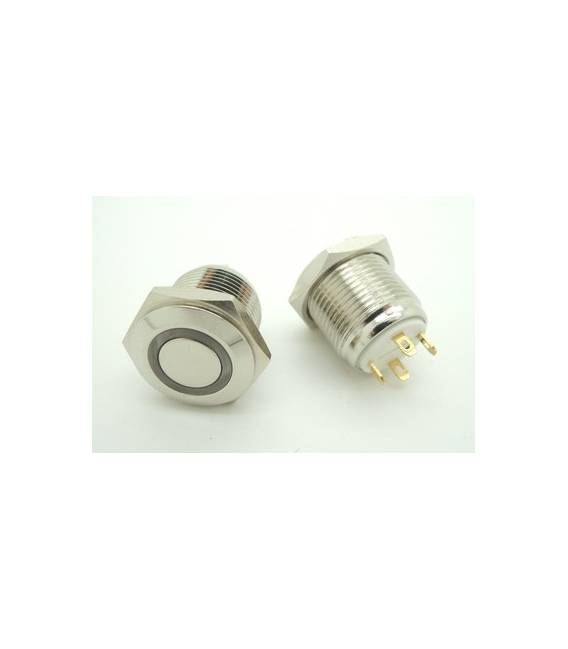
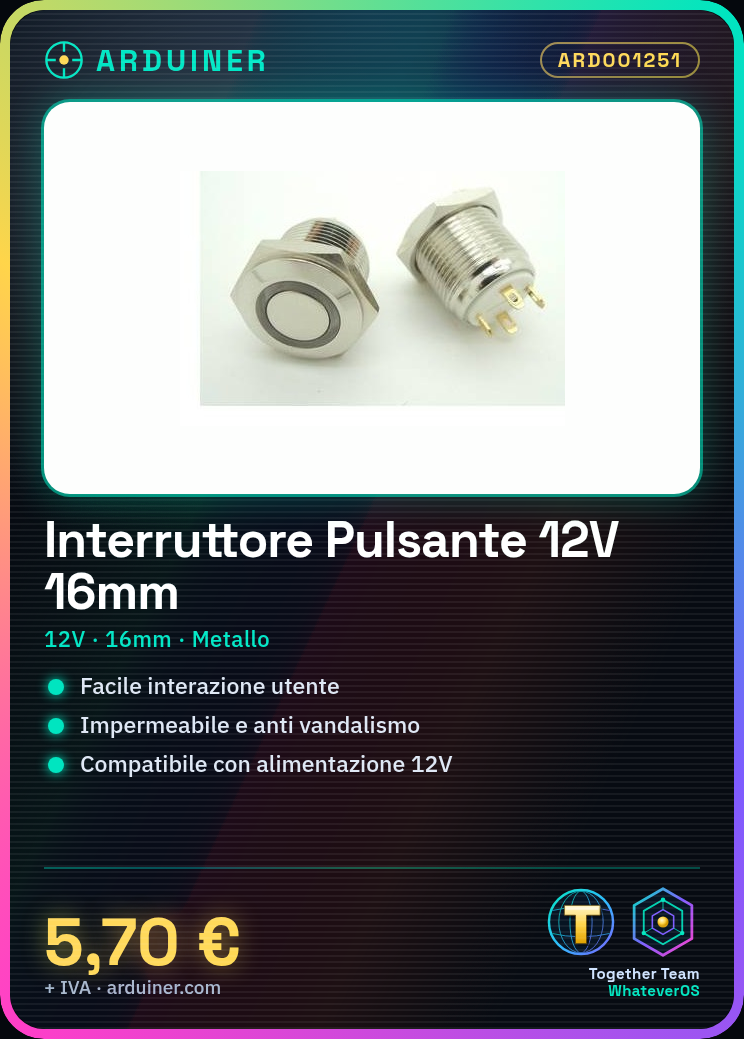
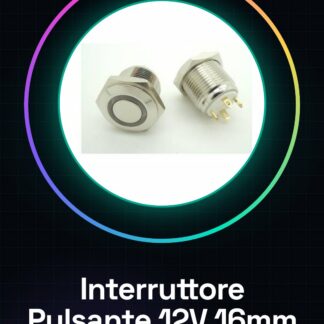
The Arduiner metal momentary push button switch is an essential component for electronic projects requiring easy user interaction. With its compatibility with 12V power supplies, this switch offers a robust and waterproof solution for various applications.
Features
- Operating Voltage: 12V
- Button Diameter: 16mm
- Material: metal
- Waterproof Panel
- Vandal Resistant
What it is for
The momentary push button switch is ideal for projects that require manual control of electronic devices. It is particularly suitable for use in outdoor or industrial environments due to its resistance to atmospheric pollution and physical damage. You can use it with Arduino, ESP32/ESP8266 or other microcontrollers to create automatic lighting systems or other interactive applications.
Tutorial: How to Use 12V 16MM Momentary Push Button Switch
This momentary push switch is ideal for controlling electronic devices that require 12V power supply. It is perfect for both home and industrial projects, ensuring easy installation due to its compatible size.
What you need
- Arduino Uno or similar
- Connection cable
- M/F connector
Steps
- Check the circuit voltage and ensure it is compatible with the switch (12V).
- Connect the switch to the M/F connector using the connection cables.
- Connect one end of the switch to a digital output of the Arduino, and the other to the 12V power supply (refer to the datasheet for specifics).
- Connect the common ground of the switch to the GND of the Arduino.
- Write the Arduino sketch that reads the state of the switch and controls the connected device.
- Compile and run the sketch.
- Press the switch to test if it works correctly.
- If necessary, adapt the sketch to your needs.
Example code
const int pulsante = 2;

void setup() {
pinMode(pulsante, INPUT);
}

void loop() {
digitalWrite(13, digitalRead(pulsante));
}
Mini project
Create an automatic lighting system that turns on when you press the switch and turns off after a few seconds.
Common mistakes
- Connect the button to a different voltage than specified
- Do not check polarity during connection
- Ignore the required pull-up/down resistor (check the datasheet)
- Use an incorrect connector that does not fit
Recommended accessories
- Pull-Up/Pull-Down Resistor
- Arduino Uno R3
- M/F Connections for Arduino
- Motion Sensors
Frequently asked questions
Where can I find the datasheet?
The datasheet is available on the manufacturer’s website or in the ‘Documentation’ section of our website.
Can it be used with voltages below 12V?
Check the voltage compatibility on the datasheet to ensure the button works correctly at other voltages.
Reviews
There are no reviews yet.