 EN
 IT Italiano
 ES Español
 FR Français
 DE Deutsch
Description
What it is
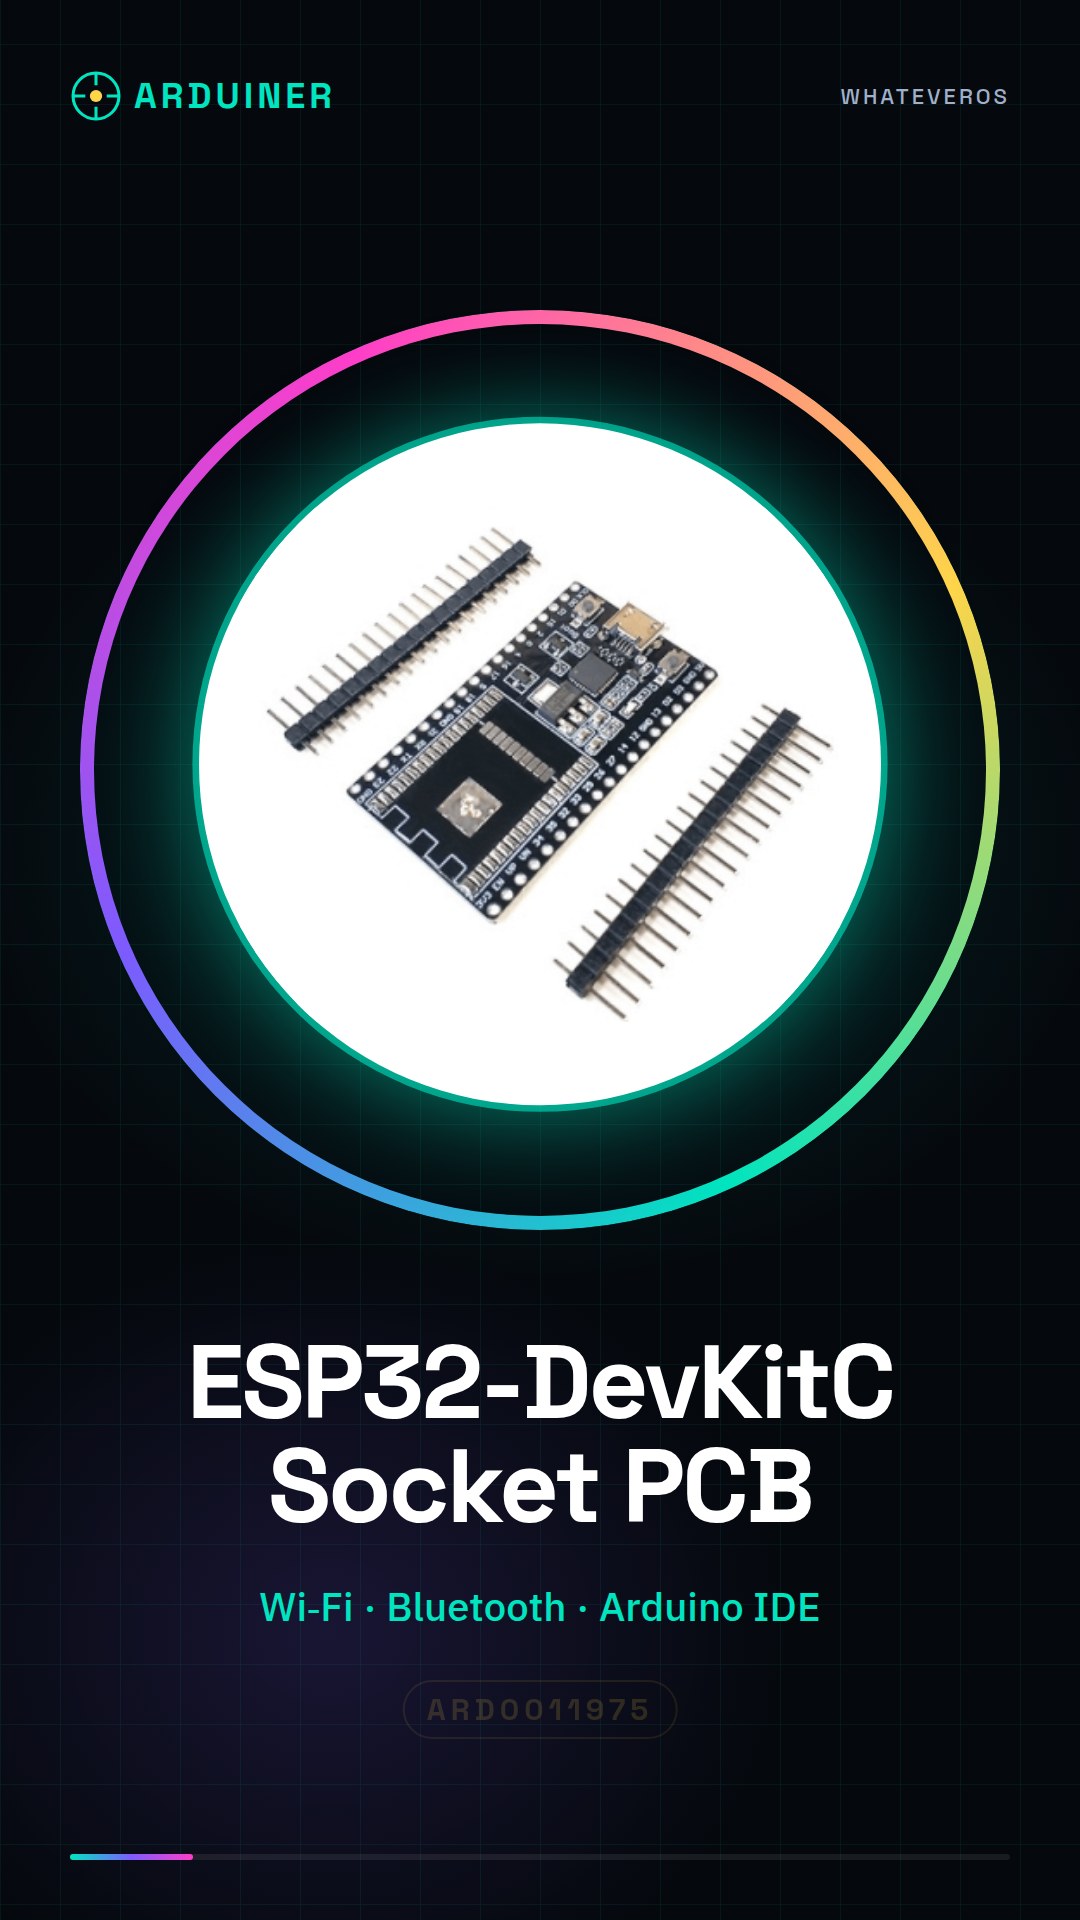
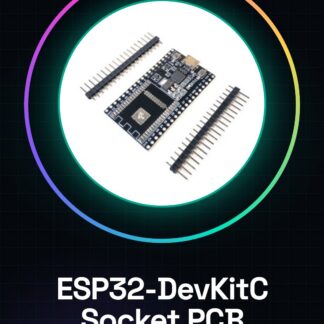
The ESP32-DevKitC Socket PCB is a development module for ESP32 hardware, designed to facilitate the development and prototyping of projects that require Wi-Fi and Bluetooth connectivity. This module is ideal for anyone who wants to explore the capabilities of the ESP32 in contexts such as IoT, 3D printing, or any other project that requires a versatile platform.
Features
- Integrated ESP32 module
- PCB board with socket for the ESP32 module
What it is for
The ESP32-DevKitC can be used to develop IoT projects, such as remote control systems for lights or electrical devices. Additionally, it is compatible with Arduino IDE and can be integrated into projects that require Wi-Fi and Bluetooth connectivity.
Tutorial: How to use ESP32-DevKitC Socket PCB
The ESP32-DevKitC is a development module for the ESP32 hardware, ideal for projects requiring Wi-Fi and Bluetooth connectivity. This tutorial will guide you through the initial steps to start programming it.
What you need
- ESP32-DevKitC Socket PCB
- computer with Arduino IDE installed
- USB A-MicroB cable
- external power supply (check the datasheet)
Steps
- Connect the ESP32-DevKitC to the computer via the USB cable.
- Open the ‘Tools > Boards’ section and select ‘ESP32 Dev Module’.
- Download and install the necessary libraries for ESP32 from the package manager.
- Write a simple sketch that turns on an LED connected to one of the ESP32 GPIO pins.
- Upload the source code to the module via Arduino IDE.
- Verify Wi-Fi and Bluetooth connectivity using examples from the ESP-IDF bootloader installed with the libraries.
- Test sensors or other external devices connected to the ESP32-DevKitC GPIO pins.
- Configure the ESP32 as a web server to control devices remotely (check the datasheet).
Example code
void setup() {
  pinMode(2, OUTPUT);
  digitalWrite(2, HIGH);
}

void loop() {}
Mini project
Create a remote control system for lights or electrical devices with ESP32-DevKitC. Connect a relay to one of the ESP32 GPIO pins and control the device via a web page.
Common mistakes
- Set the wrong Arduino board.
- Do not load the necessary libraries for ESP32.
- Incorrect USB cable connection.
- Insufficient power supply error (check the datasheet).
Recommended accessories
- ESP-WROOM-32
- Socket PCB Holder
- USB 5V Power Supply
- Variable Resistor and Temperature Sensor
Frequently asked questions
How can I load the bootloader on ESP32?
Use the ‘Burn Bootloader’ option in the Arduino IDE Tools menu.
Which libraries do I need to install to start with ESP32?
Install the IDF and Espressif ESP32 libraries from the Arduino package manager.
Reviews
There are no reviews yet.