 EN
 IT Italiano
 ES Español
 FR Français
 DE Deutsch
Description
What it is
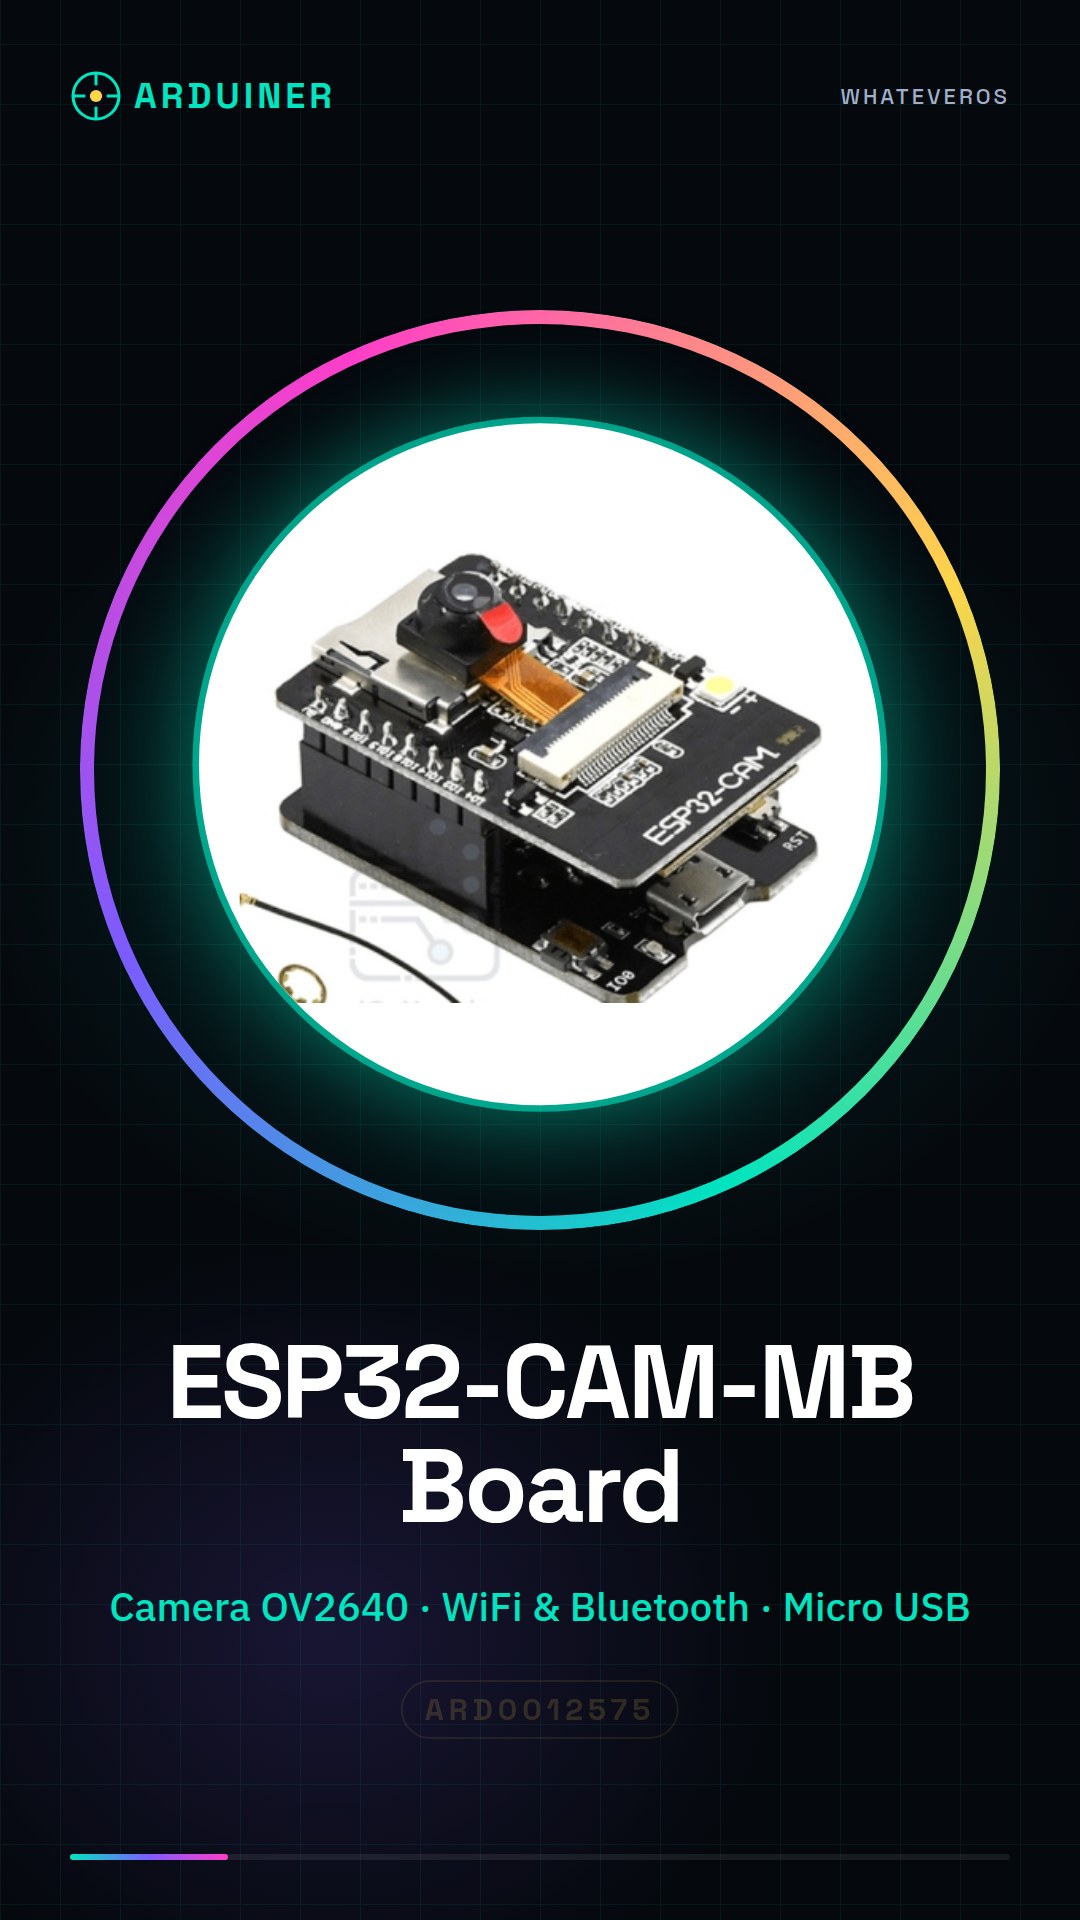
The ESP32-CAM-MB is a development module that integrates an OV2640 camera with the ESP32 microcontroller, offering WiFi and Bluetooth connectivity features. This module is designed to facilitate the creation of IoT devices and artificial vision applications.
Features
- ESP32-CAM-MB Module with OV2640 Camera
- WiFi and Bluetooth Connectivity
- Micro USB to USB interface for serial communication
- CH340G integrated circuit for serial communication management
What it is for
The ESP32-CAM-MB is ideal for projects requiring the integration of images and wireless connectivity, such as smart cameras or home monitoring systems. It is compatible with Arduino and can be used in artificial vision applications.
Tutorial: How to Use ESP32-CAM-MB
The ESP32-CAM-MB is a versatile module that combines an OV2640 camera and the power of the ESP32 microcontroller. Ideal for IoT projects, smart cameras, or any application requiring integration of images and WiFi connectivity.
What you need
- ESP32-CAM-MB
- Arduino IDE installed
- Micro USB cable
- Computer with Windows/Linux/MacOS operating system
Steps
- Connect the ESP32-CAM-MB module to the computer via micro USB cable.
- Open Arduino IDE and select the correct board (e.g., ‘ESP32 Dev Module’) and the COM port for connection.
- Install the necessary libraries to manage the OV2640 camera and the ESP32 WiFi module.
- Write or upload a simple sketch that activates the camera and sends images to a web server.
- Configure WiFi access in the sketch code (check the datasheet for configuration details).
- Save the project file in Arduino IDE and upload it to the ESP32-CAM-MB.
- Check that the camera is working correctly by opening a web browser and accessing the IP address assigned by the module.
- Try modifying the sketch to add new features such as motion detection or sending images via email.
Example code
/*
Esempio base per attivare la fotocamera e inviare immagini al server web.
*/
#include <WiFi.h>

// Inserire qui le credenziali WiFi (SSID, password)
const char* ssid = "";
const char* password = "";

void setup() {
  Serial.begin(115200);
  // Attivare la fotocamera e configurarla.
}

void loop() {
  // Acquisire un'immagine dalla fotocamera.
  // Inviare l'immagine al server web.
}
Mini project
Create a home camera that automatically sends images via email when motion is detected.
Common mistakes
- WiFi connection error: check the credentials and network availability.
- Issues with image acquisition: ensure that the module is properly configured for the camera.
- Difficulty installing required libraries: follow the installation instructions carefully in the official guides.
- Problems uploading the sketch: check that the CH340G driver is correctly installed in the operating system.
Recommended accessories
- ESP-WROOM-32
- OV2640 Camera Module
- Micro USB cable
- PIR motion detection module
Frequently asked questions
Which libraries are necessary to use the camera?
OV7670, CameraWebServerESP32 and ESPAsyncWebServer.
How can I connect the module to a WiFi network?
Configure the WiFi credentials in the sketch code (SSID and password).
What functions does the OV2640 camera have?
It can acquire images in various formats and resolutions, supports image processing and can be configured via the ESP32 module commands.
Reviews
There are no reviews yet.