 EN
 IT Italiano
 ES Español
 FR Français
 DE Deutsch
Description
Features:
Model: xd10 – 3
Nominal Voltage: DC 24 V
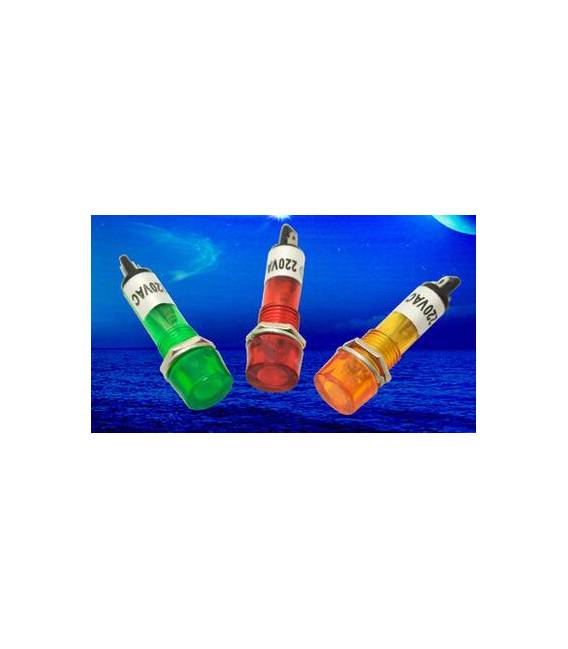
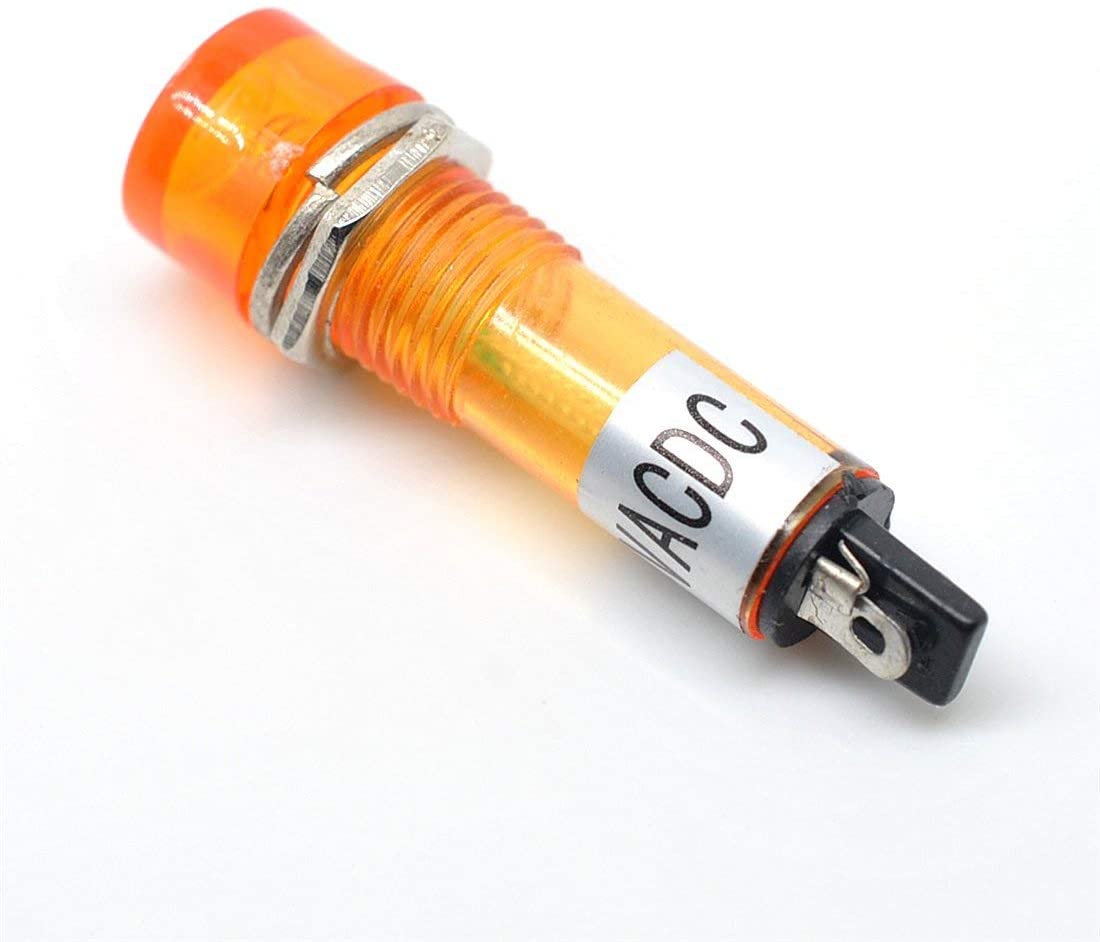
Light Color: Yellow
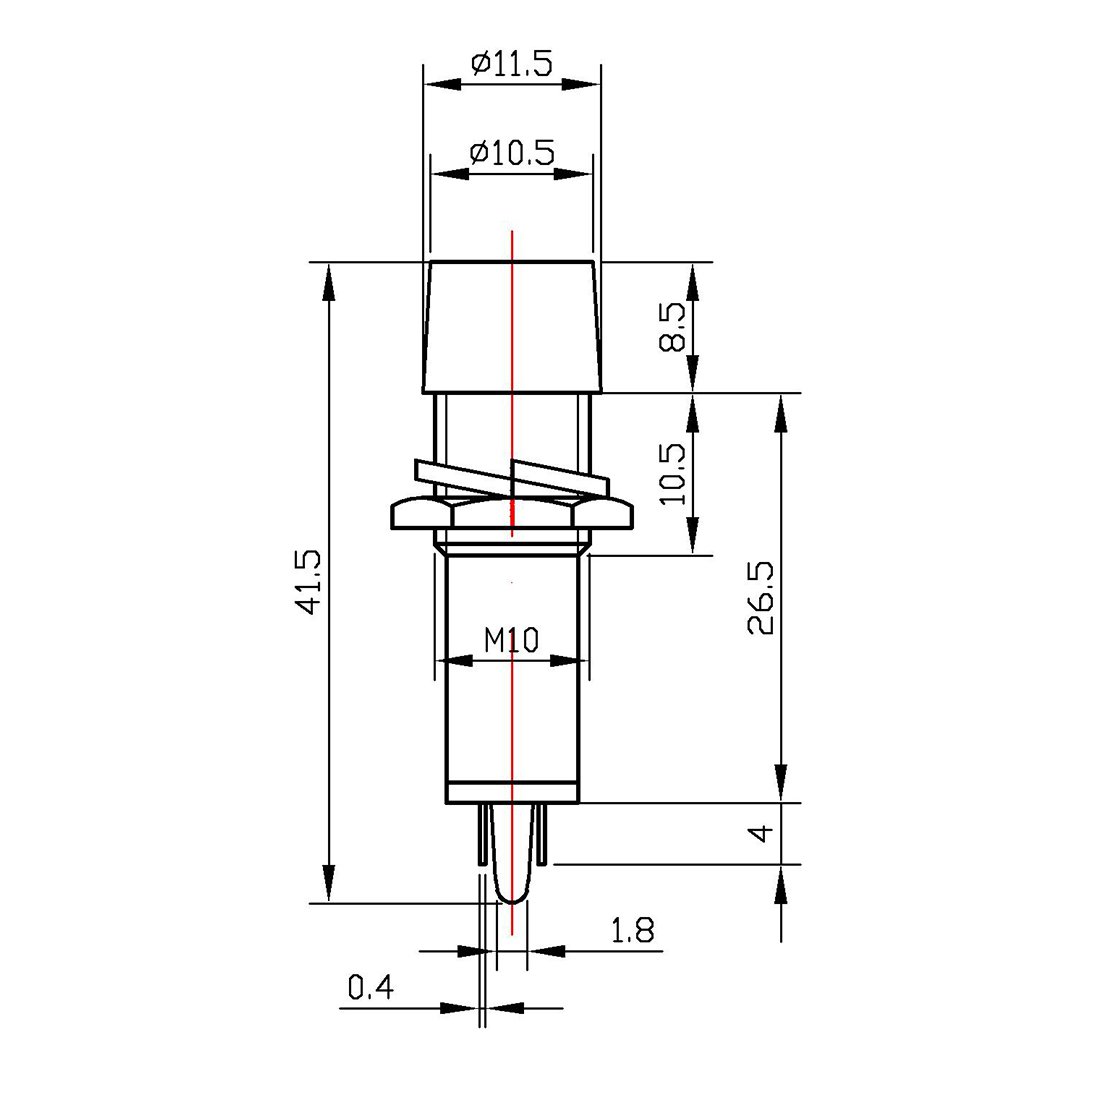
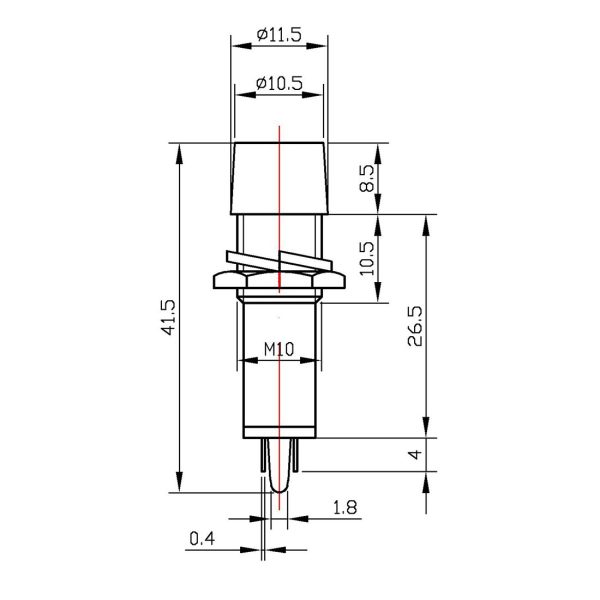
Mounting Hole Diameter: 10 mm (2/)
Dimensions: 41.5 x 11.5 mm/”x (total l * Head D)
Package Contents: 1 Piece
Net Weight: 31 g
Tutorial: How to Use LED XD10 – 3 Yellow 10 mm
This light indicator is ideal for signaling safety conditions or operational status in vehicles and machinery. Useful for beginners and intermediate makers.
What you need
- LED XD10 – 3 Yellow 10 mm
- DC 24V Power Source
- Resistor (check the datasheet)
- Connector
Steps
- 1. Check the power source voltage (24V DC).
- 2. Select the appropriate resistor (check the datasheet).
- 3. Connect the resistor between the + of the power source and the anode pin (V+).
- 4. Connect the cathode pin (GND) to the – of the power source.
- 5. Check the connection with a multimeter.
- 6. Turn on the power supply and check the illumination.
- 7. If it doesn’t work, check the connections.
- 8. Install the LED in a visible position.
Mini project
Build a simple alarm system with an LED and a button. Connect the button to a digital pin on the Arduino, and when you press the button, the LED turns on.
Common mistakes
- Connect the LED directly to the power supply without a resistor.
- Use a resistor that is too small, causing damage to the LED.
- Connect the cathode pin to the + of the power supply.
- Do not check the connections before turning on.
Recommended accessories
- DC Power Supply 24V
- Resistor
- Button
- Arduino
Frequently asked questions
How to calculate the resistor?
Check the LED datasheet.
Can the LED be used with voltages different from 24V?
Check the datasheet for compatible voltages.
Can I connect the LED directly to an AC power supply?
No, convert it to DC.
Is the LED vibration resistant?
Check the specifications on the datasheet.
Reviews
There are no reviews yet.