 EN
 IT Italiano
 ES Español
 FR Français
 DE Deutsch
Description
What it is
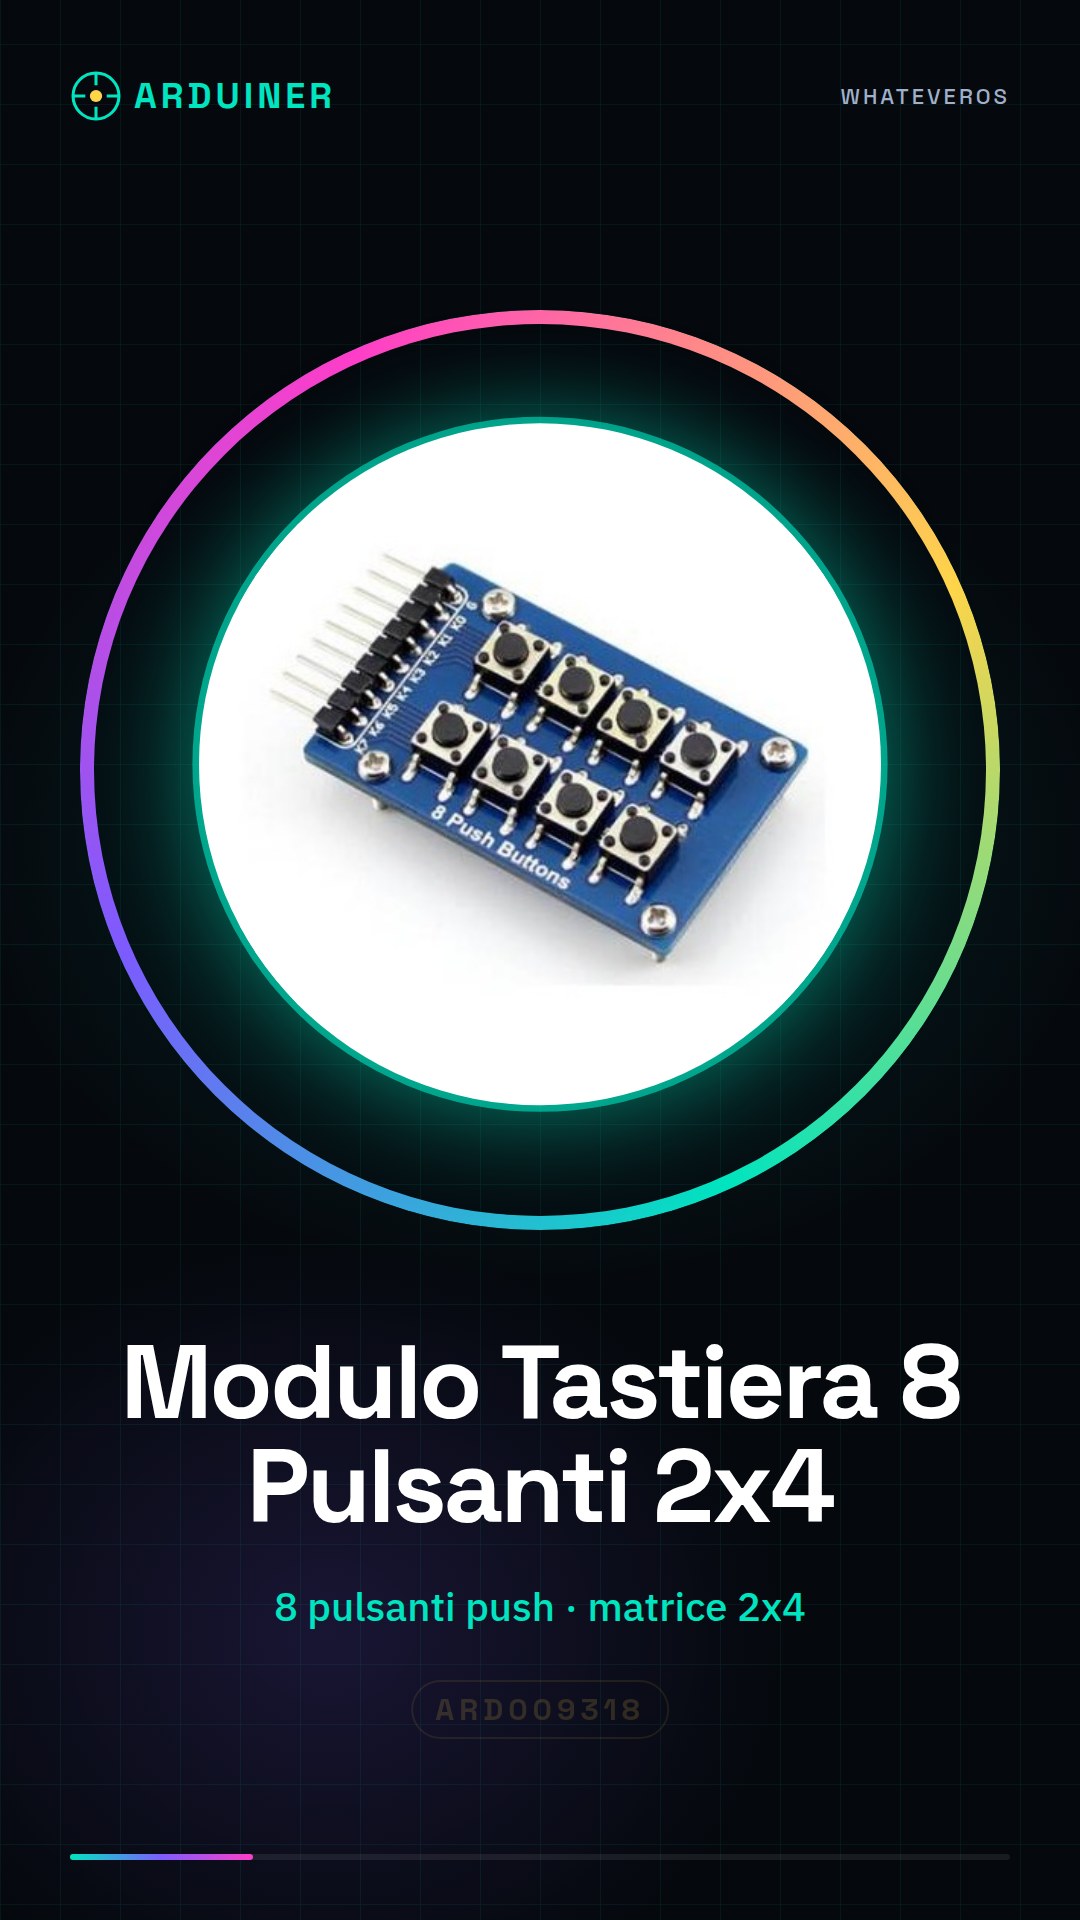
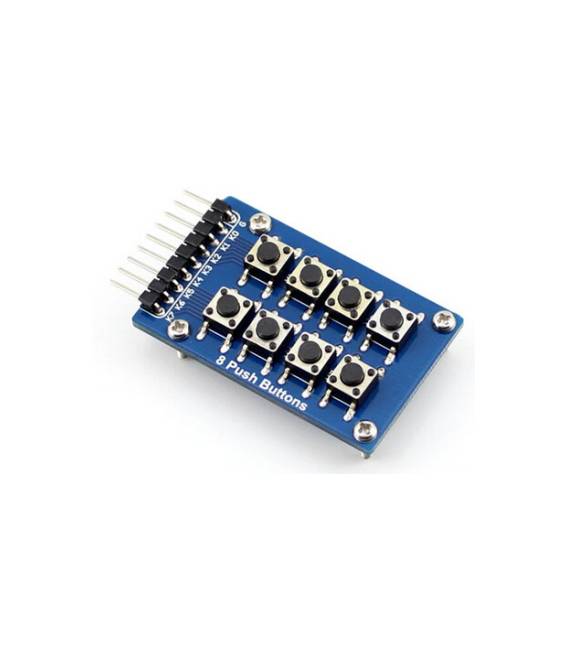
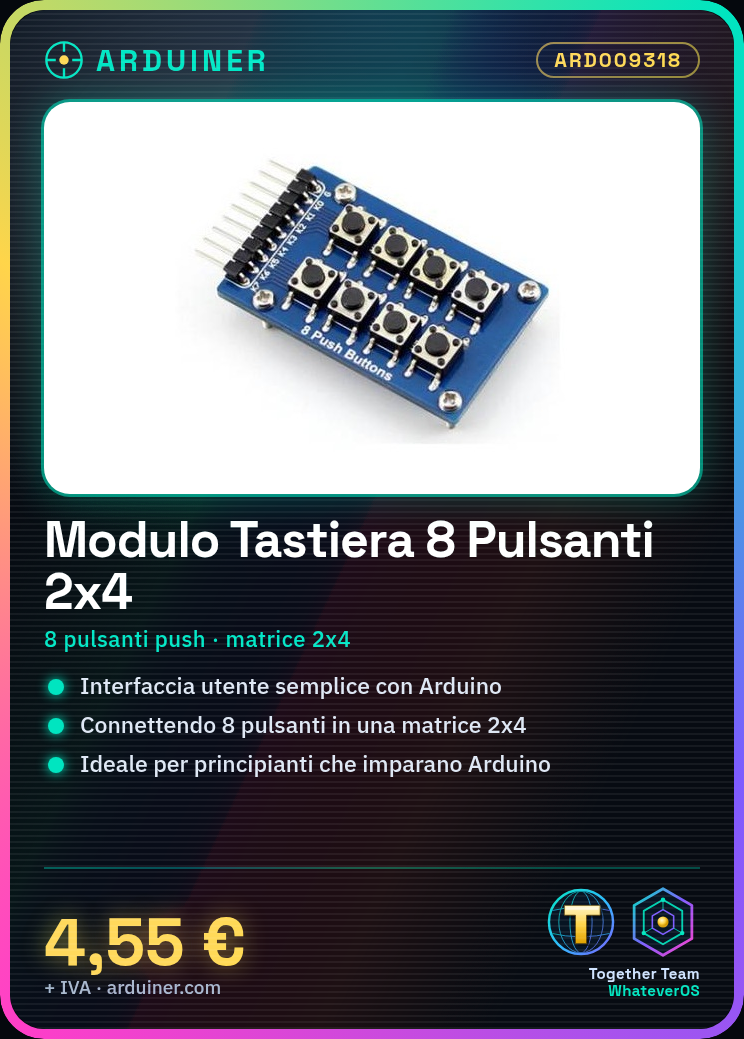
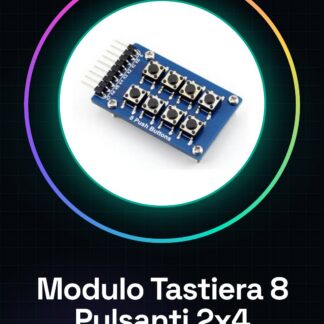
The 8 push buttons 2×4 matrix keyboard module is an electronic component designed to facilitate the integration of user interfaces in your Arduino projects. This module allows you to connect up to eight buttons in a 2×4 matrix configuration.
Features
- 8 push buttons matrix keyboard module
- 2×4 matrix configuration
What it is for
Keyboard modules are useful for creating simple and functional user interfaces. You can use it for projects such as small quiz games, where each button represents an answer. Ideal also for beginners who want to explore programming and user interface with Arduino.
Tutorial: How to use 2×4 Matrix Button Module
The 2×4 matrix button module is a versatile component for Arduino projects that allows you to control up to eight buttons from a single board. Ideal for beginners and makers who want to create simple user interfaces.
What you need
- Arduino Uno or compatible
- USB A-Micro B cable
- Connect to computer
Steps
- Connect the data pins of the module (D0-D3) to the digital pins of the Arduino.
- Connect the 5V power supply pin and GND of the module to the corresponding pins of the Arduino.
- Install the LiquidCrystal_I2C library if necessary, but for this module, no specific library is required.
- Download or write the Arduino sketch provided by the tutorial.
- Compile and upload the code to the microcontroller.
- Open the Arduino Serial Monitor at 9600 baud to view information about the pressed buttons.
Example code
void setup() {
  Serial.begin(9600);
}

void loop() {
  for (int i = 0; i < 8; i++) {
    if(digitalRead(i) == HIGH){
      Serial.println("Pulsante premuto: " + String(i));
    }
  }
}
Mini project
Create a small quiz game where each button represents an answer. The device displays the question on the display and the user must select the correct answer.
Common mistakes
- Do not verify the proper power supply of the buttons.
- Use the wrong pin to connect the data of the module.
- Omit to connect GND between Arduino and module.
- Do not check the connections before uploading the sketch.
Recommended accessories
- LCD 16×2
- Buzzer module
- 3D printing for the project case
Frequently asked questions
Is the module compatible with other microcontrollers besides Arduino?
Yes, but it may be necessary to change the connection settings and the code.
How can I turn on an LED when a button is pressed?
Connect the LED to one of the digital pins on the Arduino and modify the sketch to handle the LED turning on.
Reviews
There are no reviews yet.