 EN
 IT Italiano
 ES Español
 FR Français
 DE Deutsch
Description
What it is
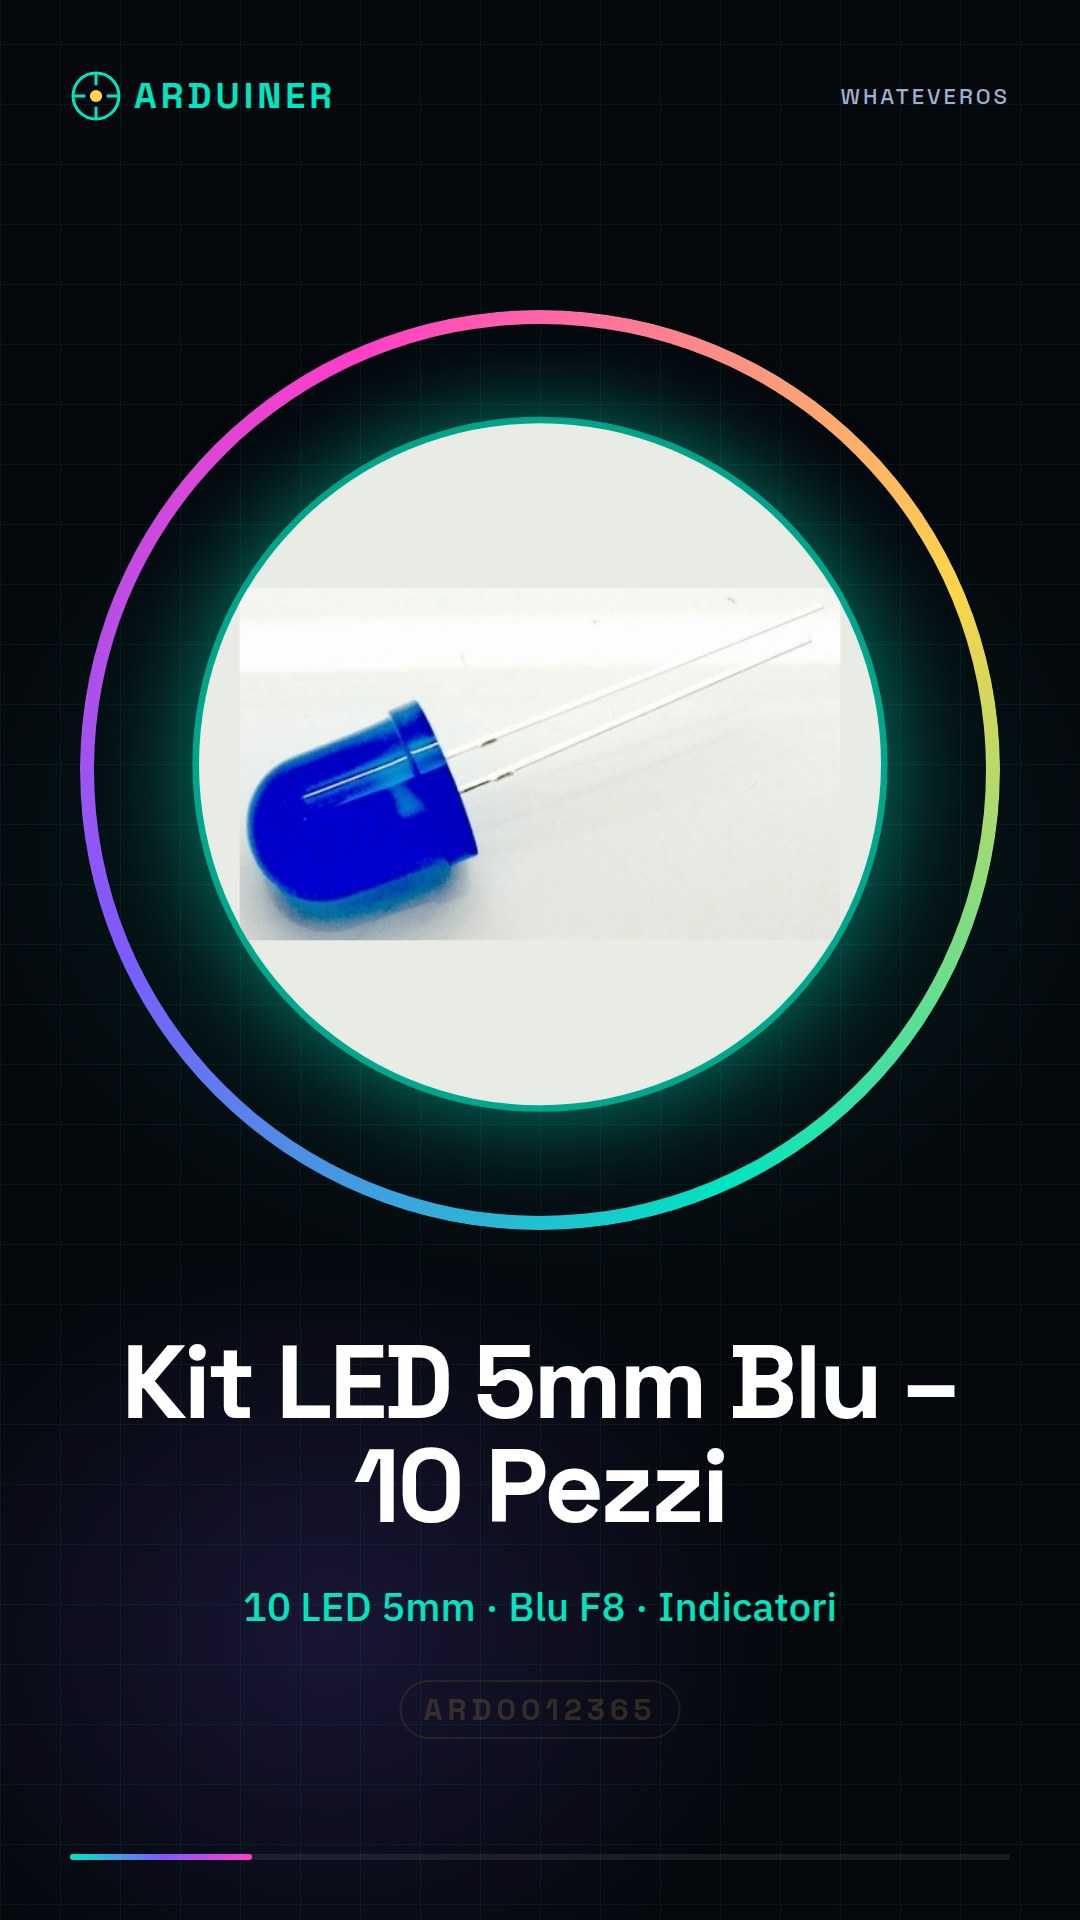
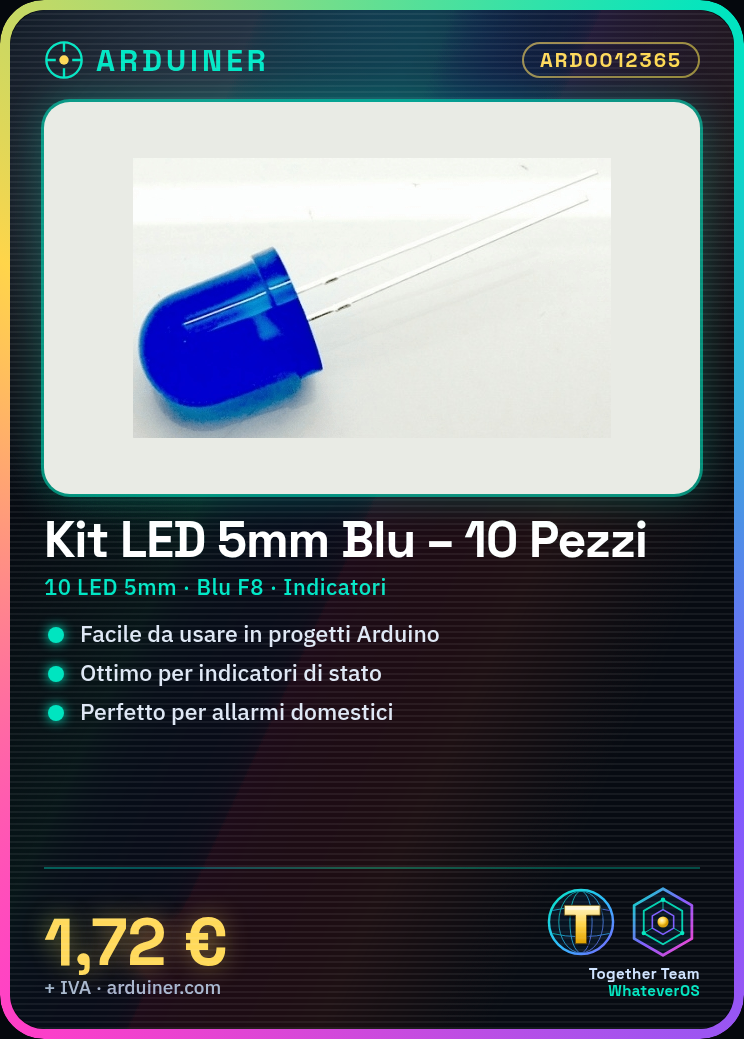
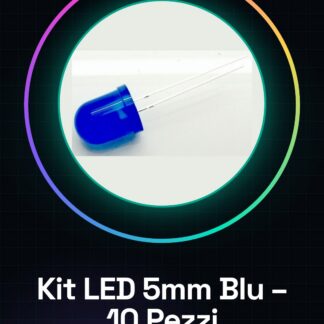
The 5mm F8 Blue LED Kit – 10 Pieces for Light Indicators is a set of 5mm blue LEDs ideal for Arduino and electronics projects. This kit is particularly suitable for beginners who want to integrate light indicators into their projects.
Features
- 10 blue 5mm LEDs
- For light indicators
- Compatible with Arduino and other electronics projects
What it is for
This blue LED kit can be used to create simple status indicators, home alarms, or any other project that requires visible lighting. They are perfect for Arduino, ESP, and other electronic circuits.
Tutorial: How to use the 5mm Blue LED Kit
The 5mm blue LED kit is perfect for beginners who want to add light indicators to their Arduino projects or to illuminate simple electronic circuits. These LEDs are ideal for alarms, status indicators, and lighting projects.
What you need
- Arduino Uno
- USB cable
- Soldering wire
- Soldering kit
- Printed circuit board (optional)
Steps
- Prepare the LED kit and make sure you have all the necessary tools.
- Identify the LED contacts (anode and cathode) and connect the LED to the circuit following the polarity.
- Connect the LED to an Arduino output pin and write a simple code to turn the LED on and off.
- Check that the LED responds correctly to the code loaded on the Arduino.
- If necessary, add resistors to protect the LED from excessive current.
- If you are using a printed circuit board, solder the LEDs to the PCB carefully.
- Test the LED functionality in real conditions, for example, within an alarm project.
- Optimize the project by adding more LEDs or different colors for multiple indicators.
Example code
const int ledPin = 13; // collega il LED al pin 13 dell'Arduino

void setup() {
  pinMode(ledPin, OUTPUT);
}

void loop() {
  digitalWrite(ledPin, HIGH); // accendi il LED
  delay(1000); // attesa di 1 secondo
  digitalWrite(ledPin, LOW); // spegni il LED
  delay(1000); // attesa di 1 secondo
}
Mini project
Create a simple home alarm with a button and a blue LED. When the button is pressed, the LED turns on and signals the activation of the alarm.
Common mistakes
- Connect the LED to the circuit without a protective resistor.
- Confuse the anode with the cathode of the LED.
- Do not correctly verify the polarity of the LED.
- Do not test the LED before integrating it into a larger project.
Recommended accessories
- Variable resistors
- Prototype kit
- Push buttons
- Professional soldering kit
Frequently asked questions
How can I protect the LED from excessive current?
Add a resistor between the LED and the power source to limit the current.
Which LED colors can I combine?
You can combine any LED color to create multiple indicators or lighting effects.

Reviews
There are no reviews yet.