 EN
 IT Italiano
 ES Español
 FR Français
 DE Deutsch
Description
What it is
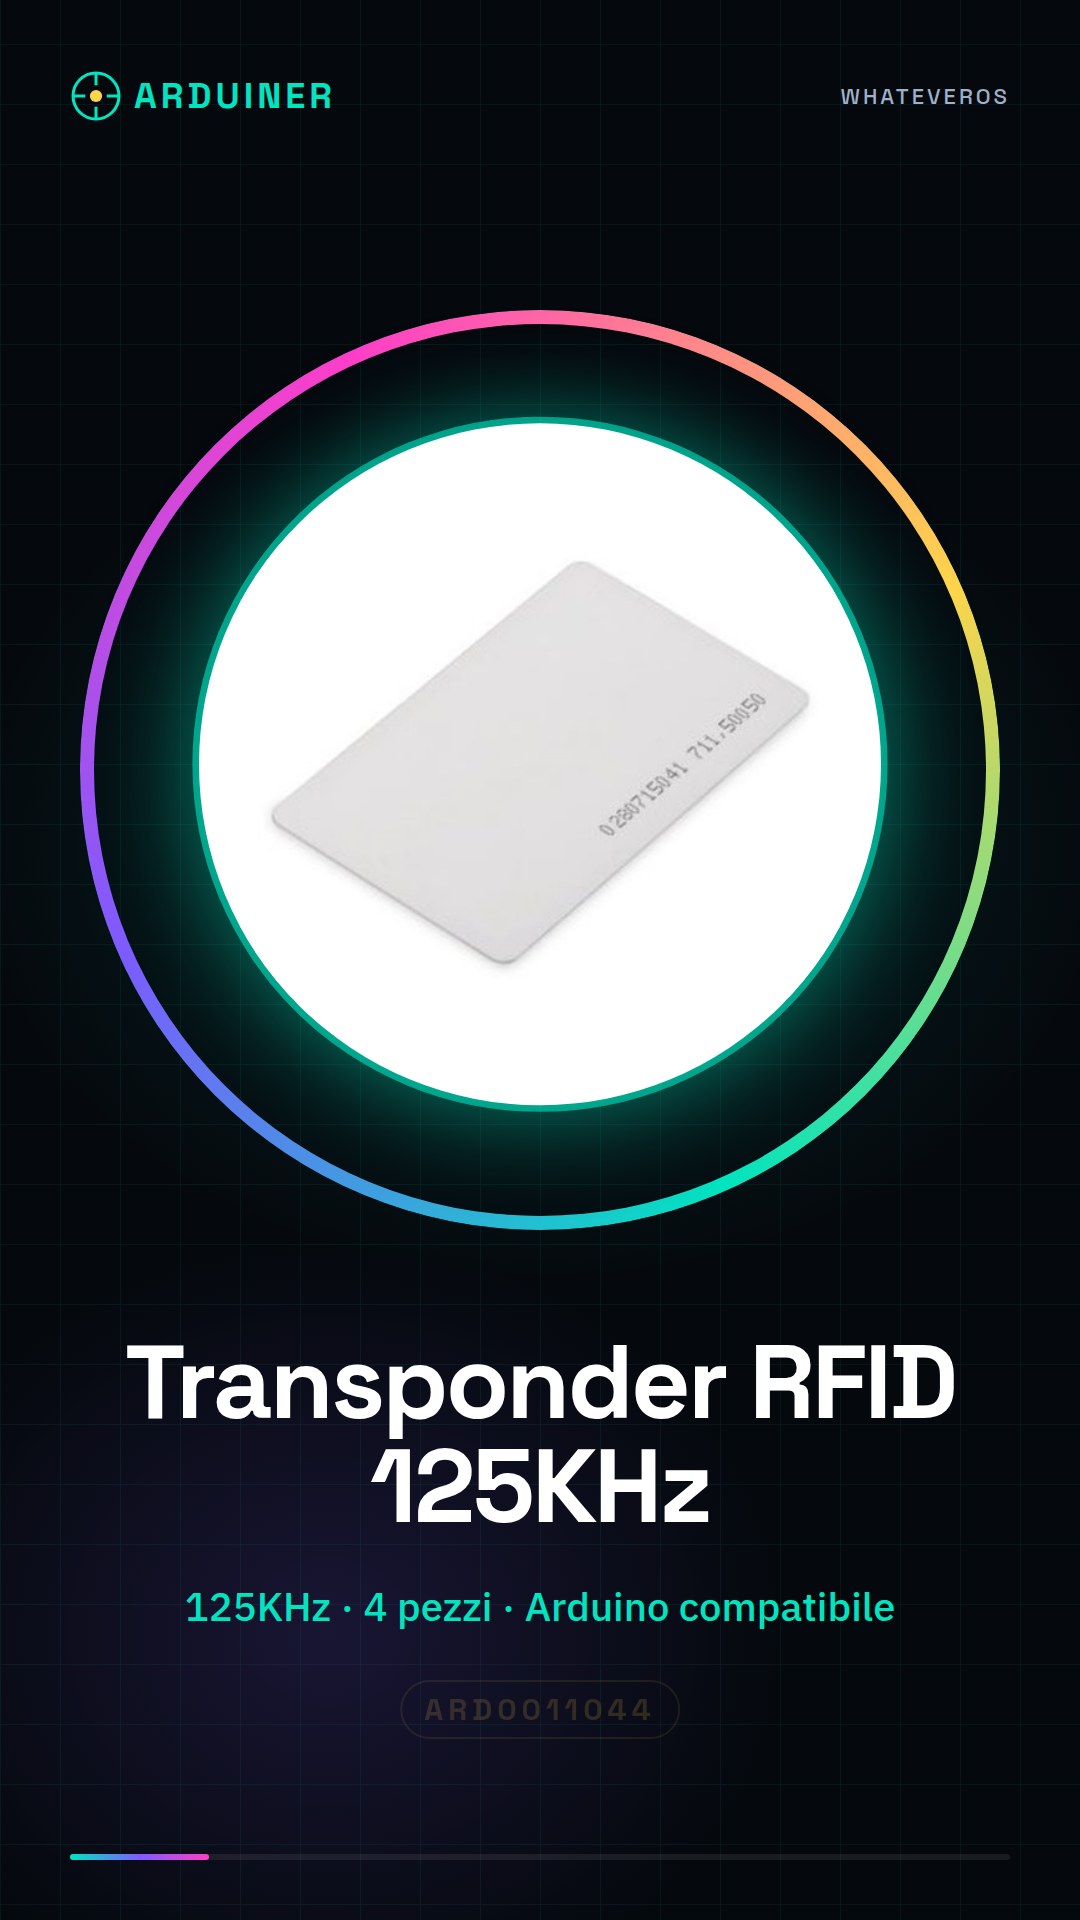
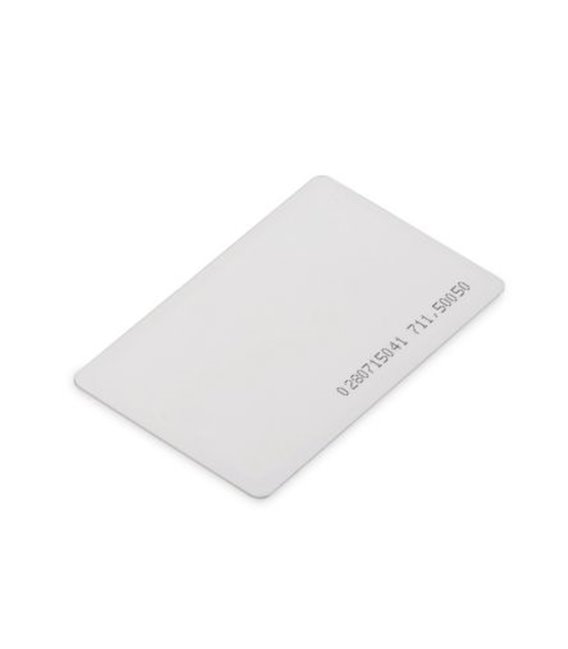
The 4 pieces of 125KHz RFID transponders are components used to create identification and security systems, such as customized ID cards. This set is ideal for projects that require user traceability and authentication.
Features
- Operating frequency: 125KHz
- Number of pieces: 4
What it is for
The 125KHz RFID transponders are useful for creating custom badges and access systems. They are compatible with Arduino, ESP, and other microcontrollers to develop security and tracking projects.
Tutorial: How to use 4 pieces 125KHz RFID Transponders
This RFID component is ideal for creating simple security systems and custom badges. Suitable for beginners and intermediate makers.
What you need
- Arduino Uno or compatible
- Power cable
- Cardboard scraper
- ID cards
Steps
- 1. Download the example code for Arduino from GitHub.
- 2. Connect the transponders to pin 10 of the Arduino.
- 3. Check the datasheet for the pull-up resistance of the transponder.
- 4. Upload the code to the Arduino.
- 5. Implant a transponder on an ID card.
- 6. Start the program and check if the transponder is detected.
- 7. Repeat for the other 3 transponders.
- 8. Test each transponder individually.
Example code
```void loop() {}```Mini project
Create a custom RFID badge for access to a venue.
Common mistakes
- Connect the transponders to the wrong pin.
- Omit downloading the example code.
- Do not test each transponder individually.
- Power the Arduino with an incompatible voltage.
Recommended accessories
- Scrape from cardboard
- ID cards
- Mounting tool
- Power cable
Frequently asked questions
The transponder is not detected.
Check the correct connection and the Arduino code.
How can I customize the ID card?
Use a cardboard scraper to remove the paint and apply your design.
Which Arduino pins can I use?
Use any digital pin, but check the pull-up resistor.
Reviews
There are no reviews yet.