 EN
 IT Italiano
 ES Español
 FR Français
 DE Deutsch
Description
What it is
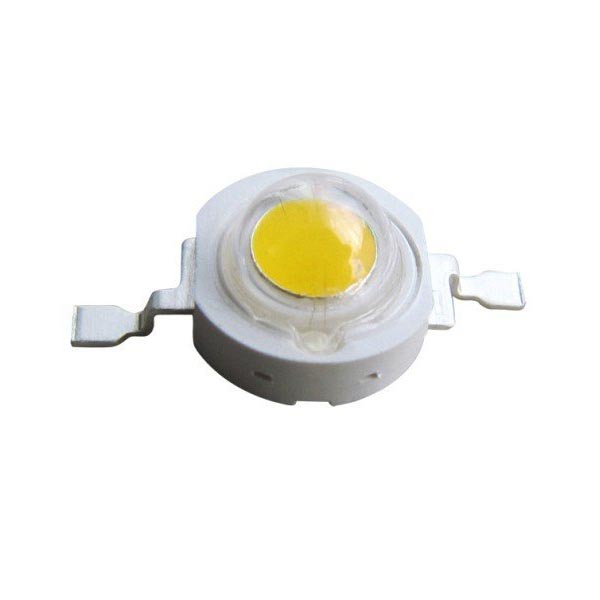
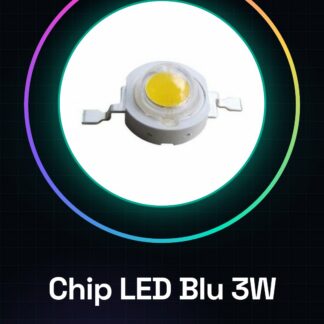
The 3W Blue LED Chip is an electronic component designed for applications requiring high brightness in a blue color range. Ideal for both custom projects and home lighting solutions, this LED chip offers reliable performance and is suitable for various types of use.
Features
- Power: 3W
- Brightness: 40 – 50 lumens
- Category: Power Supplies and LED Drivers, LEDs and Lighting
What it is for
This blue LED chip can be used to create custom lamps with on/off controls. It is compatible with Arduino or ESP32 to programmatically adjust the light intensity, making it a versatile component for high-intensity lighting projects.
Tutorial: How to Use High Brightness 3W Blue LED Chip
This high-brightness blue LED chip is ideal for intense lighting projects, such as custom lamps or distant visible indicators. It is suitable for both beginners and experts.
What you need
- Arduino Uno
- Correct resistor
- Insulated wire
- Pin connector
Steps
- Check the operating voltage of the LED chip from the datasheet and connect an appropriate resistor between the Arduino and the LED chip.
- Connect one end of the resistor to the digital pin of the Arduino, the other end to the anode (positive) pin of the LED chip.
- Connect the Arduino’s common ground to the cathode (negative) pin of the LED chip.
- Check that the LED chip is properly powered and lit. If it does not light up, check the connections and the resistor.
- If necessary, add a transistor or MOSFET to manage the current intensity if the LED chip requires a higher current than the Arduino can provide.
- Configure the Arduino sketch to turn the chip LED on and off using digitalWrite().
- Test the project by adding a button or a sensor to control the chip LED’s on and off state.
- Optimize the brightness by adjusting the resistance or using PWM (Pulse Width Modulation) if supported by the Arduino.
Example code
void setup() {
  pinMode(ledPin, OUTPUT);
}

void loop() {
  digitalWrite(ledPin, HIGH); // Accende il LED
  delay(1000);
  digitalWrite(ledPin, LOW);   // Spegne il LED
  delay(1000);
}
Mini project
Build a custom blue LED lamp with an on/off button. Use Arduino to control the light intensity.
Common mistakes
- Incorrect connection between resistance and chip LED
- Incorrect resistance burning the chip LED
- Omission of the necessary transistor/MOSFET to manage high current
Recommended accessories
- Arduino Uno R3
- Variable resistance kit
- Push button
- N-Channel MOSFET Transistor
Frequently asked questions
How long does the chip LED stay on?
The duration of the LED being on depends on the electrical current supplied. Check the datasheet for precise specifications.
Can I use more than one LED chip with Arduino?
Yes, but make sure that the Arduino can handle the sum of the currents required by all the LED chips connected.
Reviews
There are no reviews yet.