 EN
 IT Italiano
 ES Español
 FR Français
 DE Deutsch
Description
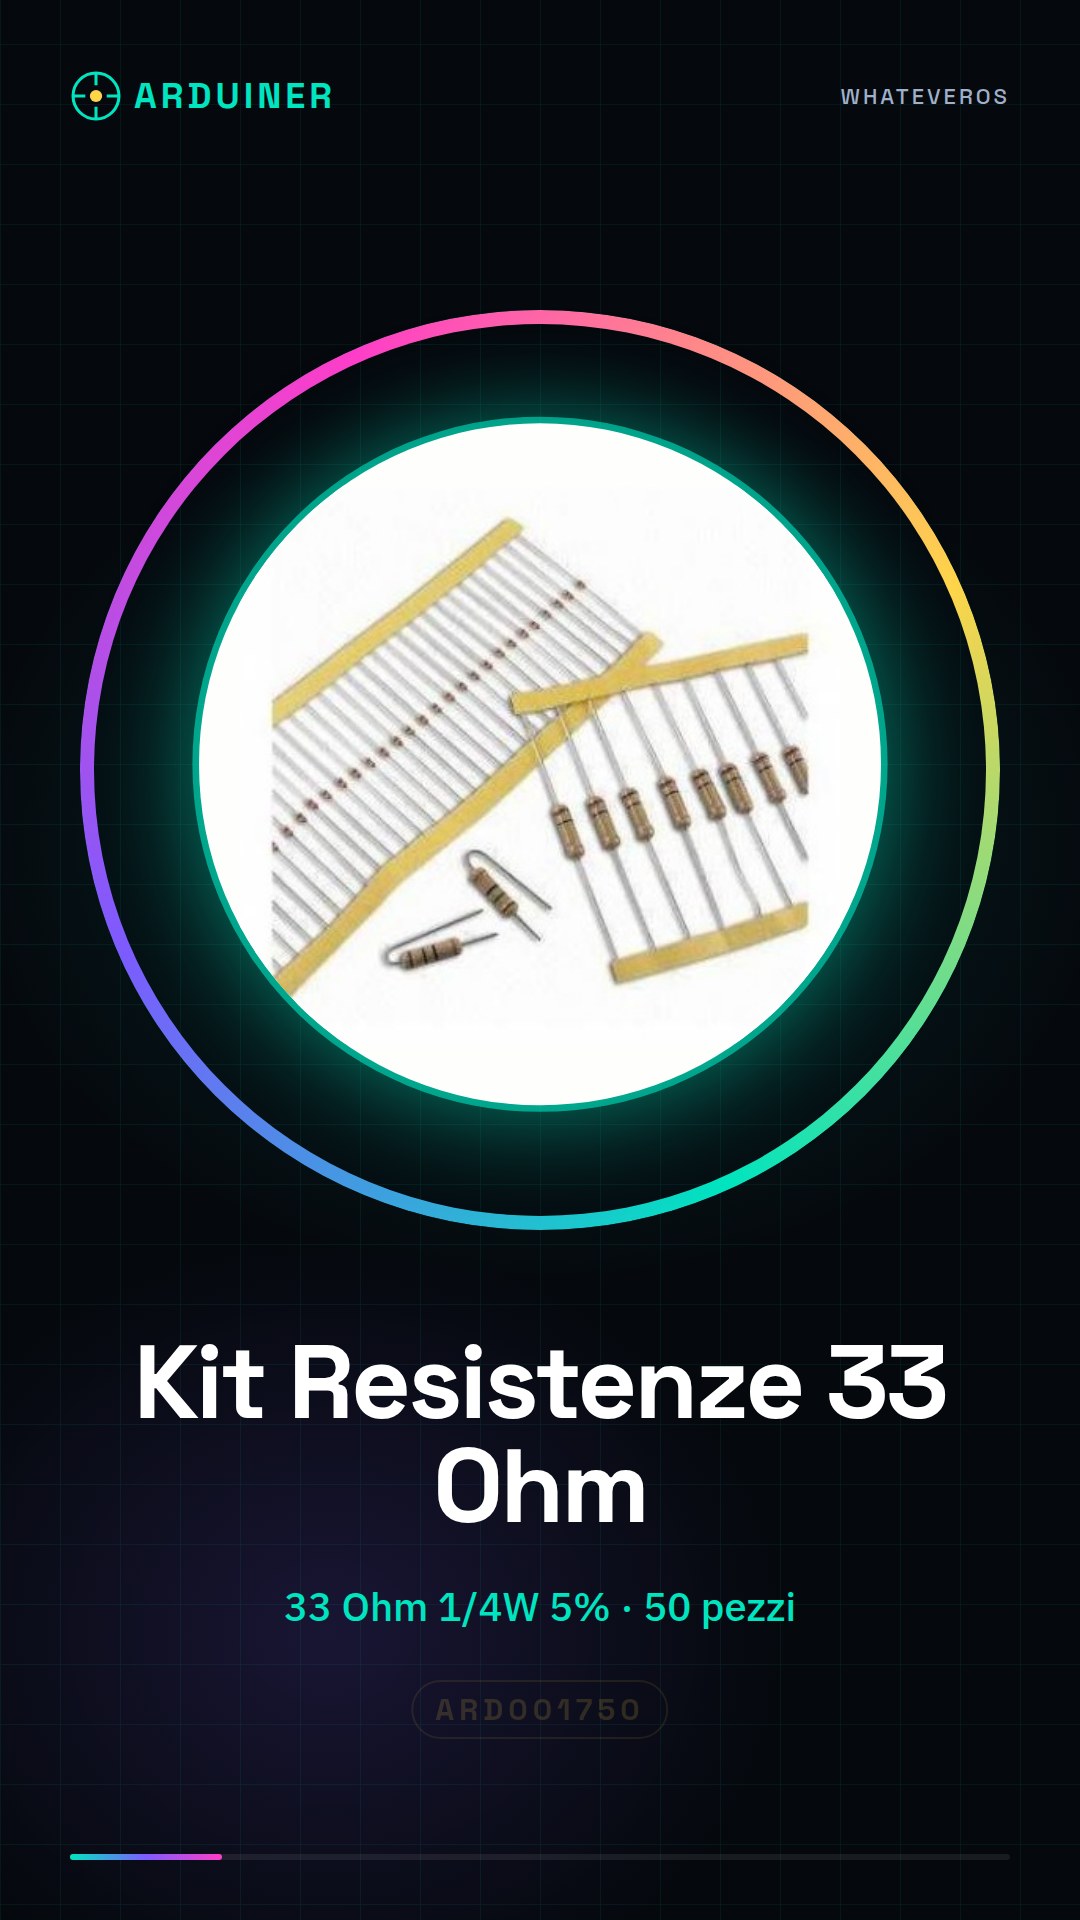
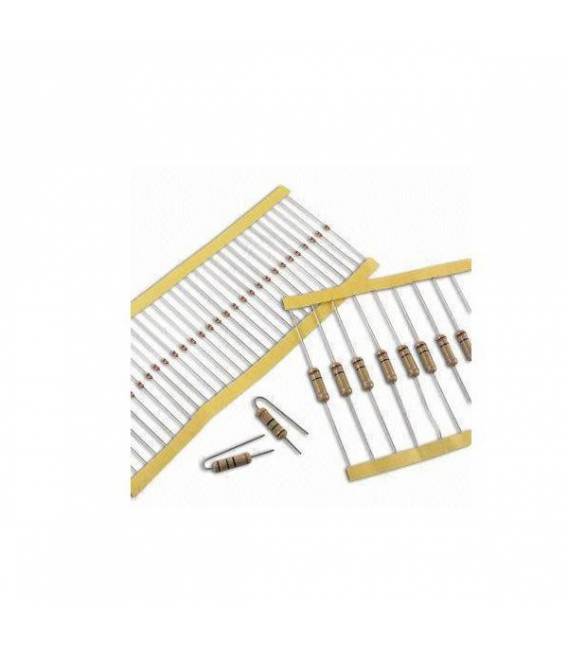
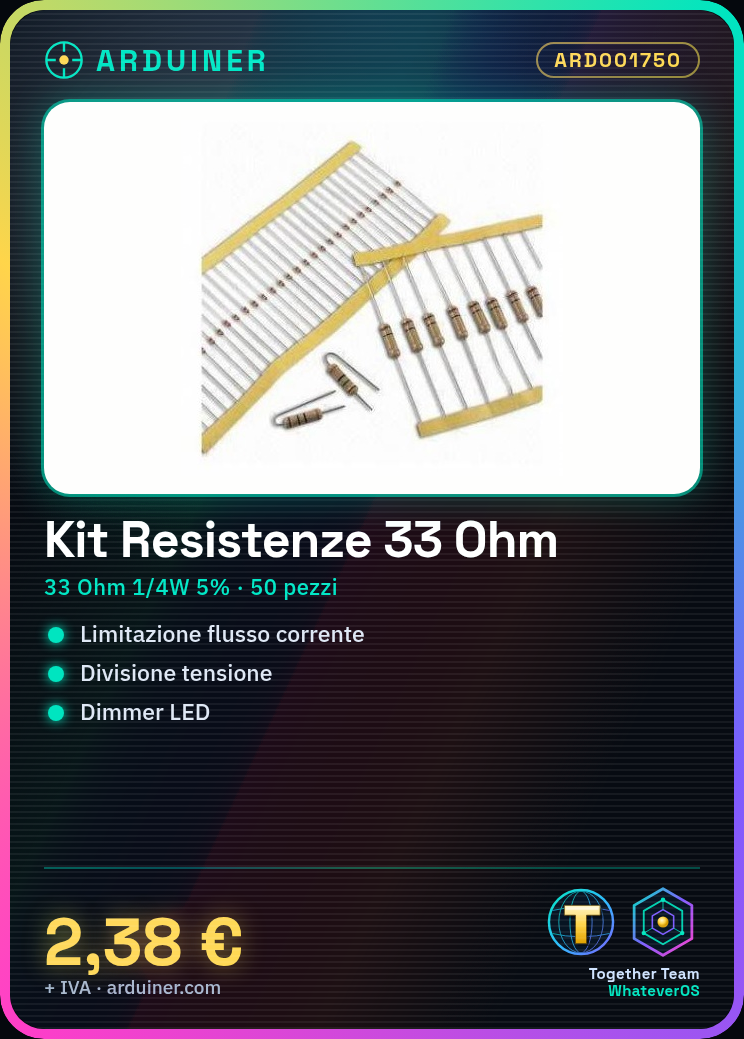
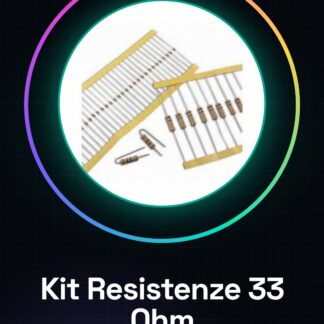
Tutorial: How to Use 33 Ohm Resistor Kit This 33 ohm resistor kit is ideal for electronic projects requiring current limiting or voltage division. Suitable for both beginners and experienced makers. What You Need: Arduino Uno, Printer, Pliers, Connectors Steps: Check the resistor specifications (value, maximum power) on the datasheet. Select the resistor based on your project requirements. Connect the resistor between a digital pin of the Arduino and a GND port using connectors. Verify circuit operation with a multimeter. If necessary, modify the Arduino code to control the current through the resistor. Test the project with various voltage levels. Repeat the previous steps with other resistors in the kit to explore different resistance values. Document your observations and modify your project based on the results obtained. Mini-project: Create a simple LED dimmer using a resistor from the kit to control the LED’s brightness. Common Mistakes: Using a resistor with too high or low a value. Connecting the resistor to the circuit without first checking the specifications on the datasheet. Not testing the circuit after installing the resistor. Modifying the Arduino code without first understanding the project’s operation. Recommended Accessories: Connector Kit, Printer, Digital Multimeter, Arduino Uno. Frequently Asked Questions: What is the maximum power of the resistor? Check the datasheet. How can I control the current flow through a resistor? Use a multimeter in ammeter mode or modify the Arduino sketch to read the current intensity.
Reviews
There are no reviews yet.