 EN
 IT Italiano
 ES Español
 FR Français
 DE Deutsch
Description
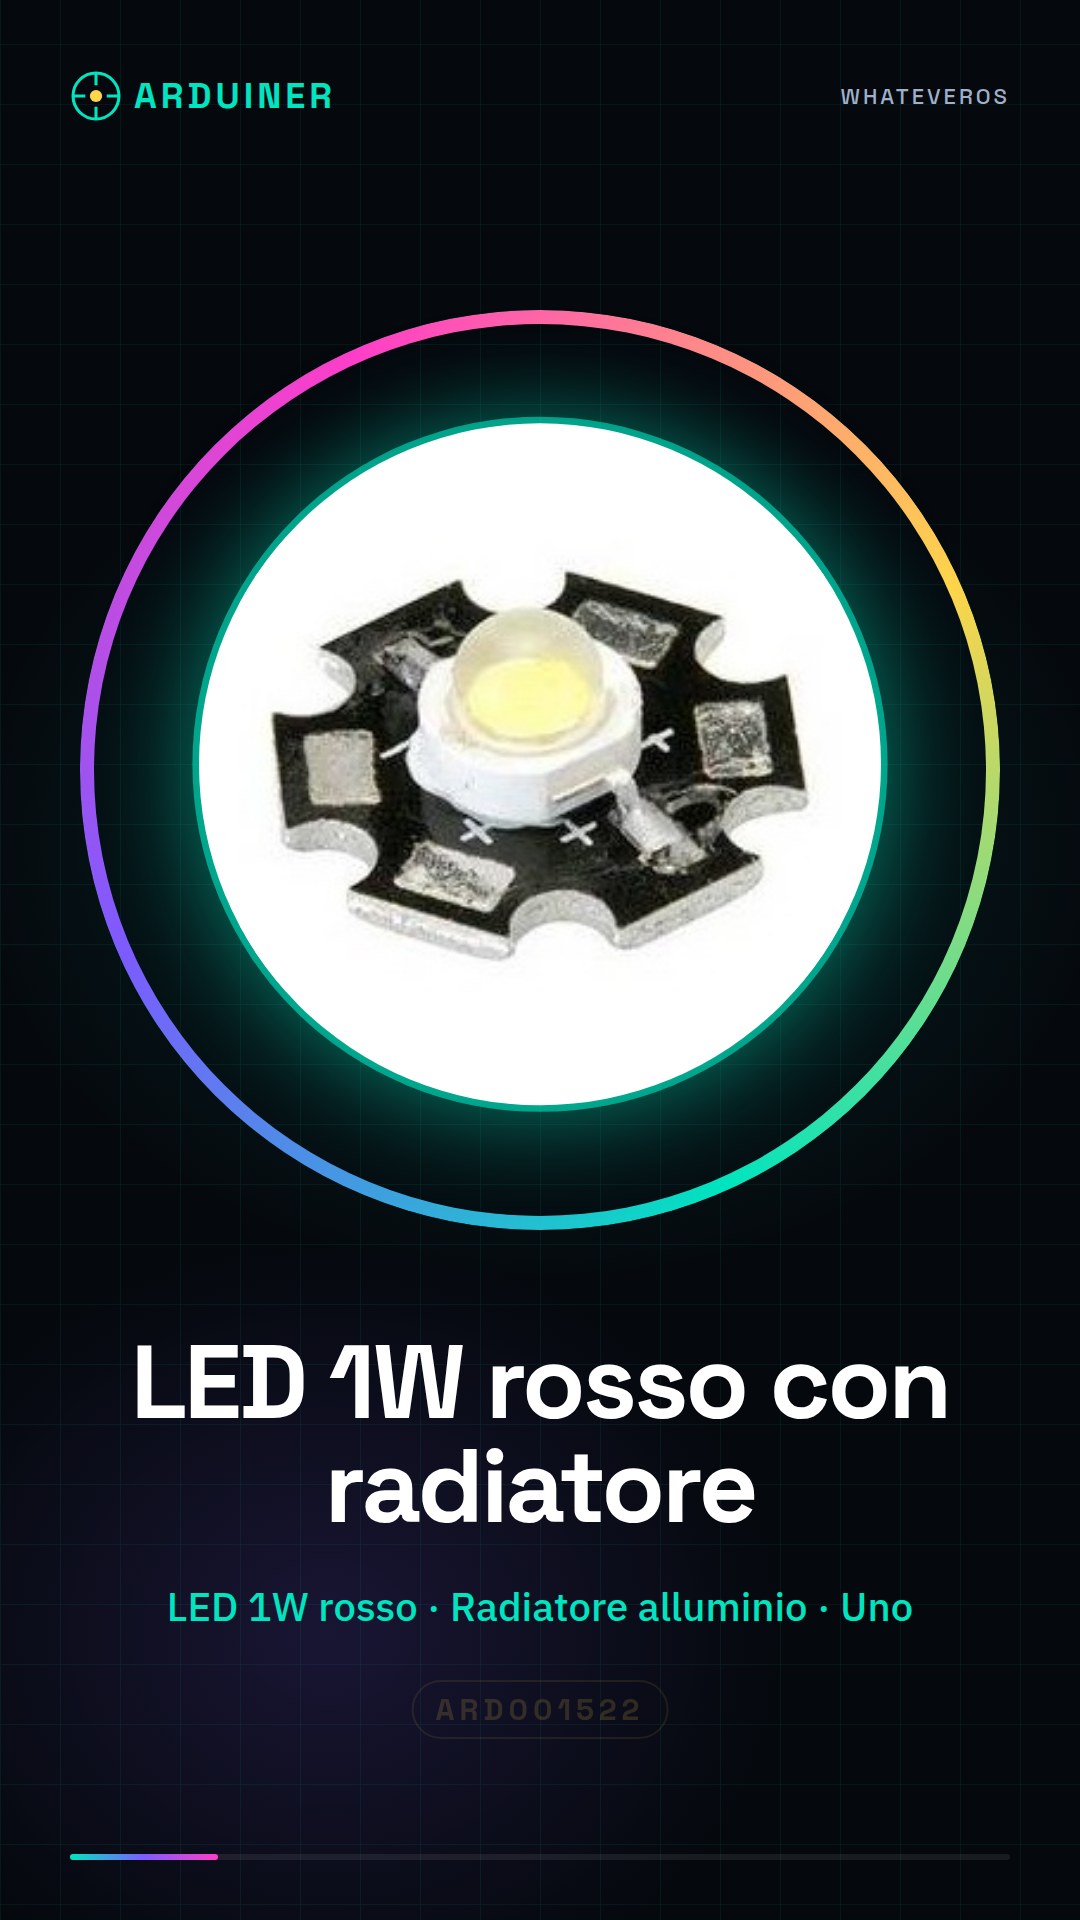
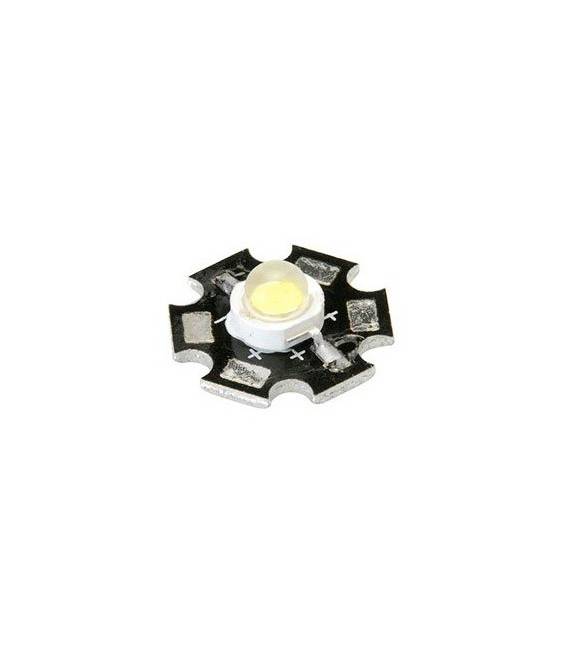
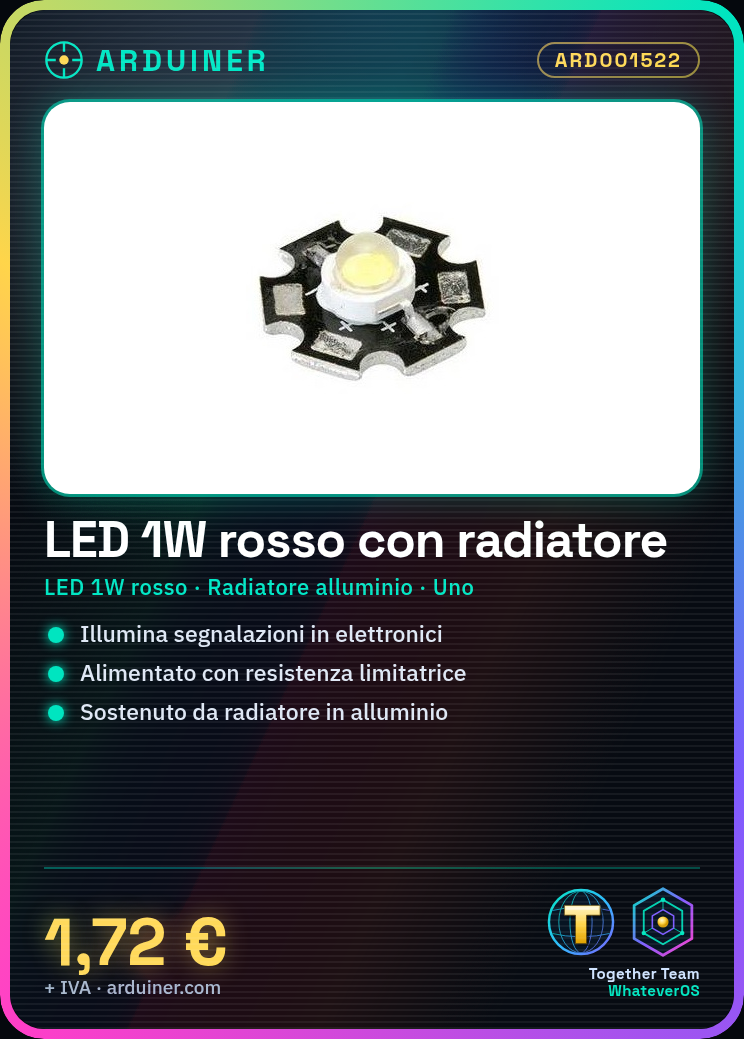
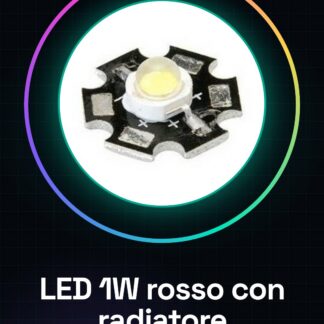
1W Red LED with Heat Sink: Ideal for illumination or signaling in electronic projects. Suitable for both beginners and experienced makers. Required Components: Arduino Uno, Current Limiting Resistor, Connecting Wire. Steps: Attach heat sink to project or mount on support. Choose appropriate resistor based on LED’s turn-on voltage. Connect LED to Arduino digital pin and ground via resistor. Test with example code. Example Code: void setup() { pinMode(13, OUTPUT); } void loop() { digitalWrite(13, HIGH); delay(500); digitalWrite(13, LOW); delay(500); } Mini-Project: Create a notification indicator. Common Errors: Using too low a resistor, forgetting heat sink, incorrect voltage verification. Recommended Accessories: Variable Resistors, Connector Kit, Extended Heat Sink. FAQ: Calculate resistor value using Ohm’s Law. Heat sink dissipates heat.
Reviews
There are no reviews yet.