 EN
 IT Italiano
 ES Español
 FR Français
 DE Deutsch
Description
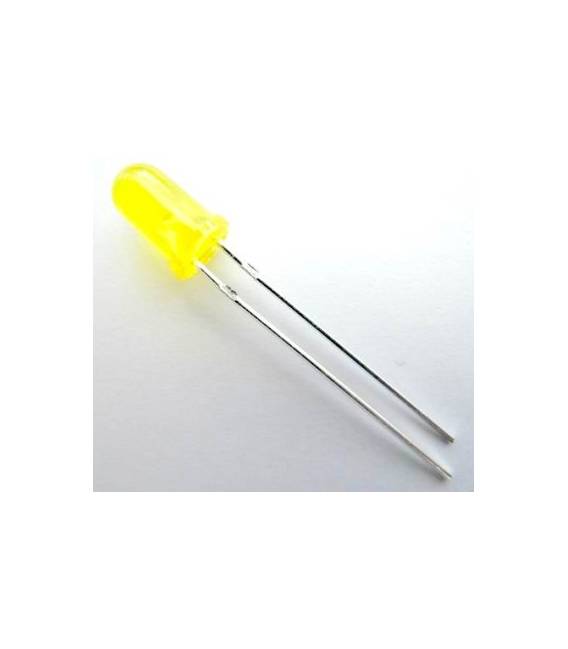
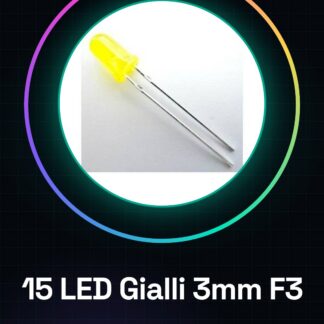
15 Pieces Yellow 3mm LED F3 We have datasheets for all components available. If not present in the product download sheet, please send us a message through the contact form and we will publish it as soon as possible on our website. Tutorial: How to Use Yellow 3mm LED F3 Yellow 3mm LEDs are a fundamental component for illuminating electronic projects. They are ideal for beginners and makers who want to add appropriate lighting to their circuits. What You Need Arduino Uno Resistor (check the datasheet) Insulated wire Steps Check the polarity of the LED: the longer leg is the anode (+). Connect a resistor between the digital output of the Arduino and the anode of the LED. Connect the cathode (shorter leg) to GND of the Arduino. Write the sketch that turns on the LED to verify the connection. Example code void setup() { pinMode(13, OUTPUT); } void loop() { digitalWrite(13, HIGH); delay(1000); digitalWrite(13, LOW); delay(1000); } Mini-project Create a simple LED blink clock that changes the yellow LED colour at regular intervals. Common mistakes Connecting the anode to GND Not using a resistor Setting excessive current Recommended accessories Variable resistors Arduino Uno 3D print for the LED blink project Motion sensors Frequently Asked Questions What is the operating voltage of the yellow LED? Check the datasheet How can I protect my LED from excessive damage? Use an appropriate resistor between the Arduino and the LED.

Reviews
There are no reviews yet.