 EN
 IT Italiano
 ES Español
 FR Français
 DE Deutsch
Description
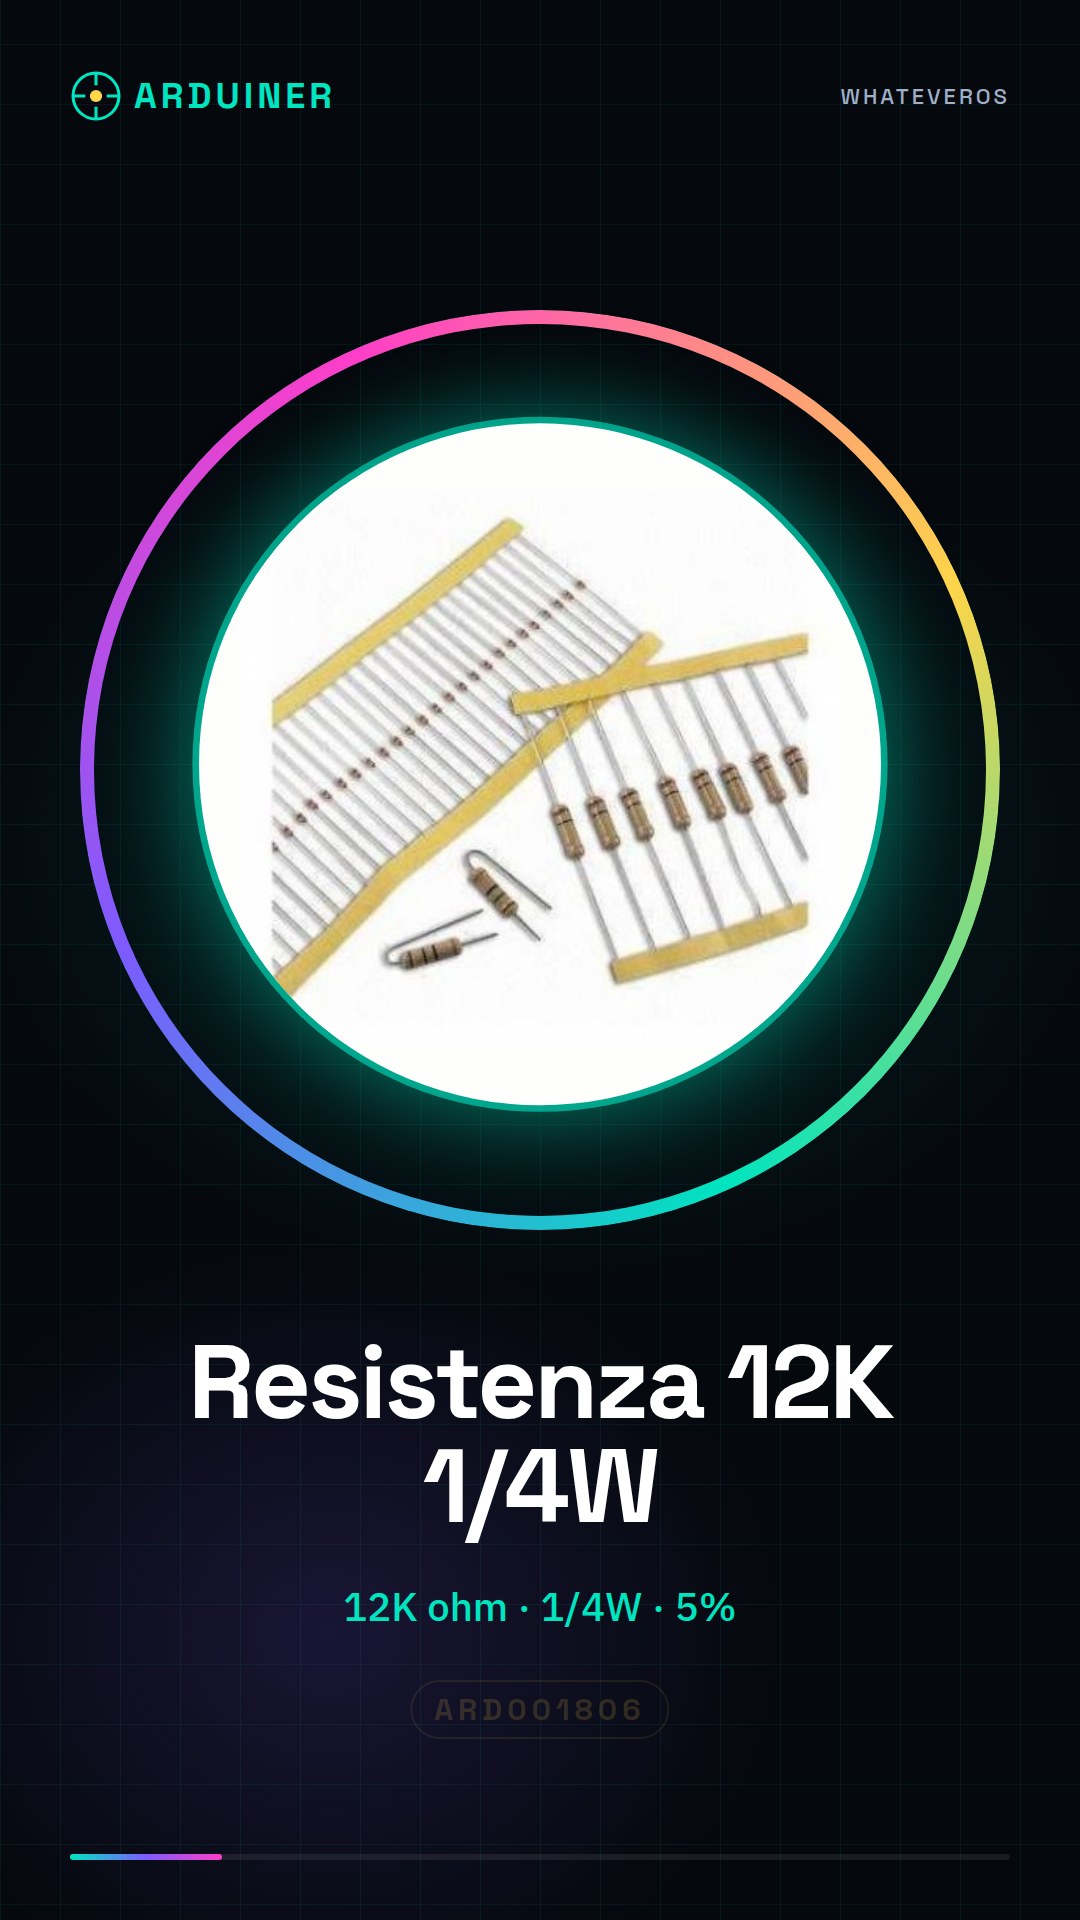
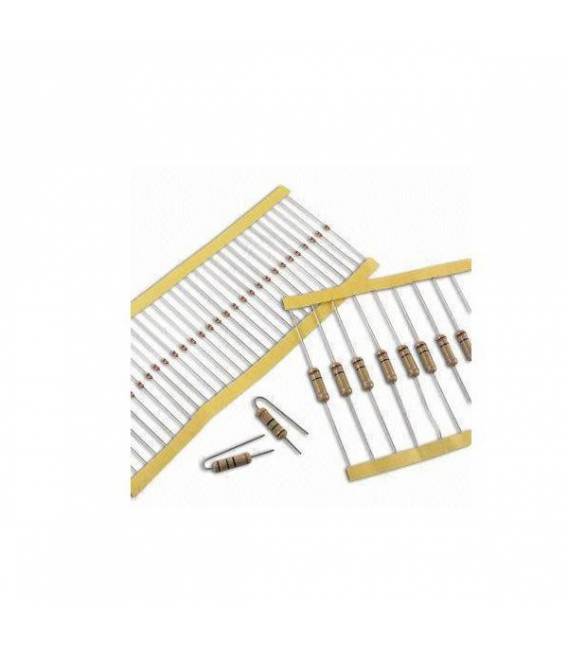
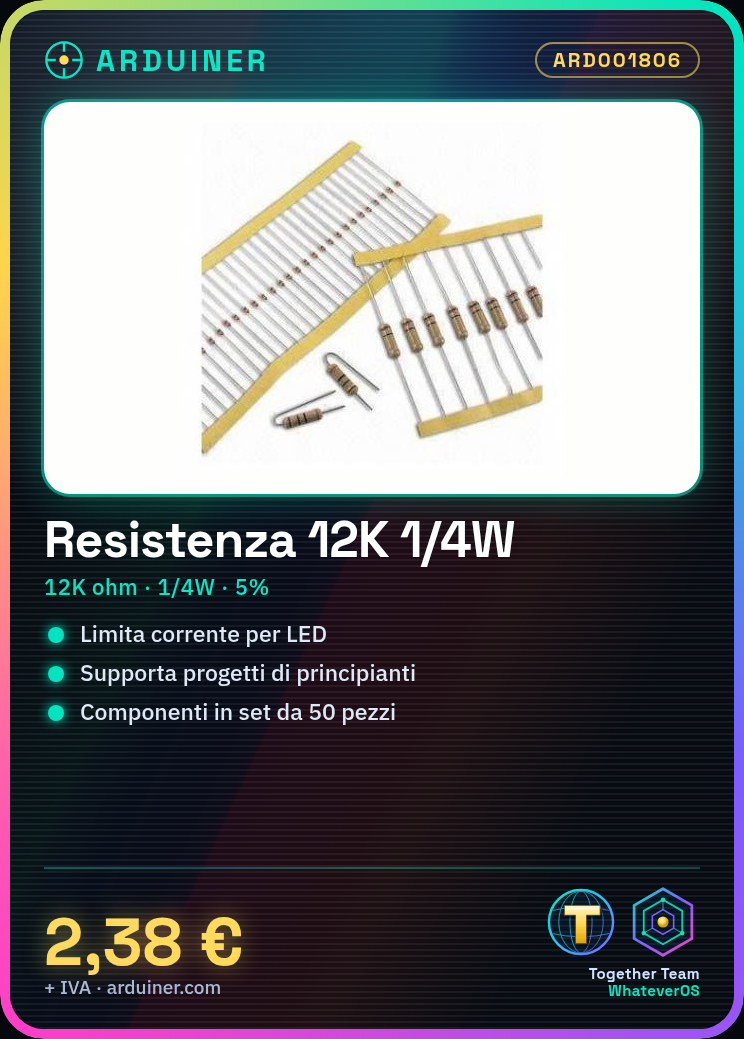
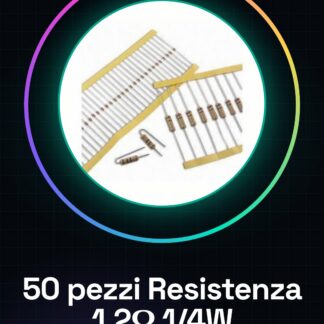
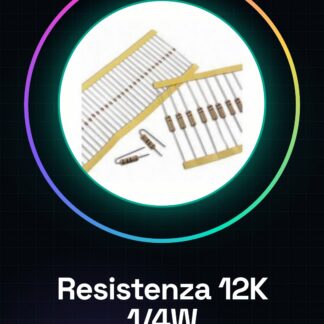
50PCS Resistor 12K ohm 12000 ohm 1/4w 1/4 w 5%
Tutorial: How to use Resistor 12K ohm
The 12K ohm resistor is a fundamental component for electronic projects that require current limiting or voltage division. Ideal for beginners and intermediate makers.
What you need
- Arduino Uno
- Led
Steps
- Check the resistor on the datasheet.
- Connect one end of the resistor to the digital pin of the Arduino.
- Connect the other end to the anode of the led (cathode).
- Use a protection resistor for the led connected to the other pole.
- Upload the Arduino sketch to turn the led on and off.
- Verify that the resistor correctly regulates the intensity of the light emitted by the led.
Example code
void setup() {
  pinMode(13, OUTPUT);
}

void loop() {
  digitalWrite(13, HIGH);
  delay(1000);
  digitalWrite(13, LOW);
  delay(1000);
}
Mini project
Create a simple alarm system that turns on a led when a specific condition is detected. You can use the resistor to limit the current flow of the led.
Common mistakes
- Using a resistor with a value that is too low or too high.
- Connecting the resistor to the wrong polarity of the LED.
- Not checking the resistor specifications on the datasheet.
- Omitting the protection resistor for the LED.
Recommended accessories
- 1/4w Resistors
- Arduino Uno R3
- LEDs of various colors
- Basic Arduino Kit
Frequently asked questions
How much heat can a 12K ohm resistor generate at full load?
Check the thermal specifications of the resistor on the datasheet.
Can I use this resistor to limit the current in a high voltage circuit?
Check the required voltage and current values in your project first.
Reviews
There are no reviews yet.