 EN
 IT Italiano
 ES Español
 FR Français
 DE Deutsch
Description
What it is
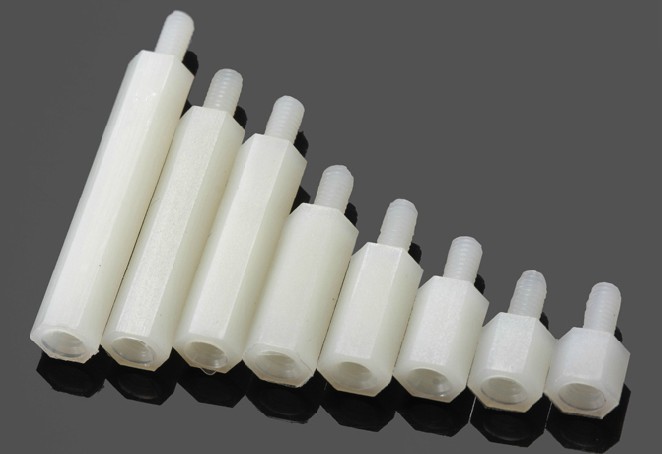
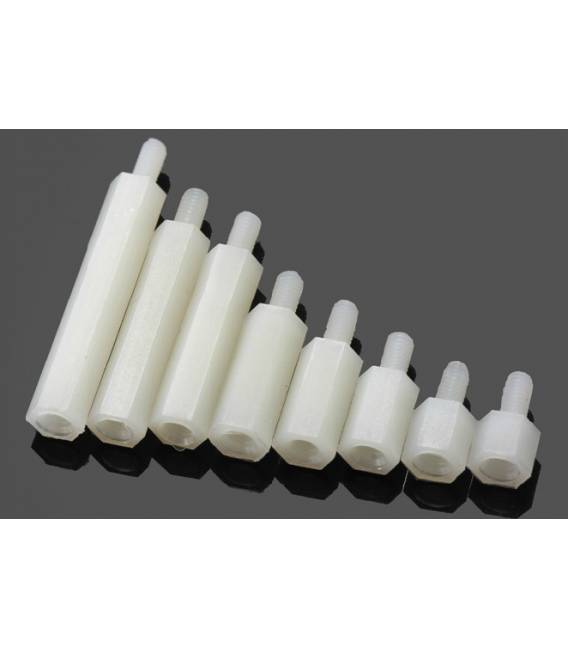
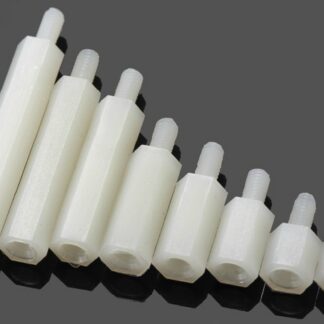
The M3*13+7 spacers are hardware pieces useful for Arduino projects, 3D printers, and CNC systems. This set contains 10 pieces.
Features
- Type: M3*13+7 Spacers
- Material: check the datasheet
- Length: 13 mm
- Head diameter: 7 mm
- Quantity: 10 pieces
What it is for
The M3*13+7 spacers are useful for separating 3D printed components or CNC pieces, allowing free movement without friction. Ideal for connecting electronic components in Arduino projects, 3D printers, and CNC systems.
Tutorial: How to Use M3*13+7 Spacers
The M3*13+7 spacers are useful for separating 3D printed components or CNC pieces, allowing free movement without friction.
What you need
- M3*13+7 Spacers
- Set of M3 screws
- M3 collar
- Tool for gluing or fixing
Steps
- 1. Check the datasheet for the specifications of M3*13+7.
- 2. Prepare the set of M3 screws.
- 3. Install the M3 collar in a compatible hole.
- 4. Insert an M3*13+7 spacer into the collar.
- 5. Apply a small amount of glue or lubricant.
- 6. Insert the M3 screw into the top of the spacer.
- 7. Tighten the screw to secure the spacer.
- 8. Repeat for all necessary spacers.
Mini project
Build a sensor holder by printing a 3D holder and using spacers to facilitate access to connectors.
Common mistakes
- Do not use screws that are too long or too short.
- Do not apply enough glue or lubricant.
- Insert spacers without first gluing.
- Do not check the specifications on the datasheet.
Recommended accessories
- Set of M3 screws
- M3 nut
- Metal glue
- Metal lubricant
Frequently asked questions
Can I use screws of different lengths?
Check the datasheet for M3*13+7 specifications.
How many screws are needed for each spacer?
One screw for each spacer.
Can I use plastic glue?
Use the adhesive specified in the datasheet.
Are the spacers compatible with 3D printers?
Yes, but make sure the holes are compatible.
Reviews
There are no reviews yet.