 EN
 IT Italiano
 ES Español
 FR Français
 DE Deutsch

Description
We have datasheets available for all components; if they are not included in the product download sheet, please send us a message through the contact us module, and we will publish them as soon as possible on the website.
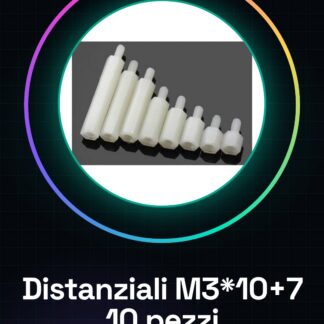
Tutorial: How to use Distanziali M3*10+7
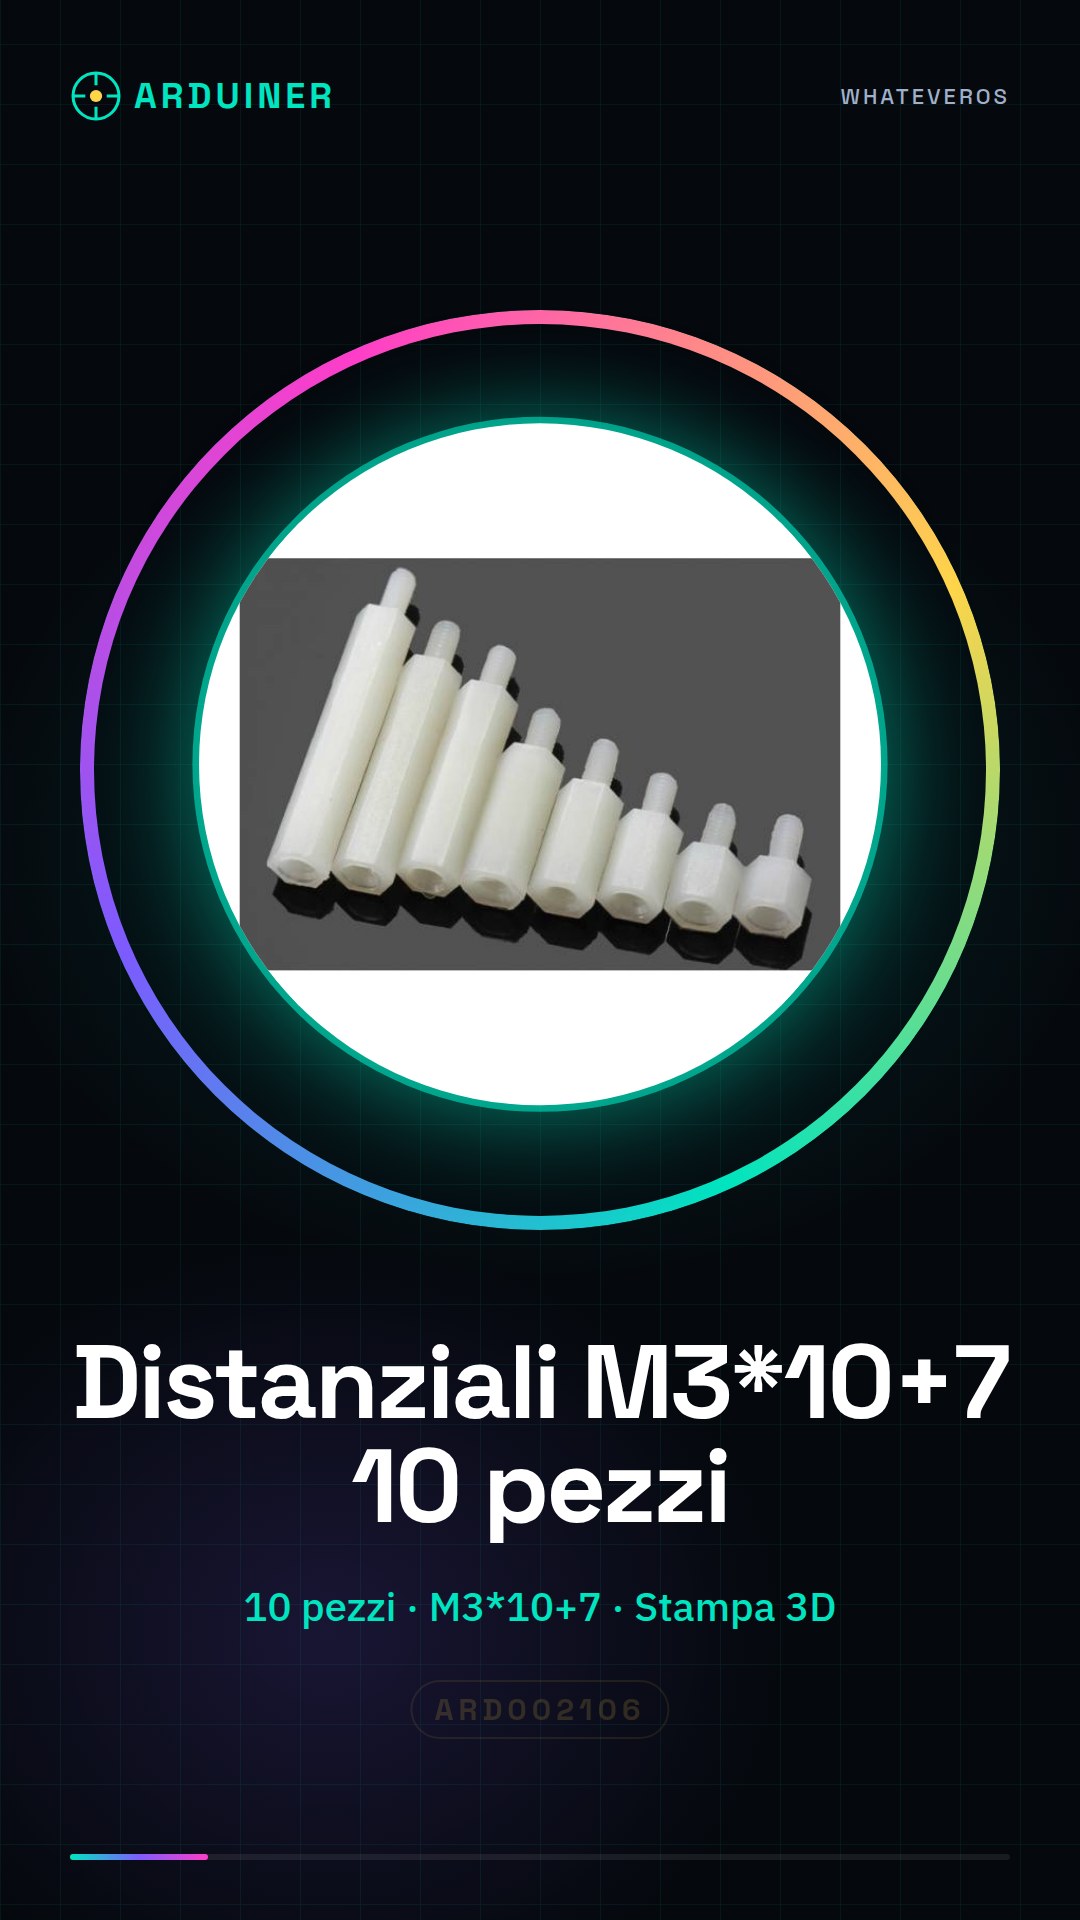
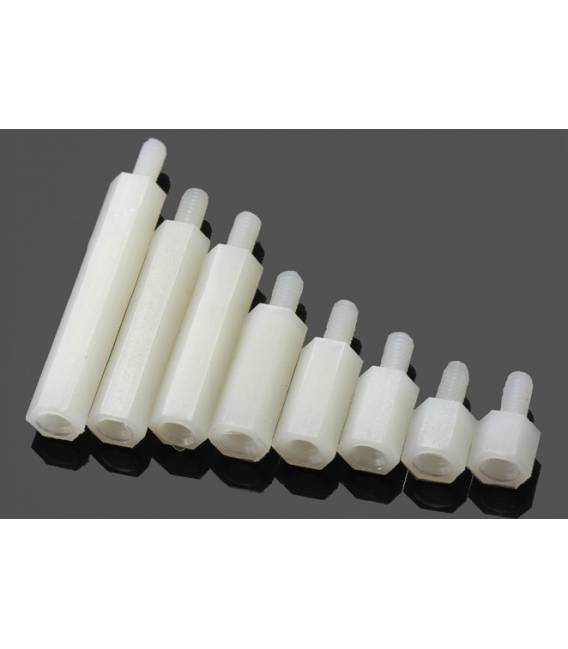
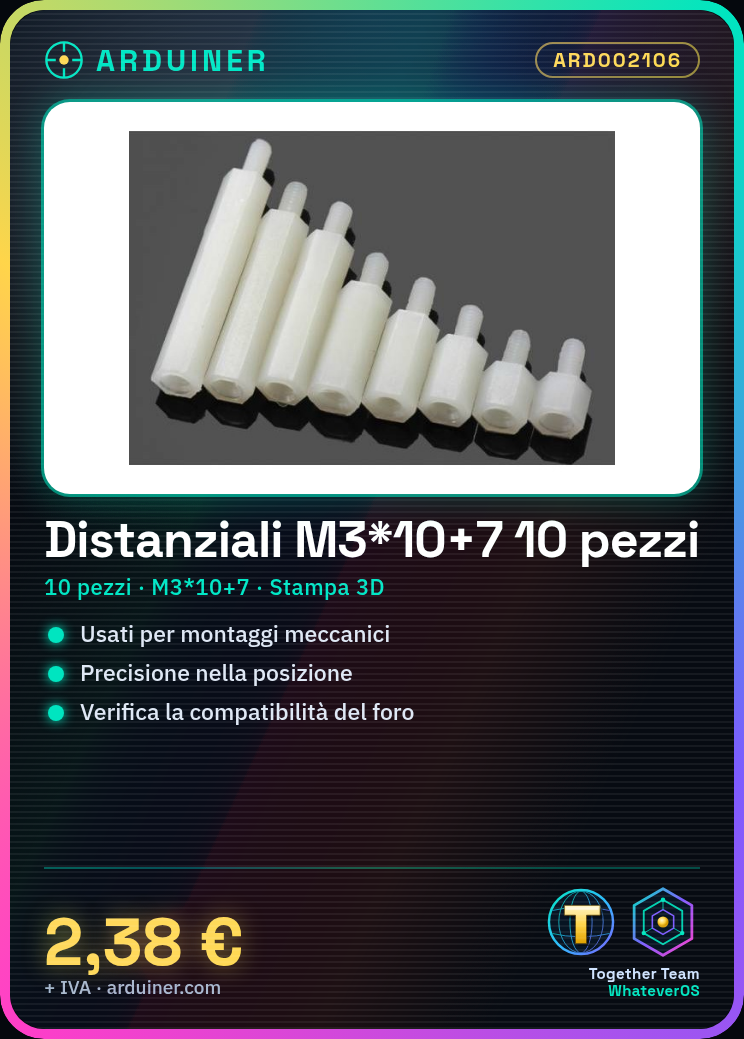
The M3*10+7 spacers are essential for 3d printing and the assembly of mechanical components. They are ideal for anyone working on projects that require precision in the positioning of parts.
What you need
- 3d printer
- Assembly kit
- Workbench tool
Steps
- Check the measurements of the hole where the spacers will be inserted to ensure they are compatible with your project.
- Insert the spacers in the desired positions using an appropriate tool such as a wrench or tweezers.
- Check the stability and appropriateness of the spacers’ position relative to the rest of the project.
Mini project
Create a custom 3D print with supports that use M3*10+7 spacers to ensure stability and adhesion during the printing process.
Common mistakes
- Using incompatible parts causing damage to the mechanism or the project structure.
- Inserting spacers without first checking their compatibility with other parts of the device.
Recommended accessories
- Bench tool
- M3 Mounting Kit
- 3D printer
Frequently asked questions
What is the diameter of the holes for these spacers?
Check the datasheet.
Are these spacers suitable for other types of projects besides 3D printing?
Yes, they can be used in any project that requires mechanical mounting with M3 holes.

Reviews
There are no reviews yet.