 EN
 IT Italiano
 ES Español
 FR Français
 DE Deutsch
Description
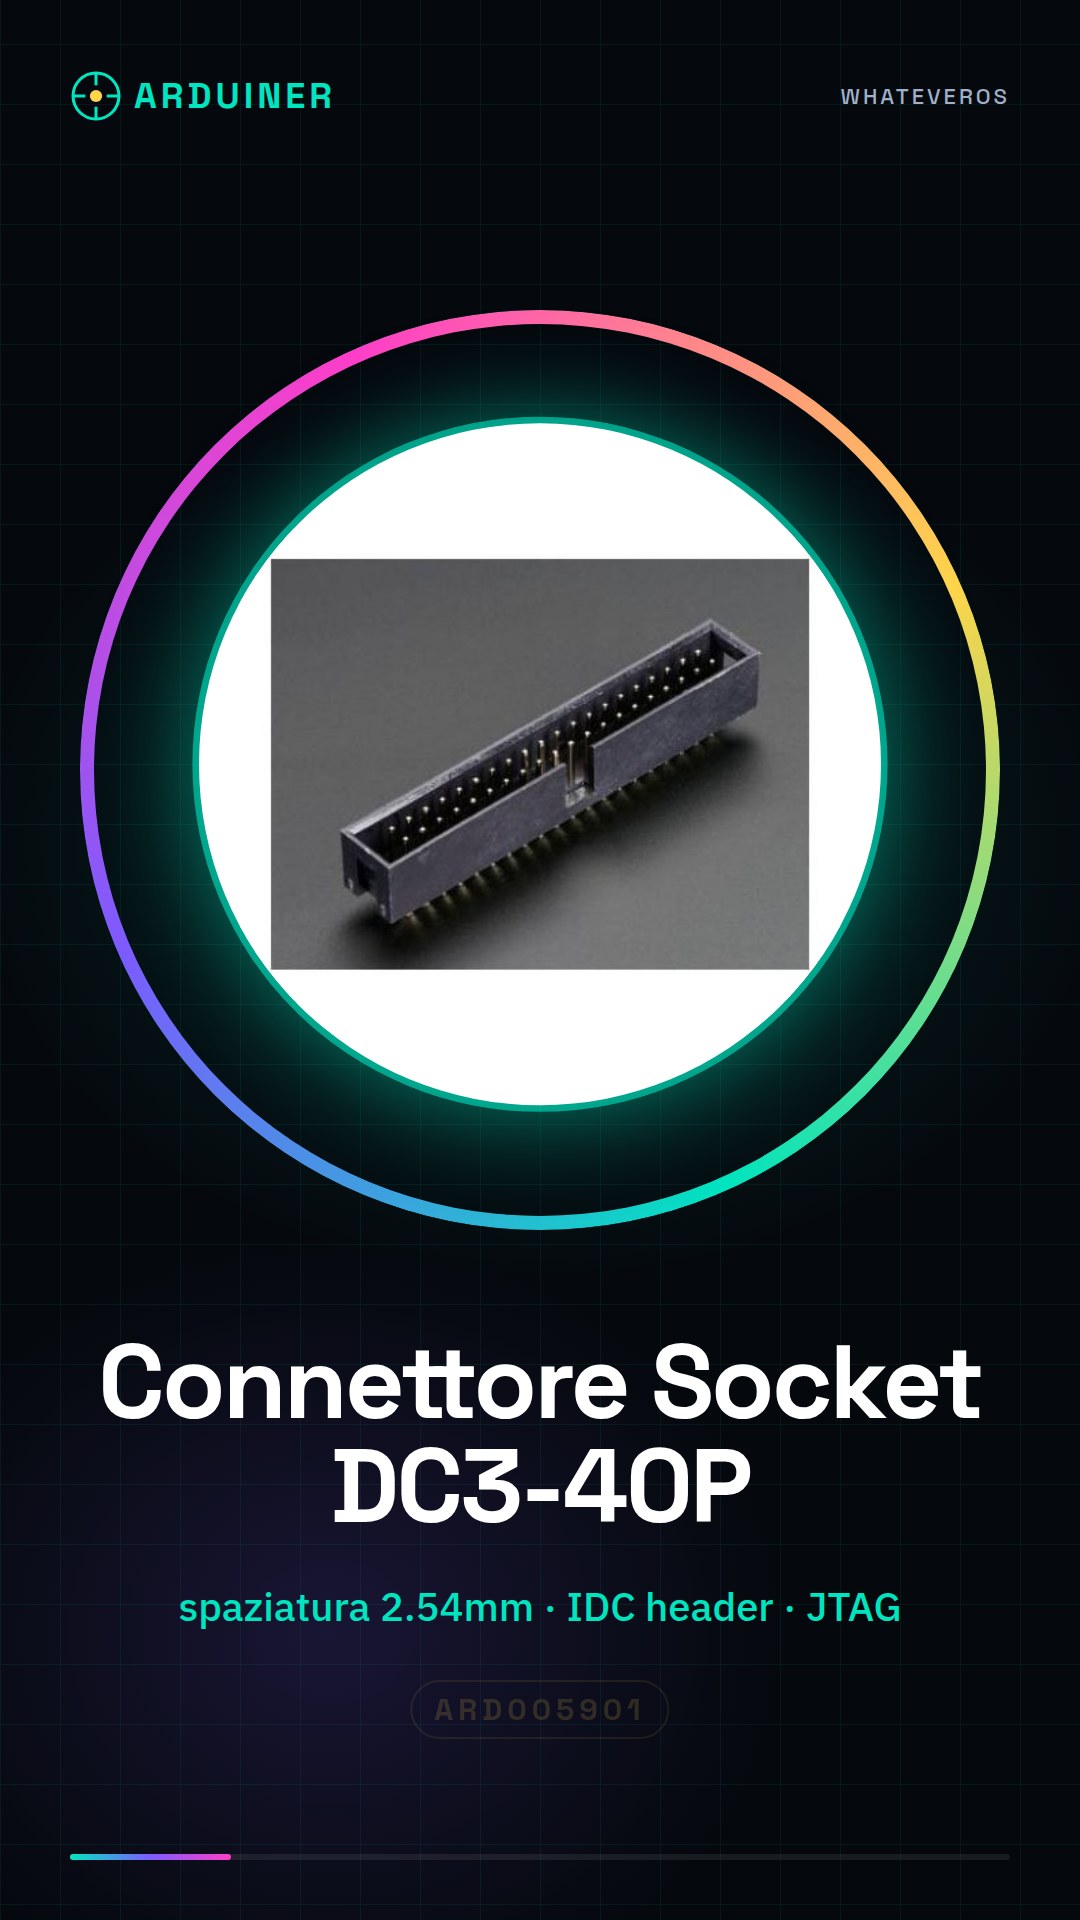
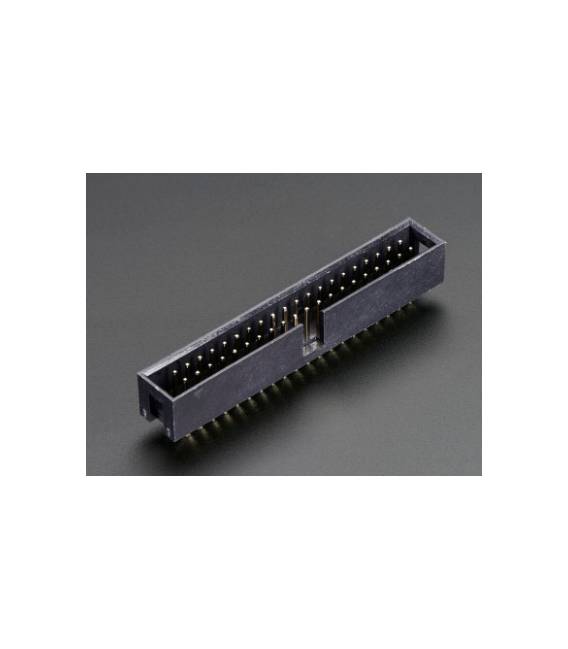
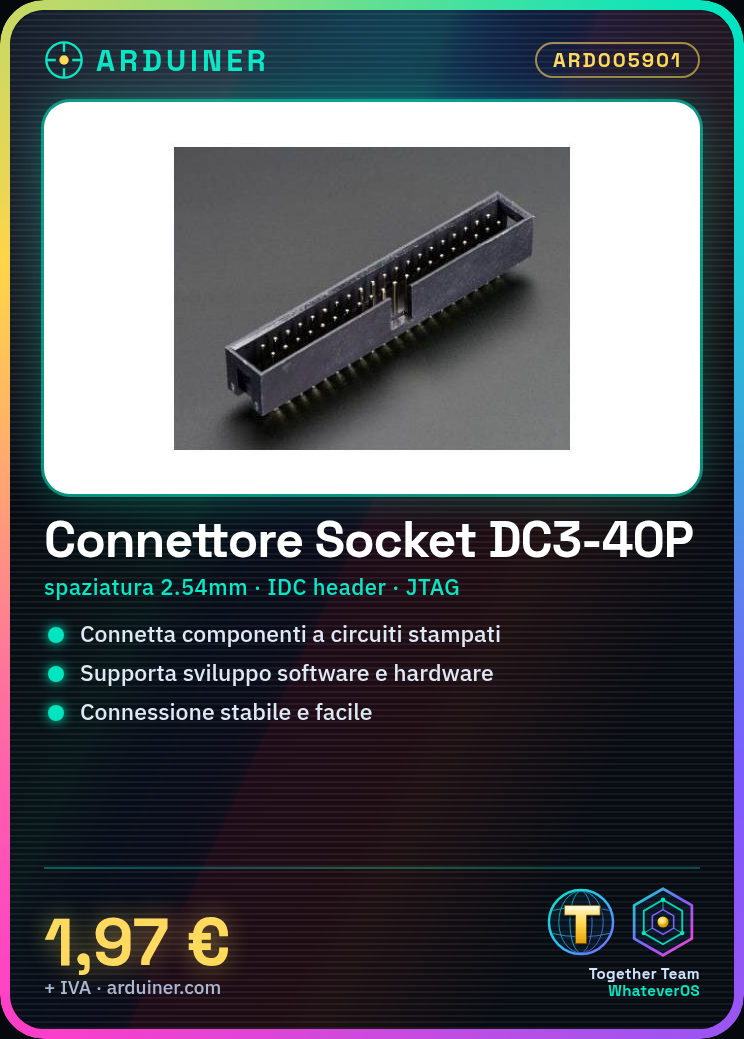
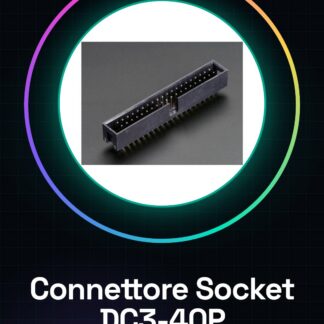
This DC3-40P JTAG socket connector with 2.54mm spacing IDC header ISP is ideal for connecting electronic components to PCBs. Useful for software and hardware development projects. Tutorial: How to Use 3 Piece DC3-40P JTAG Socket Connector Spacing 2.54mm IDC Header ISP
Steps:
1. Check the datasheet for connector specifications.
2. Cut the IDC cable to the appropriate length.
3. Split the IDC cable into 3 pieces using a wire cutter.
4. Prepare the IDC cable pins with an electronic iron.
5. Insert the connector pieces into the IDC cable, aligning them.
6. Flatten the connector pins with an electronic iron.
7. Check the connection between the connector pins and the IDC cable.
8. Verify the stability and isolation of the contacts.
Mini-project: Build a debug circuit for an Arduino microcontroller using the JTAG connector.
Common Errors:
– Inserting the connector pieces without first preparing the pins.
– Not verifying the connection stability.
– Omitting the pin flattening with an electronic iron.
– Using an incompatible IDC cable.
Recommended Accessories:
– Compatible IDC cable
– Electronic iron
– Wire cutter
Frequently Asked Questions:
– How can I verify the connection stability? Flatten the connector pins with an electronic iron and check the physical stability of the connection.
– Can I use this connector for analog connections? This connector is designed for digital and JTAG connections. For analog connections, use an appropriate connector.
– What are the advantages of using this connector? It provides a stable and easy connection between electronic components and PCBs, ideal for hardware development.
Reviews
There are no reviews yet.