 EN
 IT Italiano
 ES Español
 FR Français
 DE Deutsch
Description
Technical Description
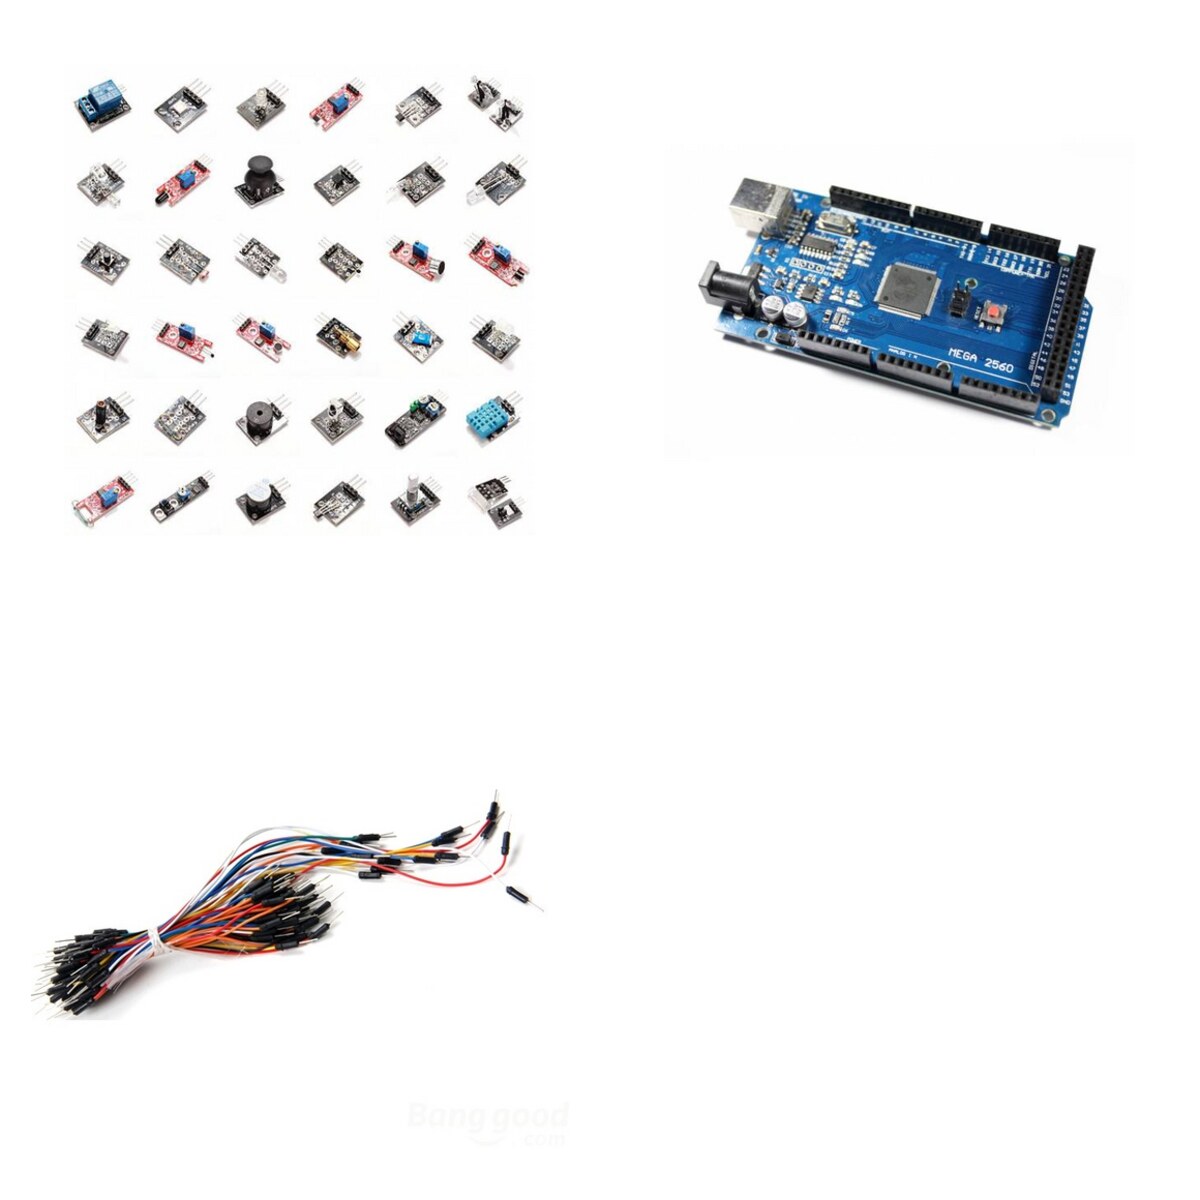
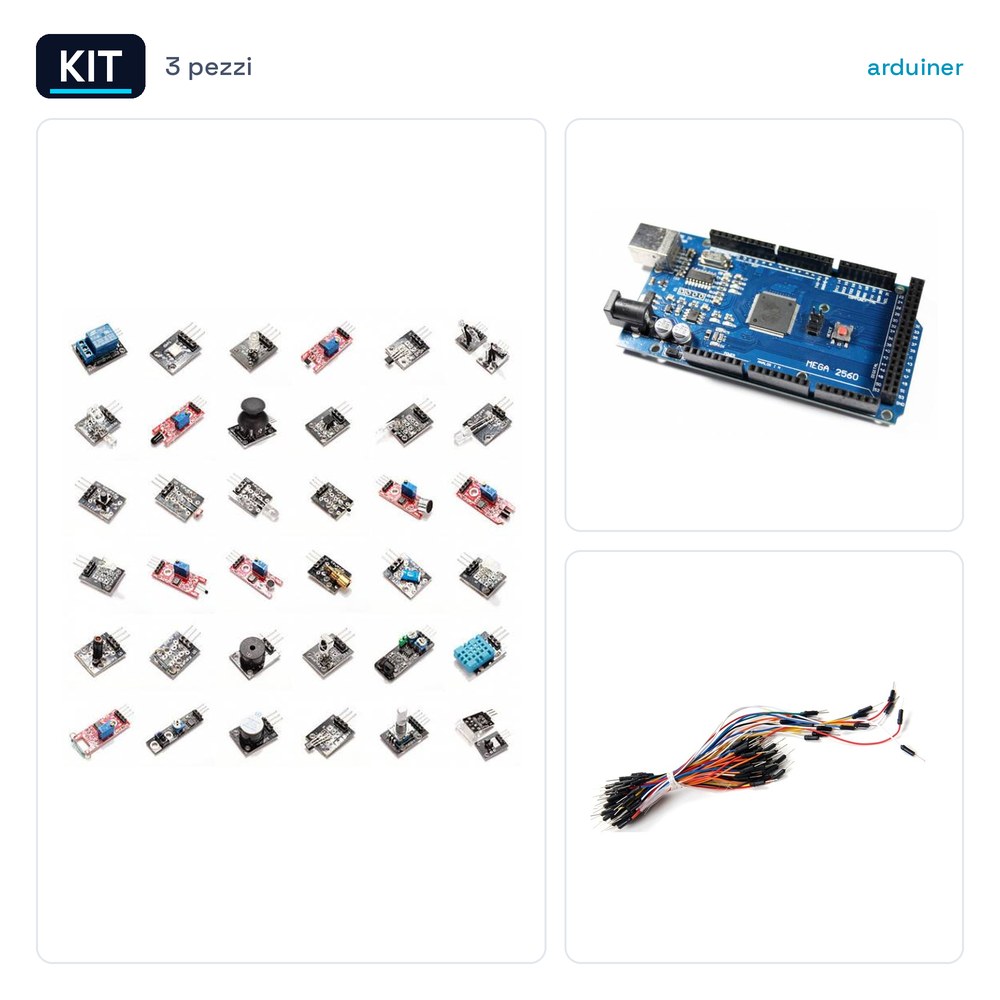
The Kit Kit sensor board 37 in 1 package bags + MEGA 2560 REV3 BOARD + 65 male-male jumper wires is a set of electronic components designed to facilitate prototyping and development of projects with Arduino. The kit includes a MEGA 2560 REV3 BOARD, a package of 37 different sensors, and a series of male-male jumper wires to facilitate connections between various components.
The MEGA 2560 REV3 BOARD is compatible with Arduino and offers a wide range of digital and analog ports, as well as serial ports, I2C, SPI, and a USB interface for programming and communication. The included sensors cover a wide range of applications, including distance, temperature, humidity, motion, and light.
Male-male jumper wires of various lengths are useful for quickly connecting components and testing circuits on a breadboard. This kit is particularly useful for projects that require a combination of sensory inputs and control outputs.
Key Specifications
| Parameter | Value |
| Model | Kit kit 37-in-1 sensor board package + MEGA 2560 REV3 BOARD + 65 male-male jumper wires |
| Quantity | 1 |
| MEGA 2560 REV3 BOARD | 1 |
| 37-in-1 sensor | 1 |
| Male-male jumper wires | 65 |
| Dimensions | N/D (see manufacturer’s technical sheet) |
| Interface | N/D (see manufacturer’s technical sheet) |
| Container | Plastic bags |
Installation and Usage
- Ensure that the MEGA 2560 REV3 BOARD is in working condition.
- Connect the sensors to the breadboard using jumper cables.
- Connect the MEGA 2560 REV3 BOARD to the computer via the USB connector.
- Load a sample code to test the proper functioning of the sensors.
- Verify the output data from the sensors through the serial port.
Compatibility and Requirements
- The kit is compatible with Arduino and can be used with any system that supports Arduino programming.
- A computer with a USB connector is required for programming the MEGA 2560 REV3 BOARD.
- An Arduino development software must be installed on the computer.
Limitations and Important Notes
- The kit does not include the Arduino development software, which is necessary for programming the board.
- Some sensors may require additional components to function correctly.
- Be cautious about the proper power supply for the MEGA 2560 REV3 BOARD.
- Ensure that the connections are stable and secure to prevent short circuits.
Troubleshooting
The MEGA 2560 REV3 BOARD power LED does not turn on.
Probable cause: The board may not be properly powered.
Solution: Check the power connections and ensure that the computer or power supply is correctly connected to the board.
The sensor data is inconsistent.
Probable cause: The sensor connections may be unstable or incorrect.
Solution: Check the sensor connections and ensure they are stable and correct.
The Arduino development software does not detect the MEGA 2560 REV3 BOARD.
Probable cause: The driver may not be installed correctly.
Solution: Install or update the necessary drivers for the board.
The sensors do not respond to commands.
Probable cause: The programming code may not be correct.
Solution: Verify and correct the programming code according to the sensor specifications.
Use cases
Parking sensor for the garage
Objective: Monitor garage parking occupancy.
What’s needed: MEGA 2560 REV3 BOARD, distance sensors, and jumper cables.
Steps: 1) Install the MEGA 2560 REV3 BOARD. 2) Connect the distance sensors to the breadboard. 3) Program the board to detect parking occupancy. 4) Connect the distance sensors to the alarm system.
Expected result: The system monitors parking occupancy and alerts in case of occupancy.
Temperature control system for the laboratory
Objective: Regulate the laboratory temperature.
What’s needed: MEGA 2560 REV3 BOARD, temperature sensors, and jumper cables.
Steps: 1) Install the MEGA 2560 REV3 BOARD. 2) Connect the temperature sensors to the breadboard. 3) Program the board to regulate temperature. 4) Connect the temperature sensors to the temperature control system.
Expected result: The system regulates the laboratory temperature, keeping it within a specified range.
Humidity control system for the garden
Objective: Regulate the humidity in the garden.
What’s needed: MEGA 2560 REV3 BOARD, humidity sensors, and jumper cables.
Steps: 1) Install the MEGA 2560 REV3 BOARD. 2) Connect the humidity sensors to the breadboard. 3) Program the board to regulate humidity. 4) Connect the humidity sensors to the irrigation system.
Expected result: The system regulates the garden humidity, keeping it within a specified range.
Light control system for the home
Objective: Adjust the home lighting.
What you need: MEGA 2560 REV3 BOARD, light sensors, and jumper cables.
Steps: 1) Install the MEGA 2560 REV3 BOARD. 2) Connect the light sensors to the breadboard. 3) Program the board to adjust the lighting. 4) Connect the light sensors to the lighting system.
Expected result: The system adjusts the home lighting based on external light levels.
Motion control system for security
Objective: Detect motion for security purposes.
What you need: MEGA 2560 REV3 BOARD, motion sensors, and jumper cables.
Steps: 1) Install the MEGA 2560 REV3 BOARD. 2) Connect the motion sensors to the breadboard. 3) Program the board to detect motion. 4) Connect the motion sensors to the alarm system.
Expected result: The system detects movement and activates the alarm system in case of intrusion.
Bedroom temperature control system
Objective: Regulate the temperature of the bedroom.
What is needed: MEGA 2560 REV3 BOARD, temperature sensors, and jumper cables.
Steps: 1) Install the MEGA 2560 REV3 BOARD. 2) Connect the temperature sensors to the breadboard. 3) Program the board to regulate the temperature. 4) Connect the temperature sensors to the temperature control system.
Expected result: The system regulates the temperature of the bedroom, keeping it within a specified range.
Garage humidity control system
Objective: Regulate the humidity in the garage.
What is needed: MEGA 2560 REV3 BOARD, humidity sensors, and jumper cables.
Steps: 1) Install the MEGA 2560 REV3 BOARD. 2) Connect the humidity sensors to the breadboard. 3) Program the board to regulate humidity. 4) Connect the humidity sensors to the humidity control system.
Expected result: The system maintains the humidity in the garage within a specified range.
Garden Light Control System
Objective: Regulate the garden lighting.
What’s needed: MEGA 2560 REV3 BOARD, light sensors, and jumper cables.
Steps: 1) Install the MEGA 2560 REV3 BOARD. 2) Connect the light sensors to the breadboard. 3) Program the board to regulate lighting. 4) Connect the light sensors to the lighting system.
Expected result: The system adjusts the garden lighting based on external light levels.
In the kit
- 1 Kit sensor board 37 in 1 for package bags + MEGA 2560 REV3 BOARD + 65 male-male jumper wires
Complete the project
- MEGA 2560 REV3 BOARD COMPATIBLE WITH ARDUINO ATmega2560: It is used to connect the MEGA 2560 REV3 BOARD to an external power supply connector.
- 40 Male-Male Jumper Wires 20cm for Arduino: It is used to connect the MEGA 2560 REV3 BOARD to an external power supply connector.
- 65 male-male jumper wires of various lengths for breadboard: It is used to connect the sensors to each other and to the MEGA 2560 REV3 BOARD.
Technical FAQs
Which sensors are included in the kit?
The kit includes 37 different sensors, including distance, temperature, humidity, motion, and light sensors.
How can I solve the problem if the sensors do not respond to commands?
Check the programming code according to the sensor specifications.
What components are needed to use the kit?
A computer with a USB connector and Arduino development software installed is required.
What to do if: the power LED on the mega 2560 rev3 board does not light up?
The board may not be properly powered. Check the power connections and ensure that the computer or power supply is correctly connected to the board.
Reviews
There are no reviews yet.